
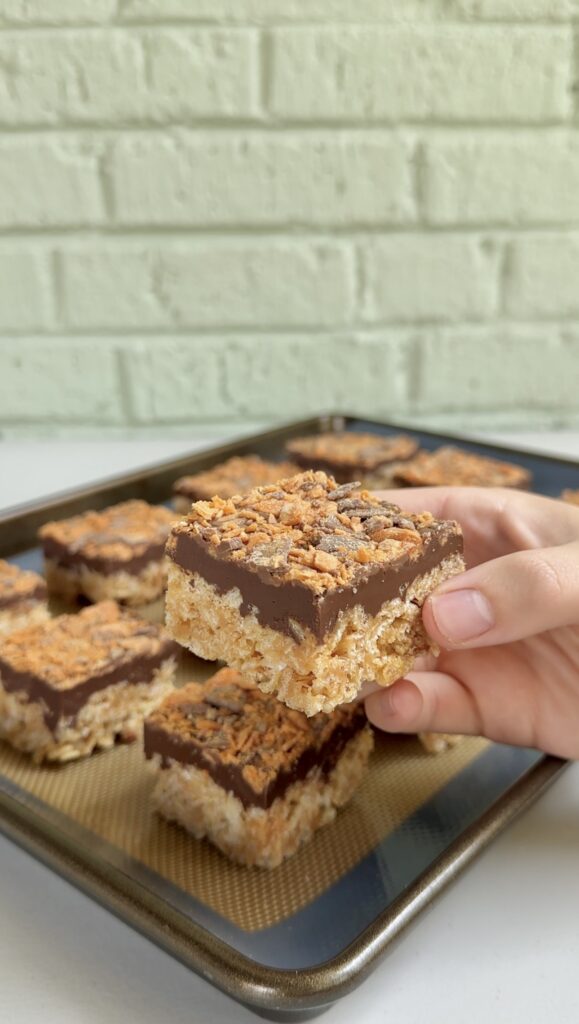
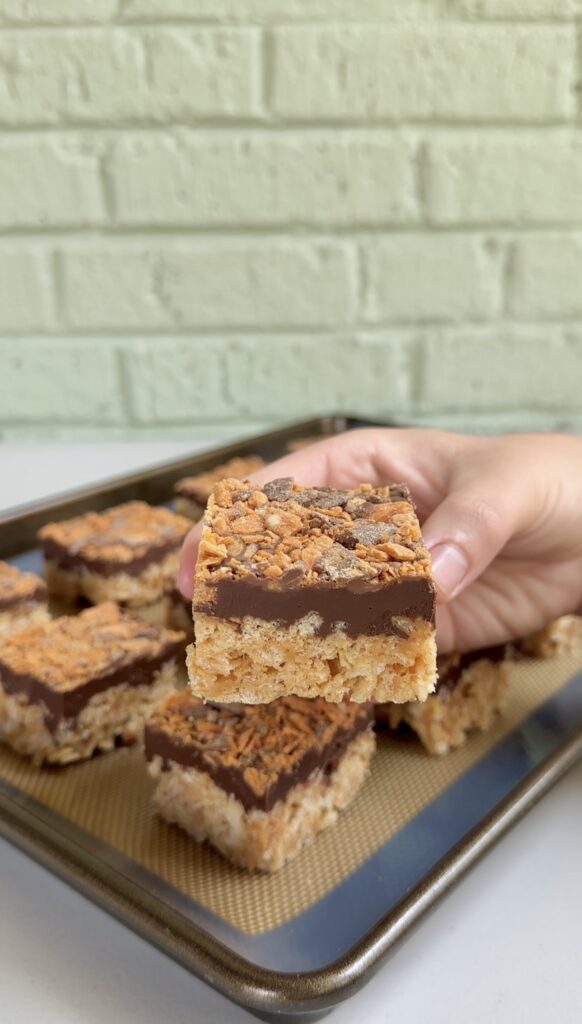
Butterfinger Rice Krispie Treats are chewy peanut butter Rice Krispie treats topped with creamy chocolate and peanut butter and loaded with crunchy crushed Butterfinger pieces!
If you love Butterfingers, you’ll want to try all of my other irresistible Butterfinger treats like Butterfinger Popcorn, Butterfinger Puppy Chow, and Butterfinger Dip– all packed with that crunchy peanut butter and chocolate flavor!
Why you’ll love this recipe:
If you love classic Rice Krispie treats and can never resist a Butterfinger, these Butterfinger Rice Krispie Treats are the best of both worlds. They combine soft and chewy peanut butter Rice Krispie treats with a layer of melted chocolate and peanut butter, then get finished with plenty of crushed Butterfinger candy bars for the ultimate no-bake dessert.
These easy Butterfinger Rice Krispie treats have everything you want in a sweet treat: crispy cereal, creamy peanut butter, rich chocolate, and that signature crunchy, peanut-buttery Butterfinger flavor. They’re incredibly easy to make and are perfect when you need a dessert that doesn’t require turning on the oven.
These aren’t your average Rice Krispie treats. The cereal mixture is made with peanut butter, giving the base a delicious peanut butter flavor that pairs perfectly with the chocolate and Butterfinger topping.
Once the treats are pressed into a pan, they’re topped with melted chocolate and peanut butter. While the chocolate layer is still soft, crushed Butterfinger candy bars are sprinkled over the top so they stick and add plenty of crunchy texture.
The result is a no-bake Butterfinger dessert that tastes like a cross between a classic Rice Krispie treat and a giant Butterfinger candy bar.
Ingredients you’ll need:
- Mini marshmallows
- Butter
- Creamy peanut butter- divided
- Vanilla extract
- Rice Krispies cereal
- Milk chocolate chips
- Butterfinger bits
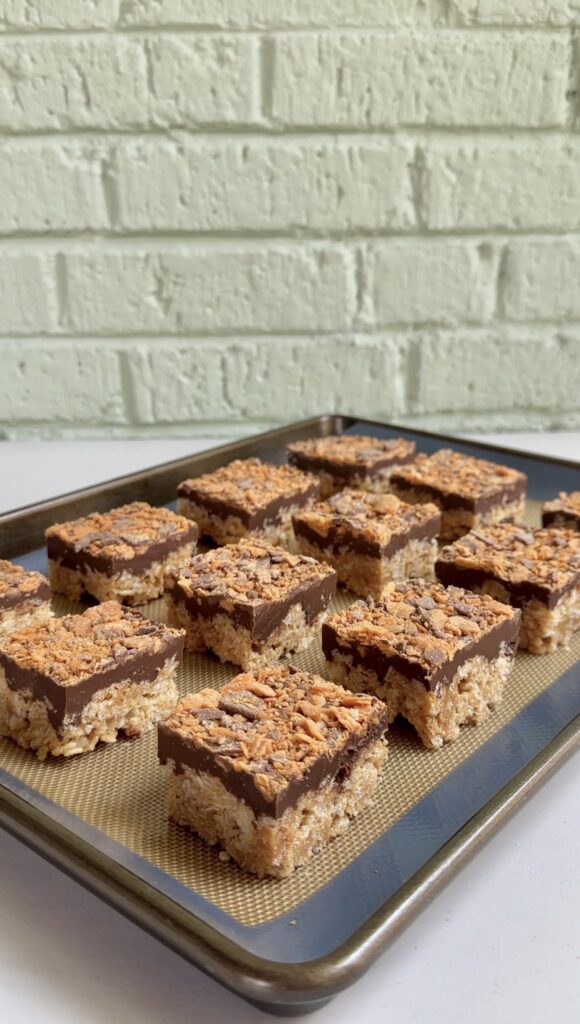
Butterfinger Rice Krispie Treats are sweet, crunchy, chewy, chocolatey, and packed with peanut butter flavor. The Rice Krispie base is soft and crispy at the same time, while the chocolate-peanut butter topping adds a rich, creamy layer.
The crushed Butterfinger pieces are what really make these treats special. They add that familiar crunchy, flaky peanut butter candy texture and a little extra chocolatey sweetness in every bite.
If you’re a fan of peanut butter and chocolate desserts, these are definitely going to hit the spot.
One of the best things about this recipe is that you can make it right on the stovetop. There’s no oven required, making these an easy dessert for any time of year.
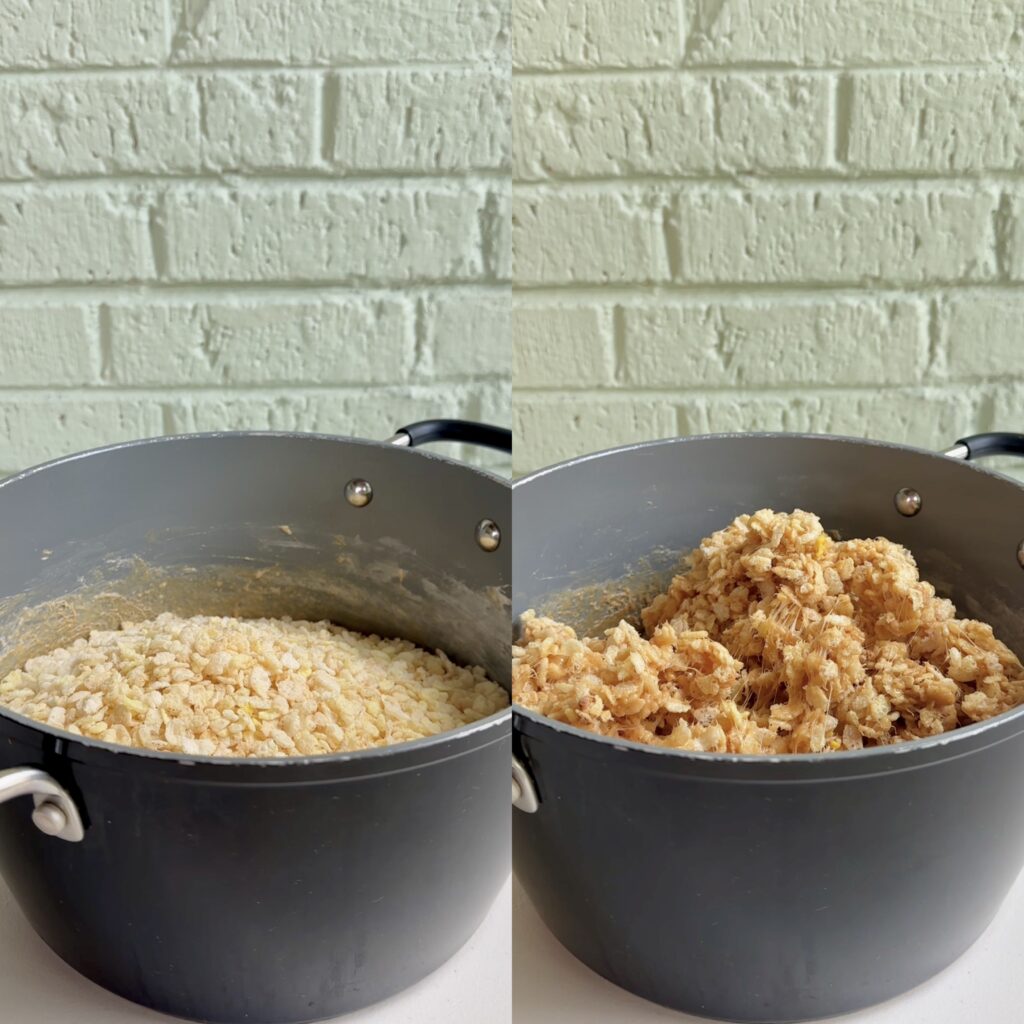
Start by making the peanut butter Rice Krispie treat mixture on the stovetop. Once everything is melted and combined, stir in the crispy rice cereal until it’s evenly coated.
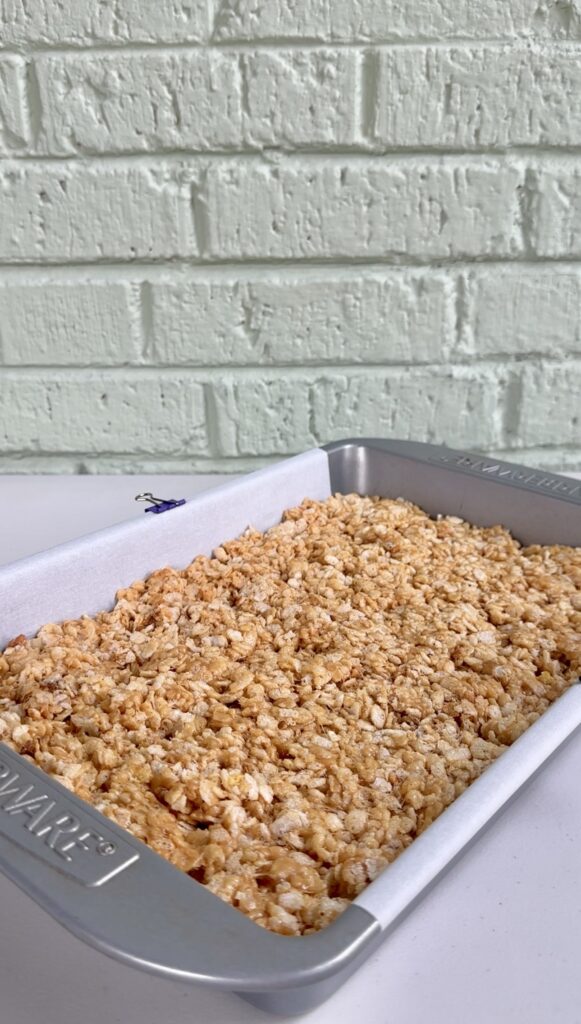
Press the mixture firmly into a prepared pan and let it settle while you make the topping.
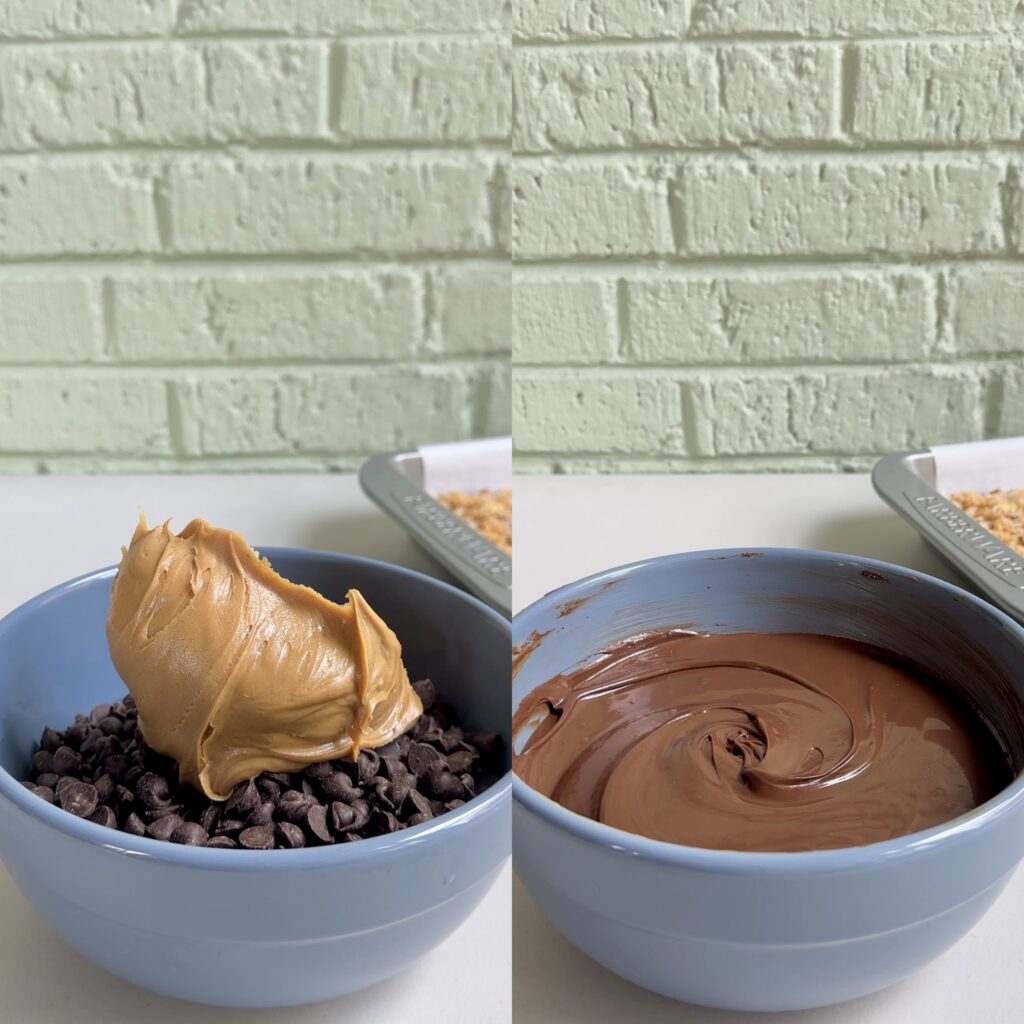
For the topping, melt chocolate and peanut butter together until smooth and creamy. Spread it over the Rice Krispie treats, then immediately sprinkle the top with crushed Butterfinger candy bars.
Let the treats cool and set before cutting them into squares. That’s it!
How to make the best Butterfinger Rice Krispie Treats:
- Line a 9×13 baking pan with parchment paper, leaving some overhang on the sides, then set aside.
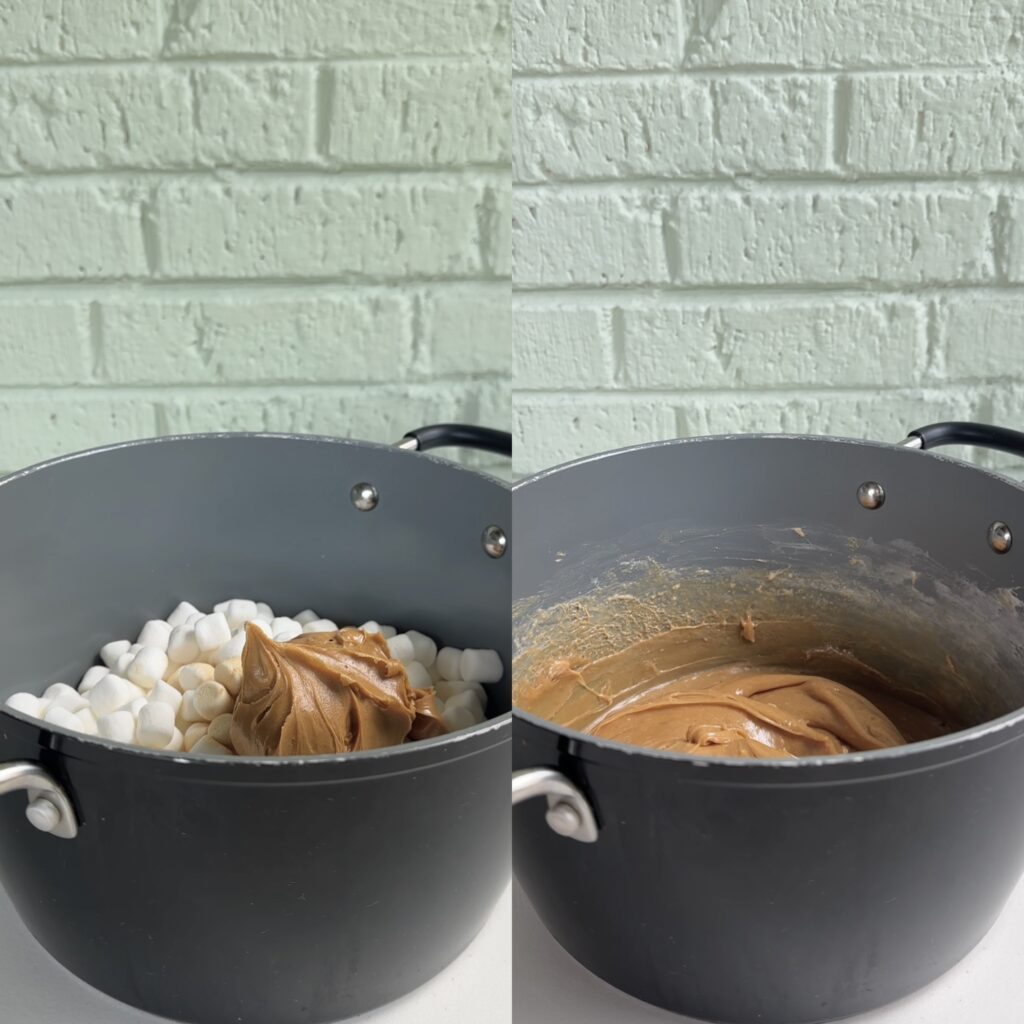
- In a large pot over medium-low heat combine the mini marshmallows, butter, 3/4 cup peanut butter, and vanilla extract, then stir continuously until the mixture is melted.
- Once melted and smooth, remove from the heat and stir in the Rice Krispies.
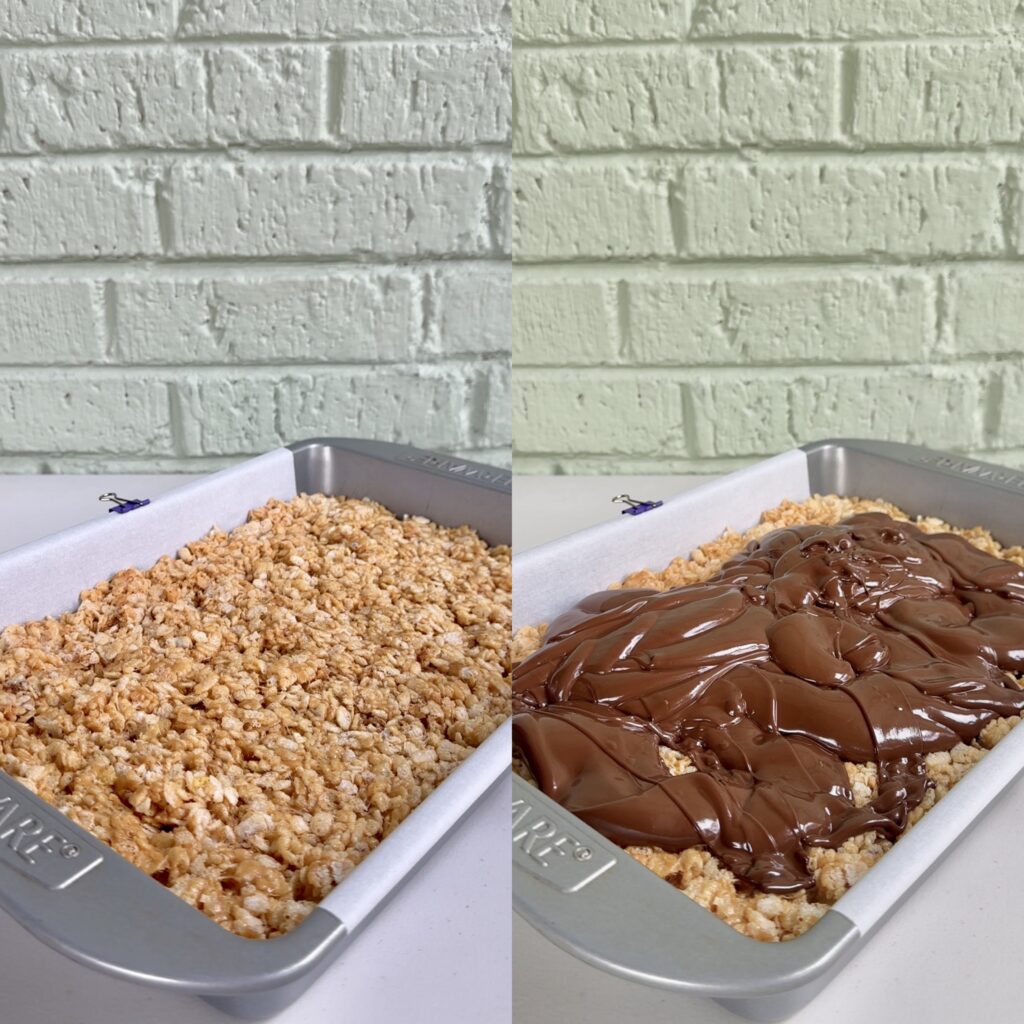
- Gently press the mixture into your prepared pan. If using your hands, grease them lightly to prevent the mixture from sticking to your hands.
- In a small microwave safe bowl, combine your chocolate chips and the remaining peanut butter. Microwave for 30 seconds on high; stir well, then microwave again for 30 seconds. Stir until it becomes smooth and glossy.
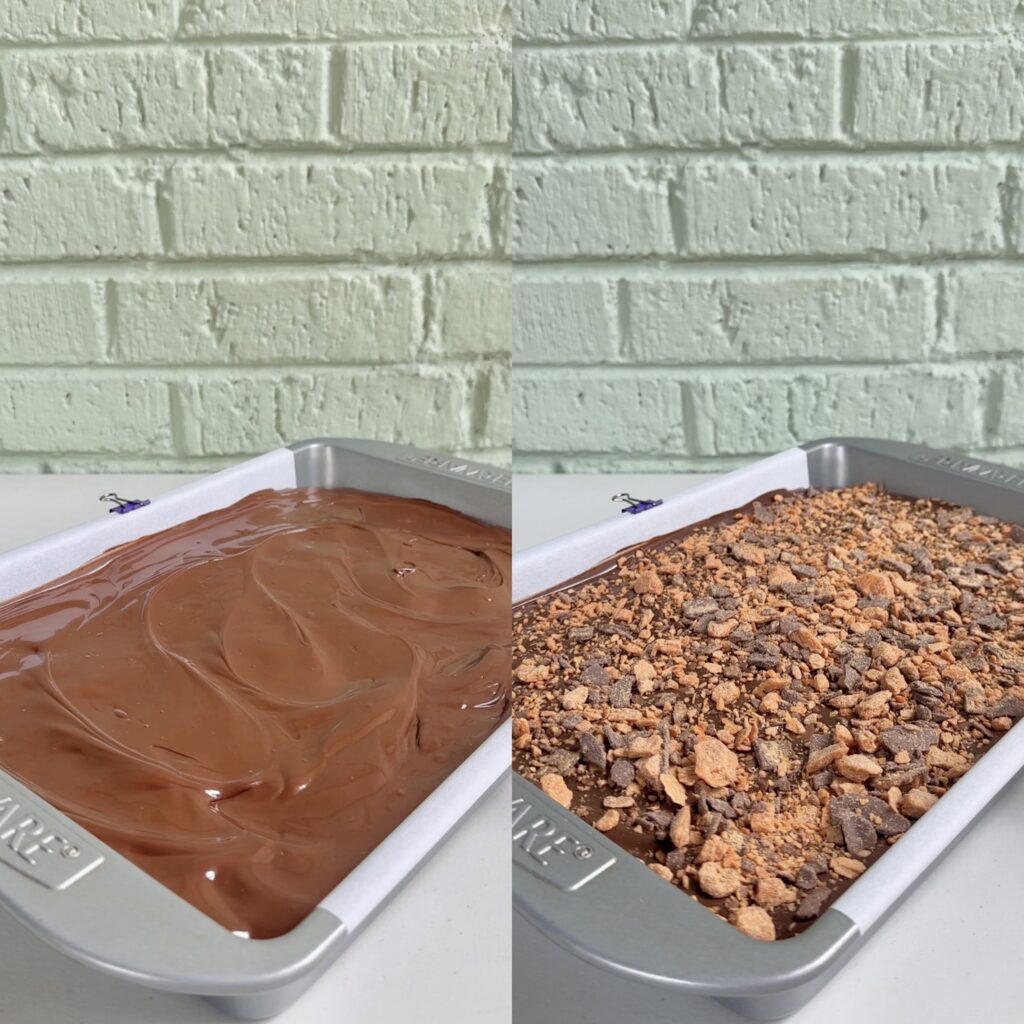
- Pour the melted chocolate and peanut butter mixture on top of the treats and spread evenly.
- Cover the top with Butterfinger bits (or crushed Butterfingers) and place in the fridge for 30 minutes to set the topping.
- Slice into squares before serving!
There’s something so convenient about a dessert that doesn’t require an oven. Since these Butterfinger Rice Krispie Treats are not baked, they’re especially great for summer when you don’t want to heat up the kitchen.
They’re also quick enough to make when you need a last-minute dessert. There’s no dough to chill, no cake to bake, and no complicated decorating involved. Just make the Rice Krispie mixture on the stovetop, add the chocolate and Butterfinger topping, and let everything set.
They’re also easy to cut into small squares, which makes them perfect for parties, bake sales, potlucks, holidays, or an afternoon sweet treat.
If you love Butterfinger recipes, these are such a fun way to use the candy bar in a completely different dessert. You get all of those classic Butterfinger flavors, but with the chewy texture of a homemade Rice Krispie treat.
They’re also incredibly easy to customize. You can make the squares larger or smaller depending on the occasion, add extra Butterfinger pieces to the topping, or even mix some chopped candy directly into the Rice Krispie mixture.
And because they’re made without an oven, these are one of those easy dessert recipes you can keep in your back pocket whenever a chocolate and peanut butter craving hits.
My top tips:
- LINE YOUR PAN: Line your baking pan with parchment paper and leave a little overhang on the sides. This makes it much easier to lift the treats out once they’re chilled and helps you get clean, even slices without the layers sticking to the pan.
- WORK WITH LOW HEAT: Make sure your heat is set to medium-low when melting down the marshmallows, butter, and peanut butter. Doing this step slowly, and stirring continuously, will ensure that nothing burns, and your finished product will be soft and chewy!
- MIX QUICKLY: Once the marshmallow peanut butter mixture is melted, you’ll need to move quickly to coat the cereal mixture before it begins to cool and set up. I like using a rubber spatula to mix, as this avoids crushing the cereal too much.
- PRESSING INTO THE PAN: The Rice Krispie treat mixture is sticky and can be hard to spread with a spatula. I recommend lightly wetting or greasing your fingertips, or a square of parchment paper, and using that to gently press the mixture into the pan to avoid a sticky mess.
- MELTING CHOCOLATE: It’s important to heat the chocolate and peanut butter in 30 second intervals because it can burn and seize easily. It’s hard to reverse clumpy chocolate, so I recommend watching it closely! You can also use a double boiler here instead of the microwave.
- BUTTERFINGER BITS: I prefer using the pre-packaged Butterfinger baking bits rather than chopping my own Butterfinger bars for ease and convenience, but if you want to chop your own Butterfingers, you’ll need 6 regular sized bars.
- CHILLING: You can let these treats set at room temperature, but it will take at least an hour for them to fully set up. To speed up the process, feel free to place these treats in the fridge for 30 minutes to allow the chocolate topping to harden faster.
- STORING: Store Butterfinger Rice Krispie Treats in an airtight container in a cool, dry place at room temperature for up to 3 to 4 days.
Looking for more treats with crunchy rice cereal? Check these out!
- Samoa Rice Krispie Treats
- Rice Krispie Ice Cream Sandwiches
- Scotcheroo Truffles
- Biscoff Avalanche Cookies
- Cookie Dough Rice Krispie Treats
- Crunchy Brownies
- Muddy Snowballs
- Buckeye Rice Krispie Treats
- No Bake Peanut Butter Blossoms
- Caramel Marshmallow Rice Krispie Balls

Butterfinger Rice Krispie Treats
Equipment
Ingredients
- 1 (10 oz) bag mini marshmallows about 5 1/2 cups
- 4 tbsp butter
- 1 3/4 cups creamy peanut butter divided
- 1 tsp vanilla extract
- 6 cups Rice Krispie cereal
- 1 1/2 cup milk chocolate chips
- 1 (8 oz) bag Butterfinger bits or 6 crushed Butterfinger bars
Instructions
- Line a 9×13 baking pan with parchment paper, leaving some overhang on the sides, then set aside.
- In a large pot over medium-low heat combine the mini marshmallows, butter, 3/4 cup peanut butter, and vanilla extract, then stir continuously until the mixture is melted.
- Once melted and smooth, remove from the heat and stir in the Rice Krispies.
- Gently press the mixture into your prepared pan. If using your hands, grease them lightly to prevent the mixture from sticking to your hands.
- In a small microwave safe bowl, combine your chocolate chips and the remaining peanut butter. Microwave for 30 seconds on high; stir well, then microwave again for 30 seconds. Stir until it becomes smooth and glossy.
- Pour the melted chocolate and peanut butter mixture on top of the treats and spread evenly.
- Cover the top with Butterfinger bits (or crushed Butterfingers) and place in the fridge for 30 minutes to set the topping.
- Slice into squares before serving!
This post contains Amazon Affiliate links. Dangthatssweet may receive a small commission for Amazon purchases made through these links at no cost to you. Thanks for your support!

Leave a Reply