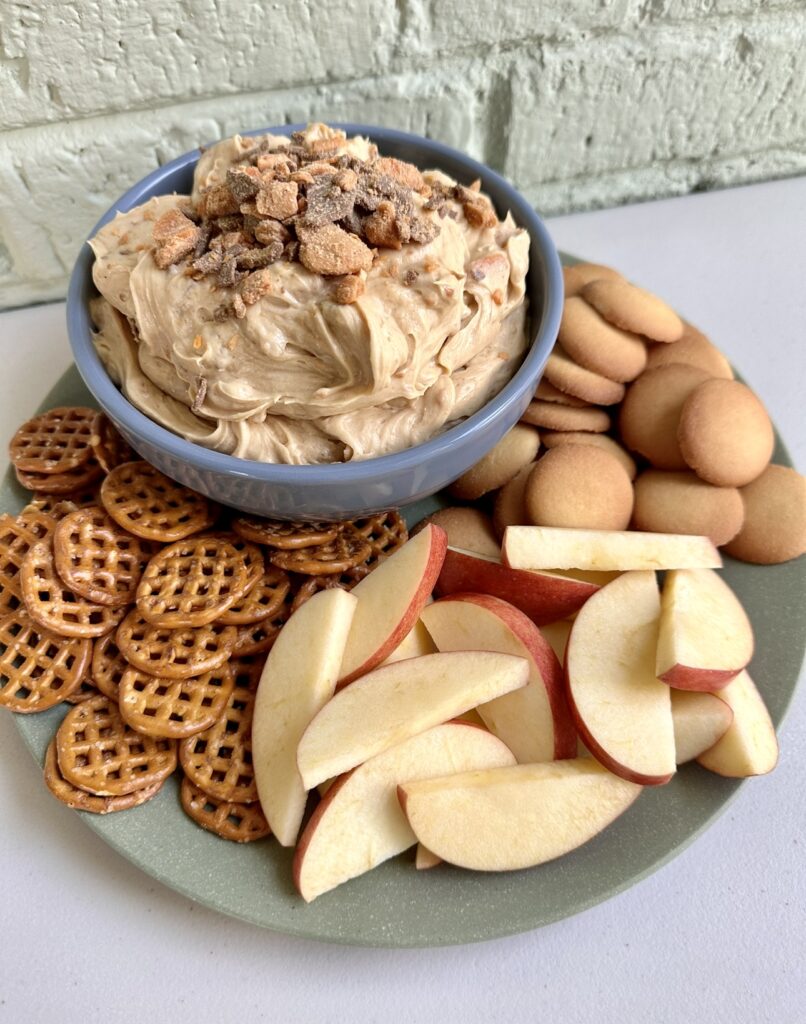
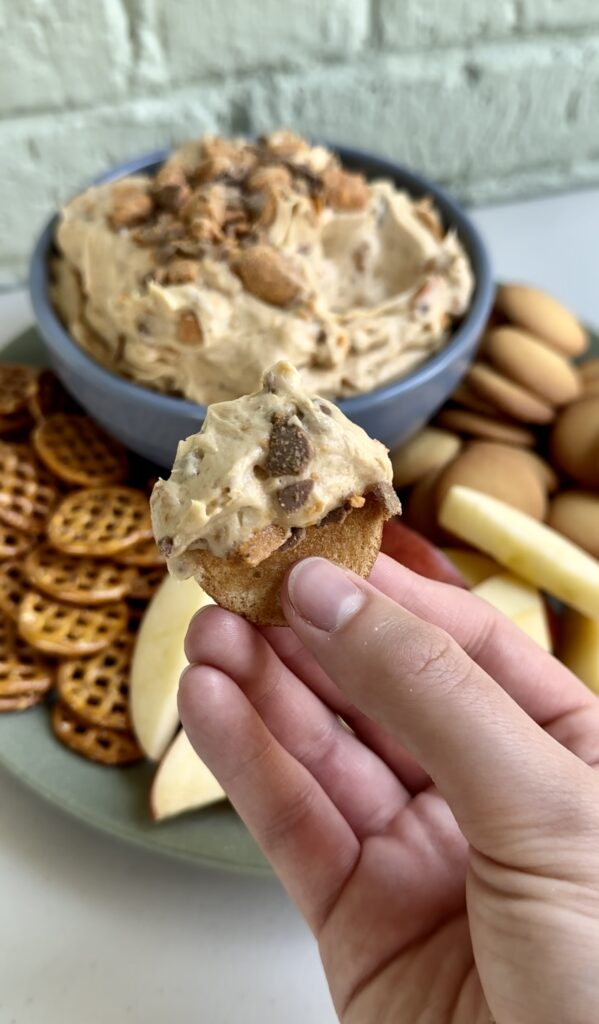
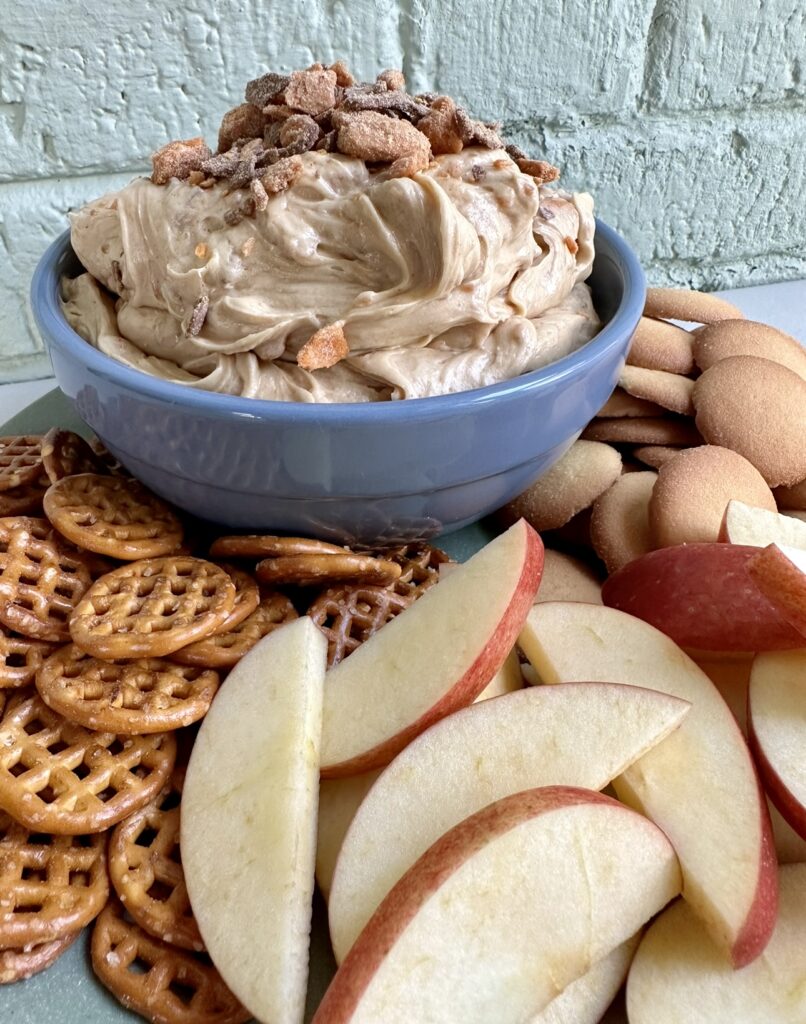
Butterfinger dip is a creamy peanut butter dip with loads of crushed Butterfinger pieces throughout. Perfectly paired with vanilla wafers, apples, and pretzels for dipping!
Why you’ll love this recipe:
No bake Butterfinger dip is perfect for tailgates, BBQ’s, parties and anytime you need an easy dessert! I love how you can make this dip in advance and refrigerate until it’s time to serve. It’s also super easy to customize with your other favorite candy bars!
Ingredients you’ll need:
- Heavy whipping cream
- Brown sugar
- Cream cheese
- Peanut butter
- Butterfinger bits
When I say this is the ultimate crowd-pleasing dip, I mean it! The creamy mixture of sweetened whipped cream, cream cheese, and peanut butter is the perfect base for those crunchy bits of Butterfinger candy! So good, I’d eat it with a spoon!
This quick and easy dessert comes together in a matter of minutes and only requires a few ingredients to make! It’s as simple as mixing everything together and serving!
How to make the best Butterfinger dip:
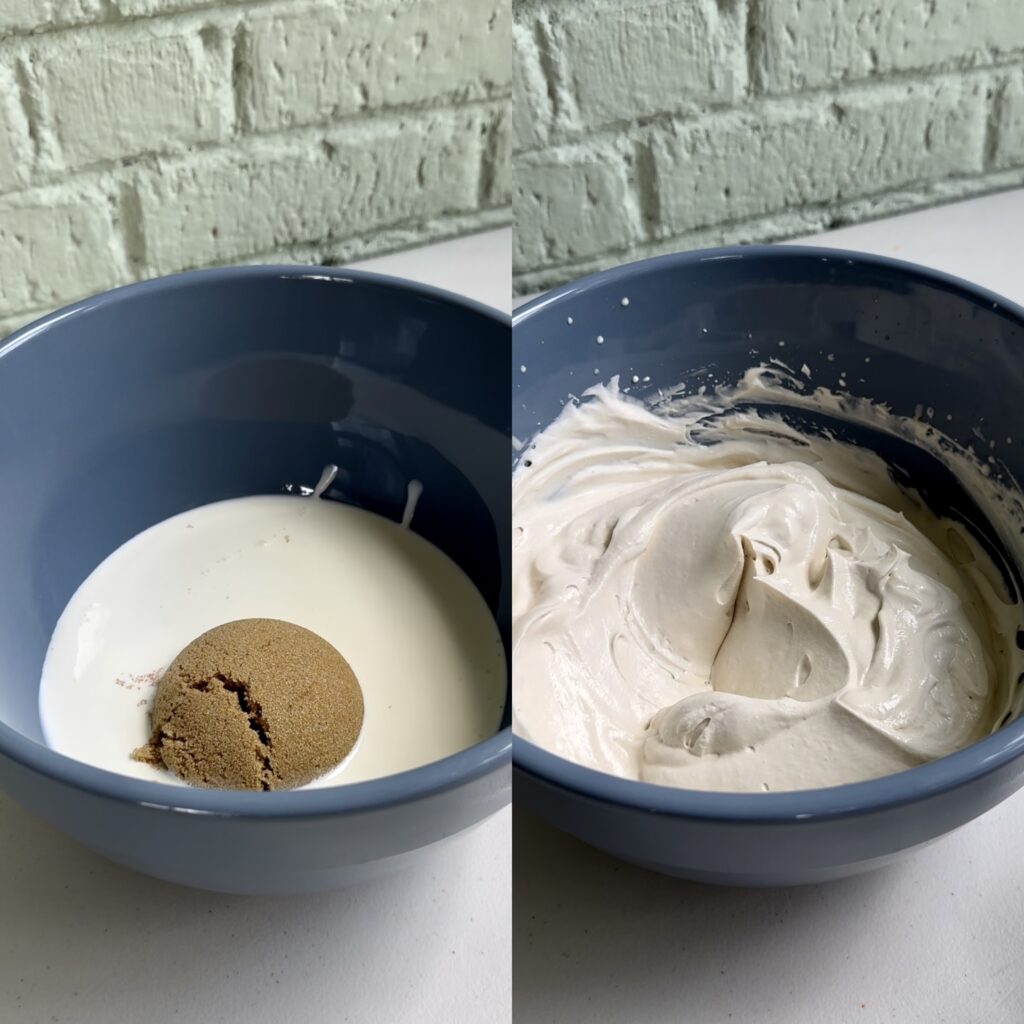
- In a large mixing bowl, combine heavy cream and brown sugar. Whip to form stiff peaks.
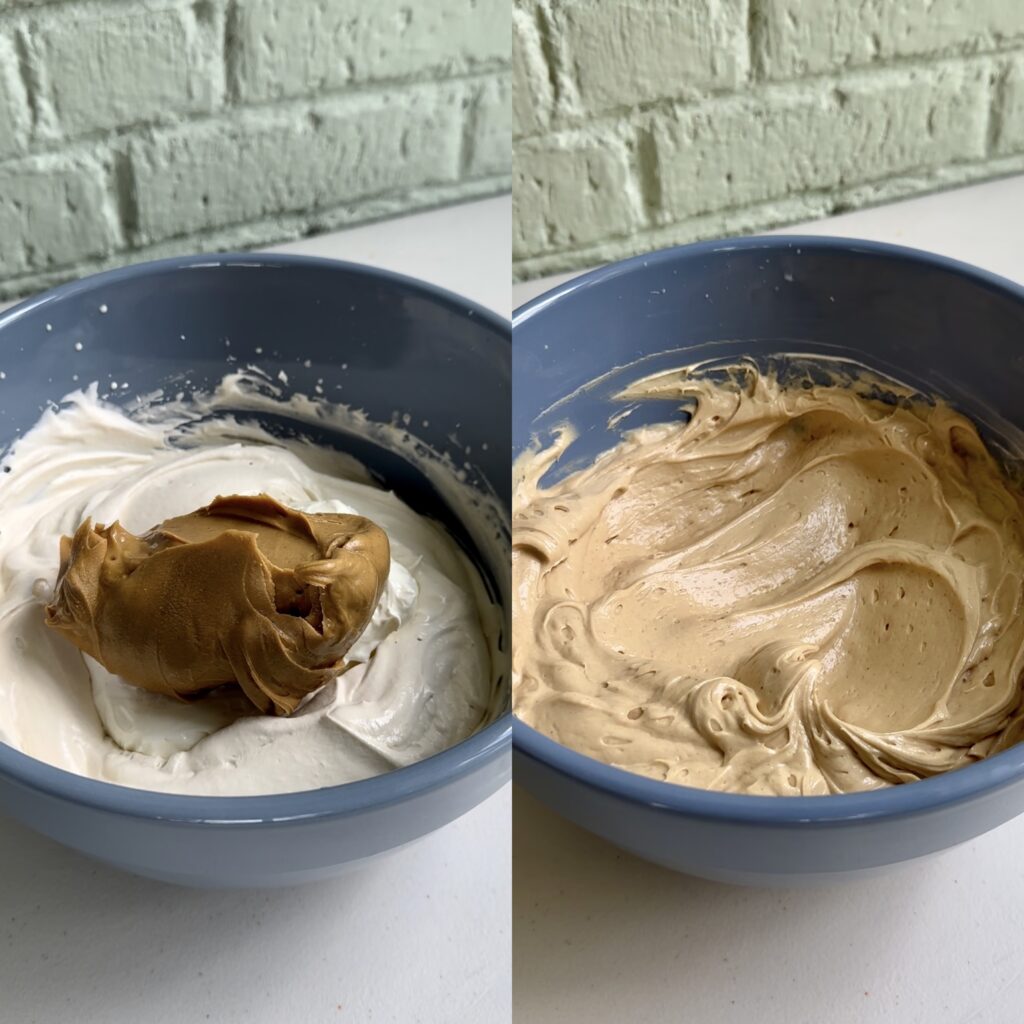
- Add softened cream cheese and peanut butter, then mix again until smooth and fluffy.
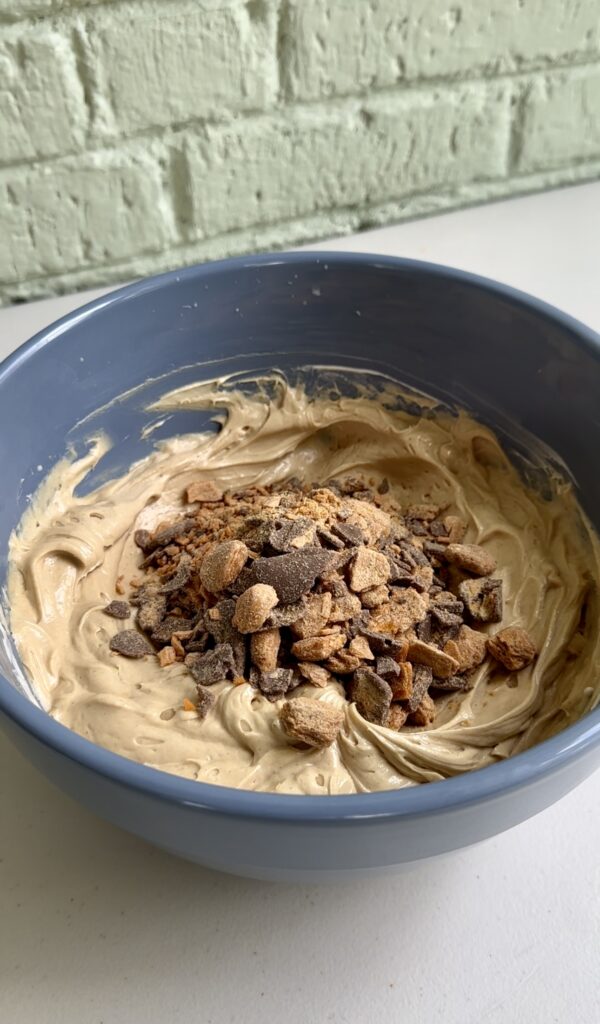
- Fold in ¾ a bag of Butterfinger bits, making sure to reserve the remaining ¼ bag for topping.
- Transfer the dip to a serving bowl, then top with reserved Butterfinger bits.
- Enjoy immediately or refrigerate until serving.
You can serve this dreamy dip alongside several dippers! Here’s some of my favorites:
- Vanilla wafers
- Sliced apples
- Graham crackers
- Pretzels
- Nutter butter cookies
My top tips:
- Although you can make this dip by hand, I do recommend pulling out your electric mixer for ease and the ultimate fluffy consistency! Using an electric mixer whips more air into the dip making it super creamy and smooth. It also really speeds up the process of whipping the cream!
- You can make this a 4-ingredient dip if you want to use thawed whipped topping (cool whip) instead of whipping heavy cream and brown sugar. You would need an 8 oz tub of cool whip instead of the heavy whipping cream and brown sugar.
- It’s important that your cream cheese is softened to room temperature before making this dip or else it won’t incorporate smoothly into the other ingredients. If you forgot to soften your cream cheese, you can use the whipped cream cheese that comes in a tub and doesn’t require softening.
- Both smooth and crunchy peanut butter work in this recipe, just be sure you’re not using a natural peanut butter where the oil separates. I will say I prefer the consistency of smooth peanut butter because you’re already getting crunchy texture from the addition of Butterfinger bits throughout the dip.
- I find Butterfinger bits in the baking aisle with the chocolate chips at my grocery store. If you can’t get your hands on them, just crush 1 ½ cups of Butterfingers for the same result (that’s equal to about 12 mini-Butterfingers)!
- You can serve this dip immediately or refrigerate until ready to enjoy. Keep in mind this dip will thicken in the fridge, so I recommend letting it sit out for 30 minutes or so to let it loosen and take the chill off before serving!
Looking for more dessert dip recipes? Try these out!
- Strawberry Cheesecake Dip
- Coconut Cream Pie Dip
- Banana Pudding Dip
- Funfetti Dip
- Caramel Apple Toffee Dip
- Brownie Batter Dip
Butterfinger Dip
Ingredients
- 1 cup heavy whipping cream
- 1/2 cup brown sugar
- 8 oz softened cream cheese 1 block
- 1 cup peanut butter
- 1 (8 oz) bag Butterfinger bits about 1 1/2 cups
Instructions
- In a large mixing bowl, combine heavy cream and brown sugar. Whip to form stiff peaks.
- Add softened cream cheese and peanut butter, then mix again until smooth and fluffy.
- Fold in ¾ a bag of Butterfinger bits, making sure to reserve the remaining ¼ bag for topping.
- Transfer the dip to a serving bowl, then top with reserved Butterfinger bits.
- Enjoy immediately or refrigerate until serving.
This post contains Amazon Affiliate links. Dangthatssweet may receive a small commission for Amazon purchases made through these links at no cost to you. Thanks for your support!


This looks and sounds so delicious, Butterfingers are my favorite candy bar! I can’t wait to try this!!