
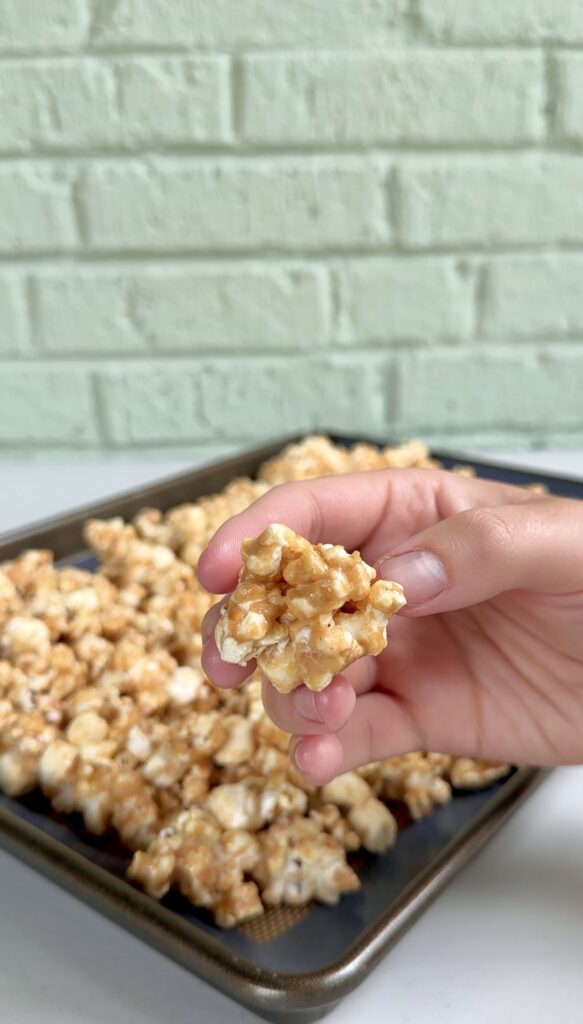
Marshmallow Peanut Butter Popcorn is a sweet-and-salty no-bake snack made with crunchy popcorn coated in a gooey, sticky mixture of melted marshmallows and creamy peanut butter!
If you love sweet-and-salty desserts, easy no-bake recipes, or fun popcorn snacks, my Brownie Batter Pretzel Bites, Ritz S’mores Cookies, Peanut Butter Pretzel Clusters, and Dandy-Do Cookies need to go on your must-make list immediately!
Why you’ll love this recipe:
There are snack recipes you make once… and then there are the ones people keep requesting forever. This Marshmallow Peanut Butter Popcorn falls into the second category!
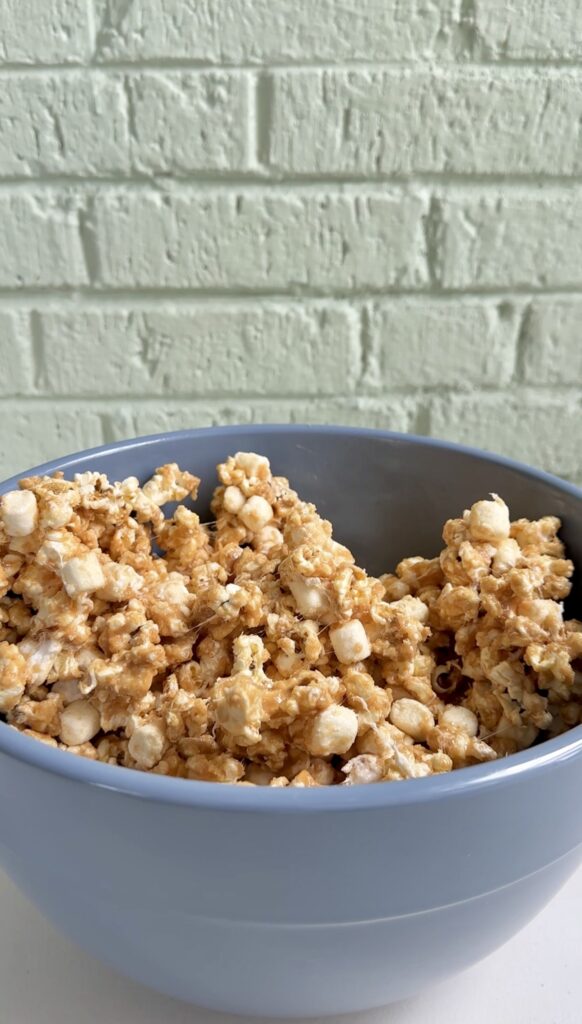
It’s sweet, salty, gooey, crunchy, sticky, and honestly hard to stop eating once you start. Salty microwave popcorn gets coated in a warm mixture of melted marshmallows and creamy peanut butter, creating the ultimate no-bake treat that tastes like movie night and dessert combined.
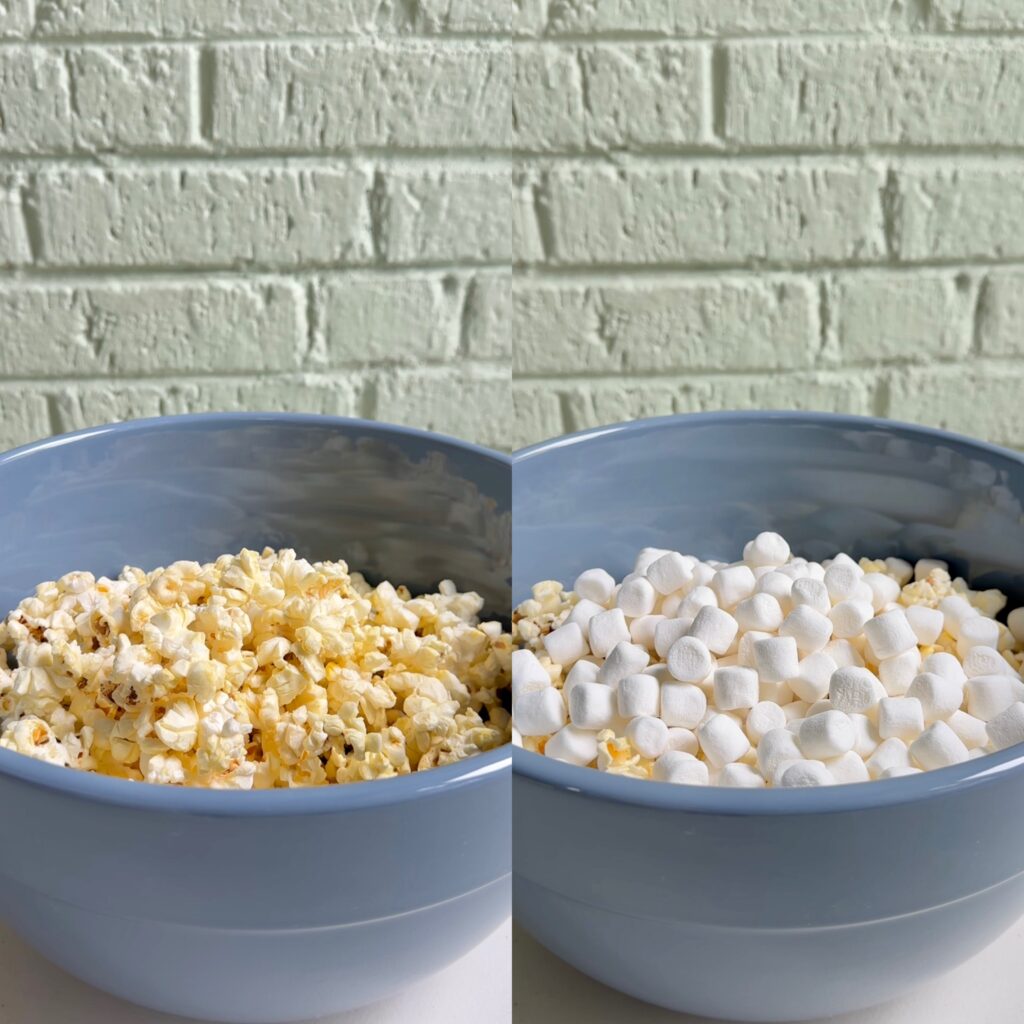
Ingredients you’ll need:
- Microwave popcorn
- Mini marshmallows- divided
- Creamy peanut butter
- Butter
- Brown sugar
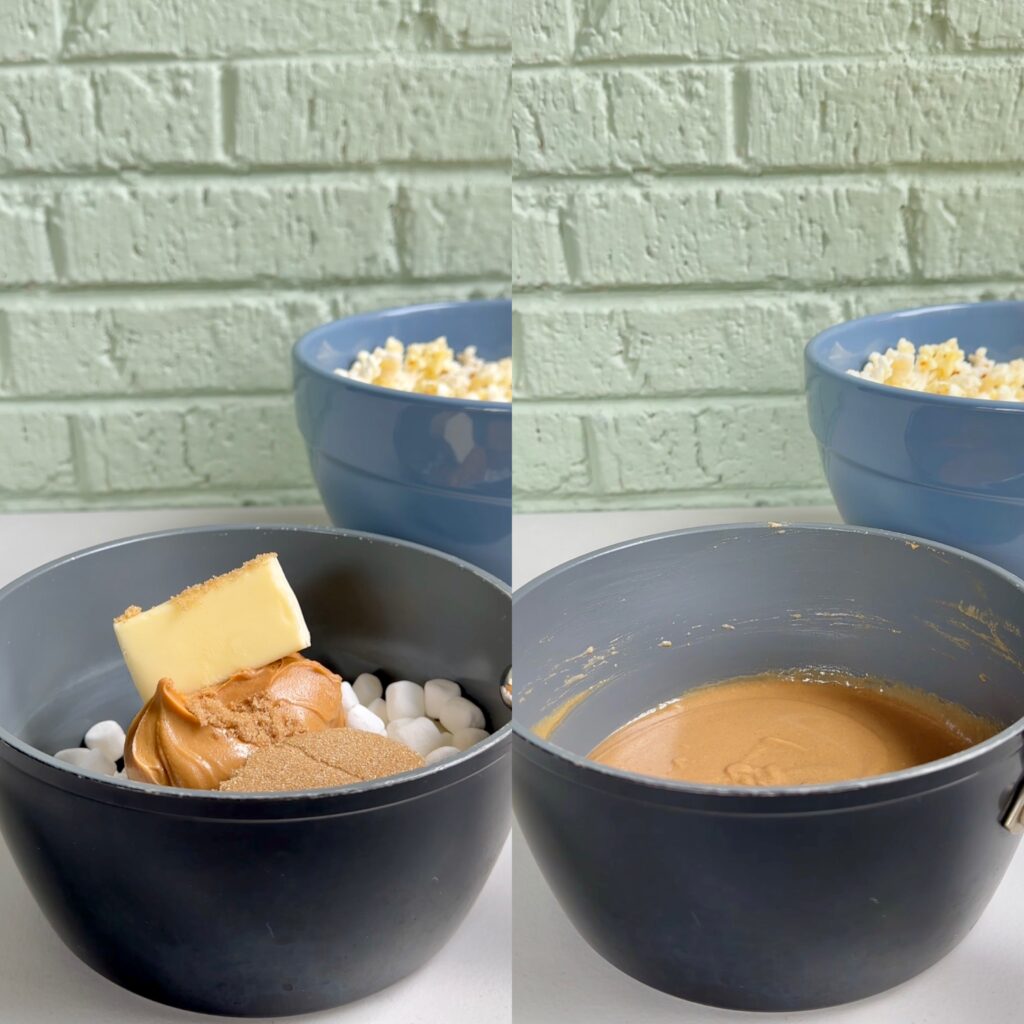
The best part is how easy it is to make. You don’t need an oven, fancy ingredients, or a lot of time. The marshmallow and peanut butter coating comes together right on the stove in just a few minutes, then gets poured over fresh popcorn while it’s warm and melty. That’s it.
Every bite has the perfect texture. The popcorn stays crunchy while the marshmallow mixture adds that soft, gooey chewiness that makes this recipe so addictive. The peanut butter gives it a rich, creamy flavor that balances perfectly with the salty popcorn and sweet marshmallows.
It’s kind of like Rice Krispie treats in popcorn form, except even better with the sweet and salty pairing!
This recipe is perfect for movie nights, parties, sleepovers, holiday snack tables, or those random evenings when you just want something sweet without baking an entire dessert. Kids love it, adults love it, and it disappears fast every single time!
How to make the best Marshmallow Peanut Butter Popcorn:
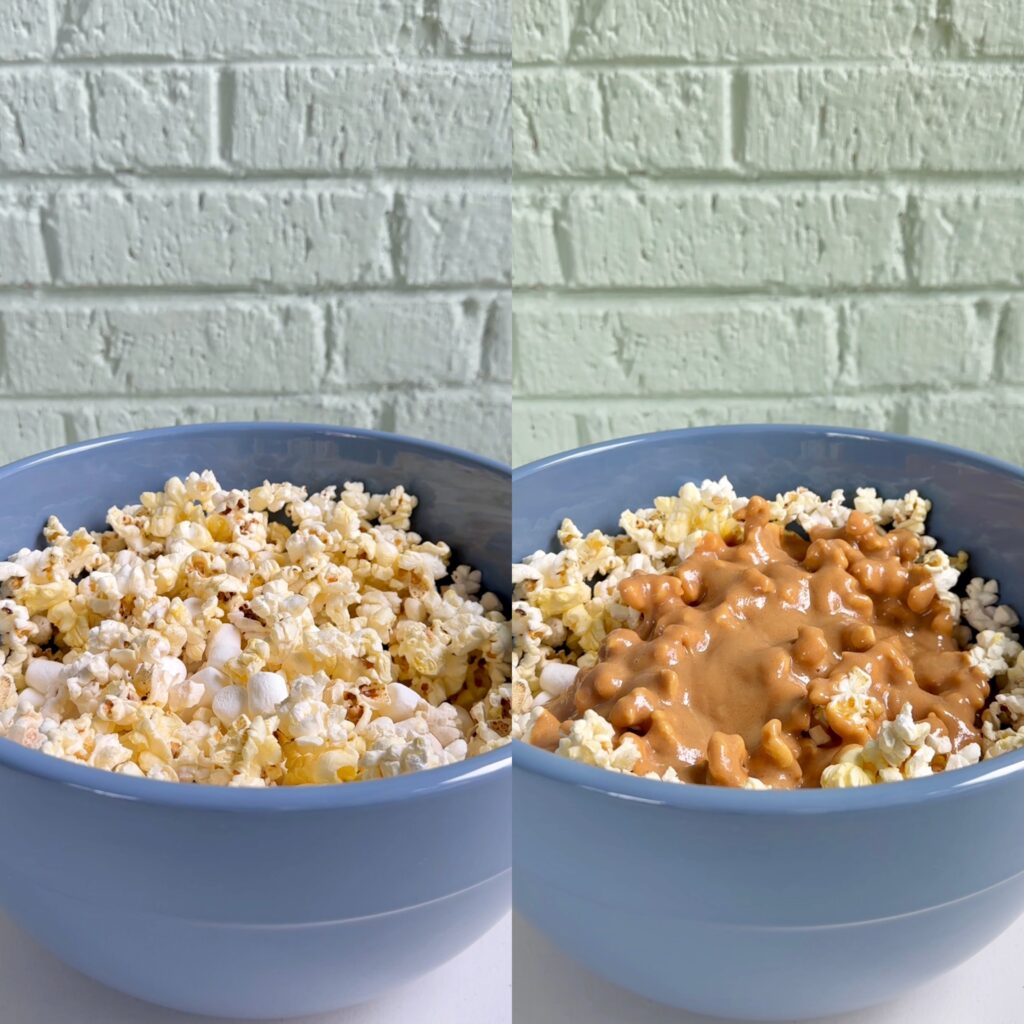
- Pour your popcorn into a mixing bowl, making sure to remove any unpopped kernels, then add in 2 cups of the mini marshmallows, mix to combine, and set aside for later.
- In a medium saucepan, combine the remaining 3 cups of mini marshmallows, peanut butter, butter, and brown sugar. Stir continuously over medium heat for 5 minutes or until the mixture is melted and pourable but not boiling.
- Quickly pour the peanut butter mixture into your bowl of popcorn and marshmallows, then stir to coat evenly.
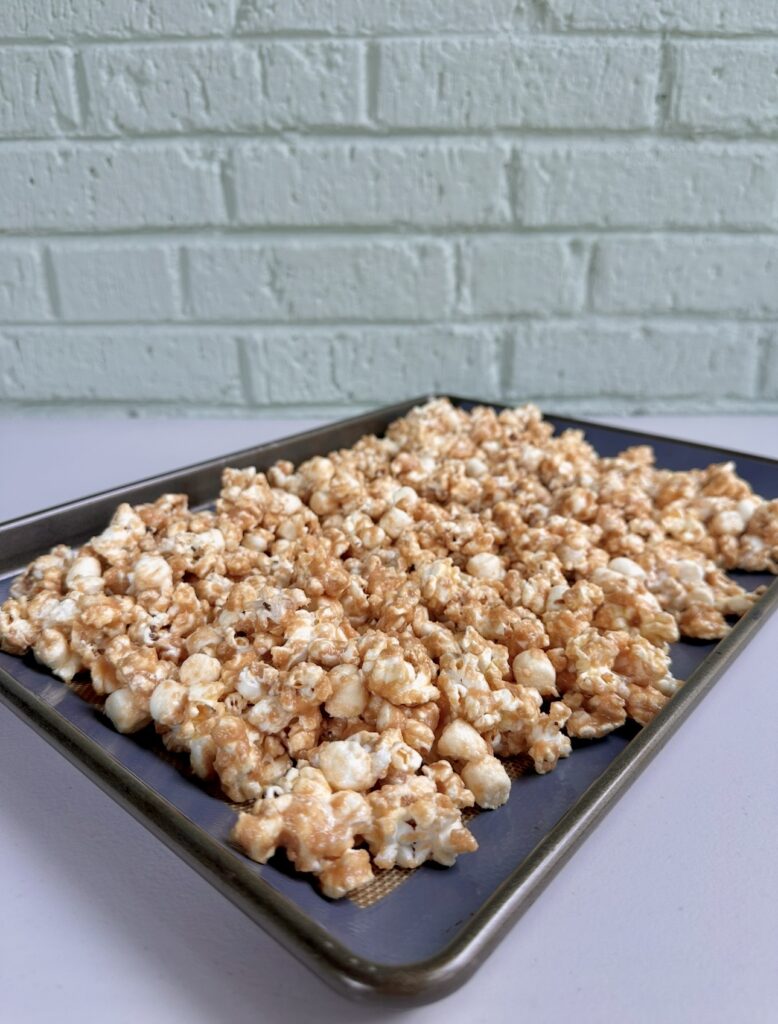
- Transfer the popcorn onto a baking sheet lined with parchment paper or a silicone baking mat, and let cool completely.
One of the best things about this recipe is how customizable it is. Some people add chocolate chips, chopped peanuts, or pretzels for extra crunch. Others drizzle melted chocolate over the top or mix in candy pieces for parties and holidays. But honestly, the original version is already pretty perfect.
Another reason people love this Marshmallow Peanut Butter Popcorn is because the ingredients are simple. You probably already have most of them sitting in your kitchen right now. Microwave popcorn, mini marshmallows, peanut butter, butter, and brown sugar are really all you need to make something that tastes ridiculously good.
You can eat it warm while it’s extra gooey, or let it cool slightly so the coating firms up just a little while still staying soft and chewy. Just be sure to let it cool completely if you’re storing it for later so that it doesn’t get soggy! 🙂
My top tips:
- POPCORN: You’ll need roughly 10 cups of popcorn for this recipe- but it’s up to you how you pop it. Feel free to pop your own using about 1/2 cup kernels, use a microwave bag, or buy pre-popped popcorn. Just be sure to remove any unpopped kernels.
- PEANUT BUTTER: Make sure you use a regular no-stir peanut butter for this recipe. I don’t suggest using natural peanut butter in any baking or candy recipes. Since the oil is not blended in, there’s a potential that that oil can make the popcorn greasy.
- MELTING: It’s important that you’re continuously stirring the marshmallow peanut butter mixture to prevent any burning. Do not bring this mixture to a boil, you just want it to be melted and pourable. If you let it cook too long your peanut butter coating will be hard rather than chewy
- WORKING QUICKLY: Once your peanut butter mixture is melted and smooth, you’ll need to move quickly to coat the popcorn before the mixture begins to cool and set up. I like using a rubber spatula to mix, as this avoids crushing the popcorn too much.
- COOLING: I recommend transferring the coated popcorn onto a lined baking sheet to finish cooling. This prevents the popcorn from clumping together and ensures all the peanut butter coating has set before storing or enjoying!
- STORING: This is one of those recipes that tastes best day of so that the popcorn doesn’t become stale and lose its crunchy texture. Leftovers will keep in an airtight container at room temperature for 2-3 days, but this really is best enjoyed day of.
Looking for more popcorn treats? Check these out!
- S’mores Popcorn
- Biscoff Popcorn
- Funfetti Cake Batter Popcorn
- Butterfinger Popcorn
- Scotcheroo Popcorn
- Popcorn Puppy Chow
- Oreo Peanut Butter Popcorn
- Cinnamon Roll Popcorn
- Peanut Butter Popcorn
- Marshmallow Caramel Corn
- Churro Popcorn

Marshmallow Peanut Butter Popcorn
Ingredients
- 1 bag microwave popcorn or 10 cups popped popcorn
- 5 cups mini marshmallows divided
- 3/4 cup creamy peanut butter
- 5 tbsp butter
- 1/4 cup brown sugar
Instructions
- Pour your popcorn into a mixing bowl, making sure to remove any unpopped kernels, then add in 2 cups of the mini marshmallows, mix to combine, and set aside for later.
- In a medium saucepan, combine the remaining 3 cups of mini marshmallows, peanut butter, butter, and brown sugar. Stir continuously over medium heat for 5 minutes or until the mixture is melted and pourable but not boiling.
- Quickly pour the peanut butter mixture into your bowl of popcorn and marshmallows, then stir to coat evenly.
- Transfer the popcorn onto a baking sheet lined with parchment paper or a silicone baking mat, and let cool completely.
This post contains Amazon Affiliate links. Dangthatssweet may receive a small commission for Amazon purchases made through these links at no cost to you. Thanks for your support!

Leave a Reply