Caramel Apple Dip is a luscious, no-bake dessert that combines the creamy tang of cheesecake with sweet caramel sauce and toffee bits. Perfect for pairing with crisp apple slices for an easy, irresistible treat!
When it comes to fall treats, it’s hard to beat anything caramel apple related. If you’re looking for another quick and easy caramel apple treat, you’ll have to try my Caramel Apple Cookie Cups, Caramel Apple Bark, Caramel Apple Bites, and Caramel Apple Grapes!
Why you’ll love this recipe:
This isn’t just any Caramel Apple Dip. This is the upgraded version—rich like cheesecake, sweet like caramel, and crunchy thanks to those toffee bits on top.
Caramel apples are nostalgic and delicious, but let’s be honest—they’re kind of a mess. Sticky hands, hard caramel, and apples rolling off sticks like they have a mind of their own. Caramel Apple Dip solves all that!
With this version, you get all the flavor of a caramel apple, without the hassle. Just slice up some fresh apples, scoop out a generous dollop of dip, and you’re in business. It’s perfect for after-school snacks, holiday parties, or even a solo treat while binge-watching your favorite spooky season show.

Ingredients you’ll need:
- Cream cheese- softened
- Brown sugar
- Vanilla extract
- Caramel dip
- Toffee bits
Fall is all about comfort food, warm flavors, and easy entertaining—and this dip checks every box. Apples are in season, caramel is practically a fall staple, and cheesecake? Always a win.
If fall had a flavor, it would taste like this. Creamy, sweet, tangy, and topped with buttery bits of toffee, Caramel Apple Dip is everything you love about autumn desserts—wrapped up into one ridiculously easy, no-bake recipe.
This easy no-bake dip is everything you love about a caramel apple and a rich cheesecake — combined into one sweet, spoonable treat. It’s layered, flavorful, and comes together in just minutes. Whether you’re hosting a fall party, a game day gathering, or just trying to use up that bag of apples from the orchard, this dip will be your new go-to.
How to make the best Caramel Apple Dip:
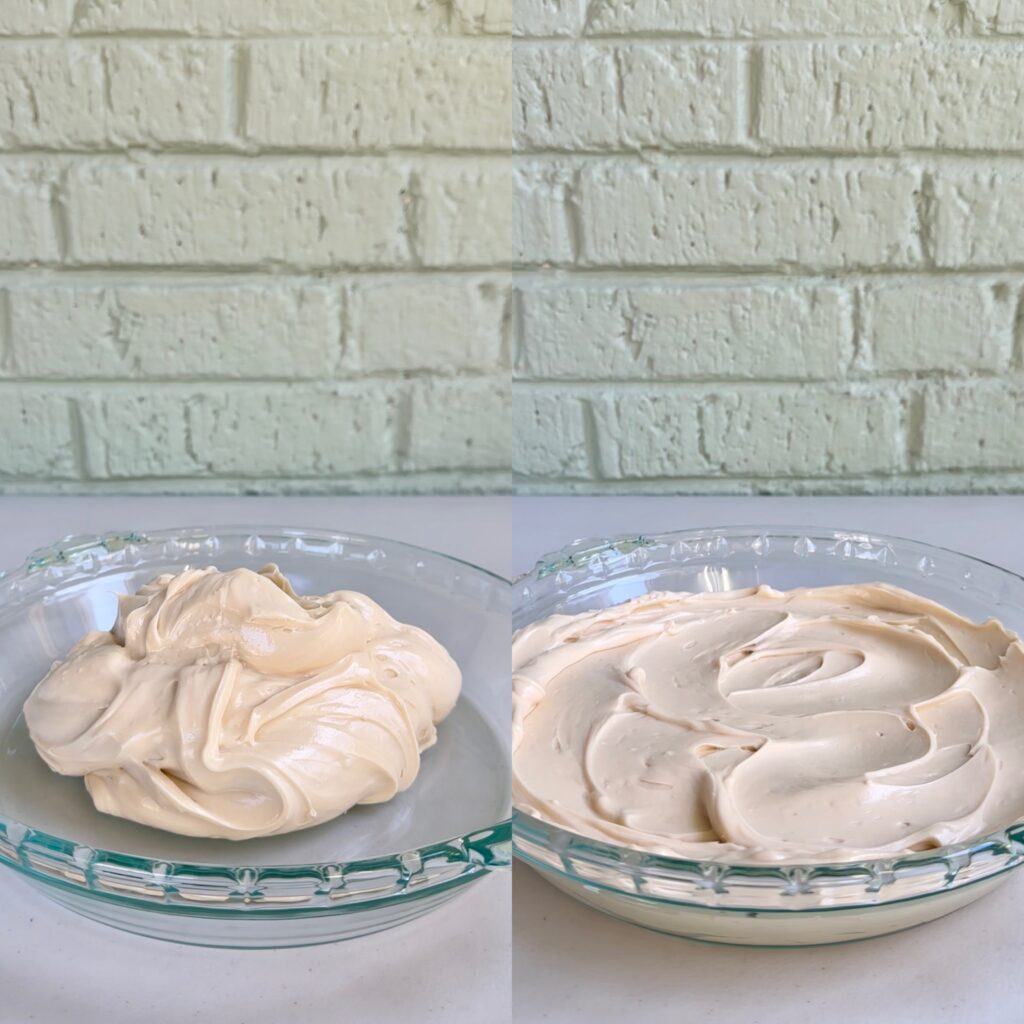
- In a medium mixing bowl, combine softened cream cheese, brown sugar, and vanilla extract, then mix until smooth.
- Transfer the cheesecake mixture into an 8 or 9-inch pie plate and spread it into an even layer.
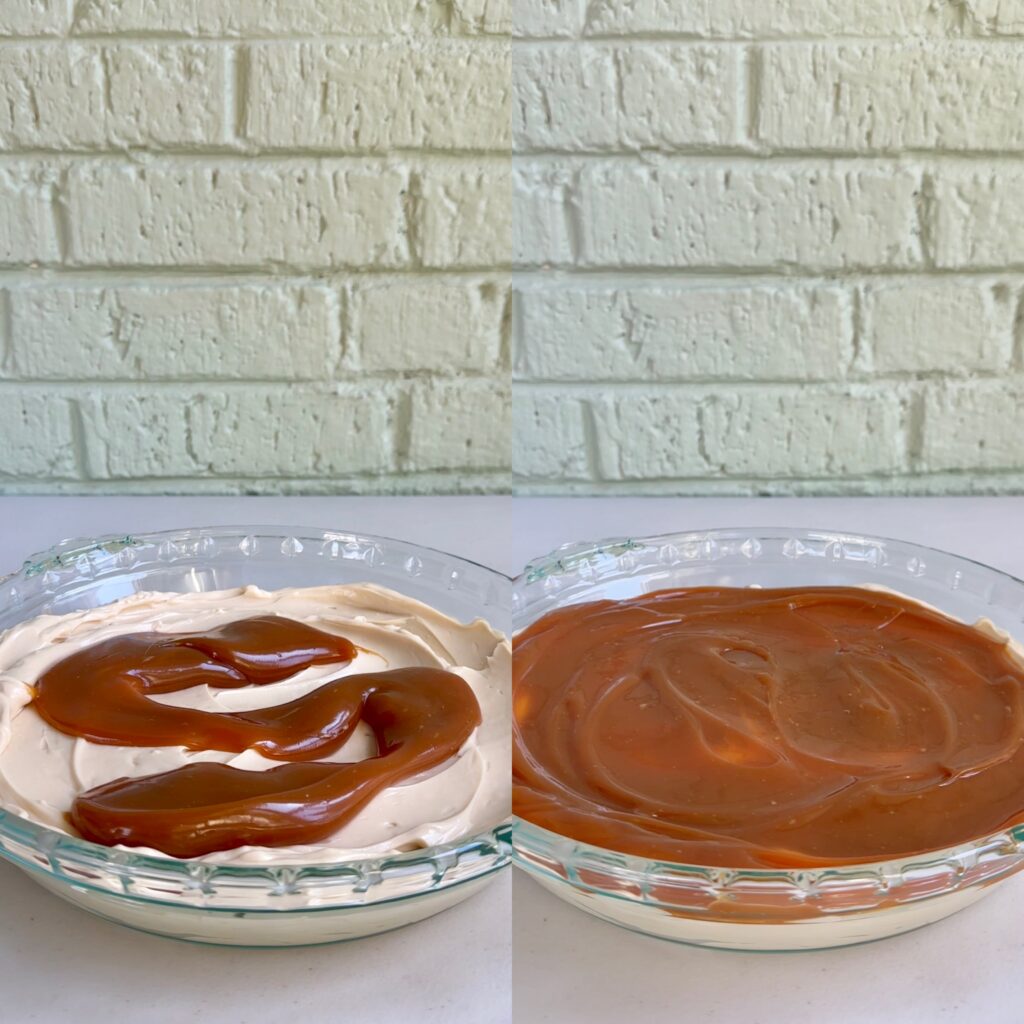
- Nuke the caramel dip in the microwave for 30-60 seconds to make it more suitable for spreading, then spread it on top of the cheesecake layer.
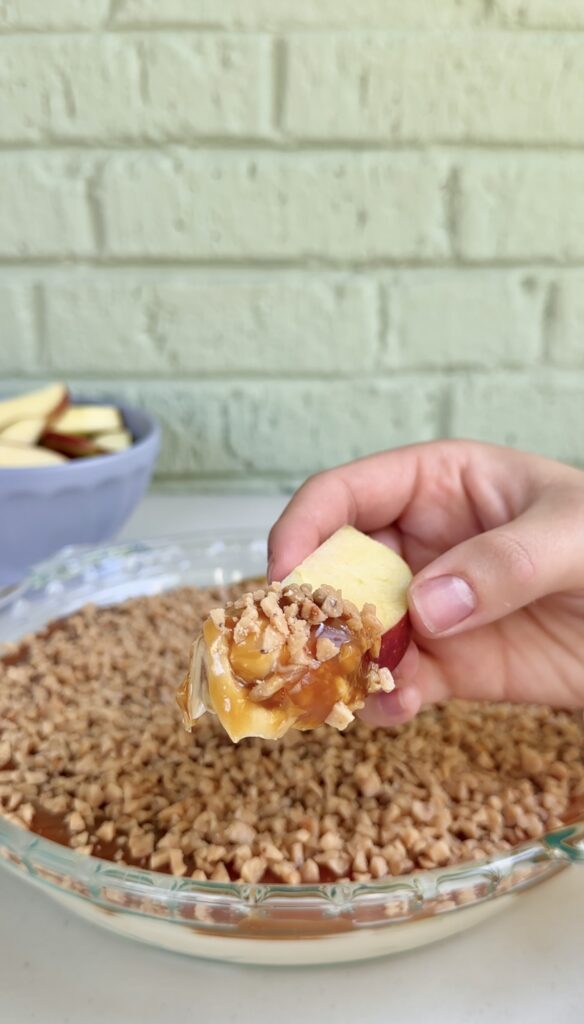
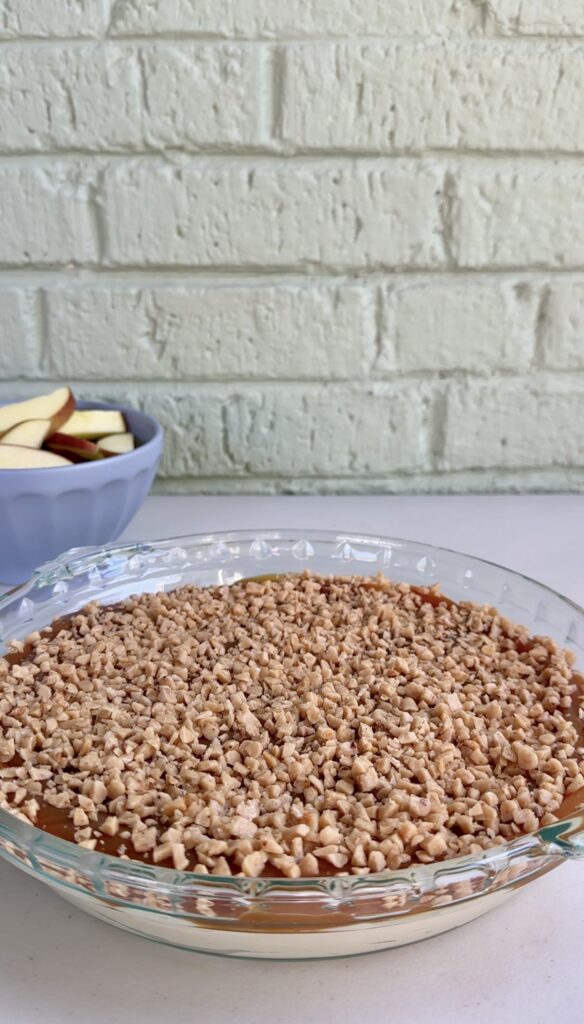
- Top with toffee bits. Enjoy immediately or refrigerate until serving!
Caramel apple dip is like eating a caramel apple—without the sticky mess, the awkward bites, or the hassle of candy thermometers. It’s smooth, sweet, and sharable!
The base is creamy and tangy thanks to whipped cream cheese, sweetened just enough with brown sugar and vanilla to mimic that signature cheesecake flavor. It’s then topped with rich, buttery caramel and finished with a generous sprinkle of crunchy toffee bits for texture and extra sweetness.
It’s that perfect balance of cozy, creamy, crunchy, and crave-worthy. One dip, and you’ll see why it’s a fall favorite year after year. It’s rich. It’s creamy. It’s sweet with a touch of tart. And best of all? It takes minutes to make and disappears even faster.
My top tips:
- SOFTENED CREAM CHEESE: It’s important you’re using softened cream cheese so that it will incorporate smoothly into the other ingredients without being lumpy.
- ELECTRIC MIXER: I do recommend bringing out your electric mixer for the base of this dip because it makes combining the ingredients a breeze and whips a lot of air into the ingredients making them extra light and fluffy!
- SERVING BOWL: I like serving this dip in something wide and shallow, like a pie plate or small casserole dish, so that there’s more surface area for the cheesecake, caramel dip, and extra toppings in every bite! If you’d rather serve in a bowl, I recommend adding a layer of caramel and toffee bits in the middle as well.
- CARAMEL DIP: I like using a caramel dip rather than a caramel sauce for this recipe because I find that caramel dip is thicker and more flavorful. I do recommend warming the caramel dip slightly in the microwave to make it more suitable for spreading but that’s it!
- TOPPINGS: There are two options when shopping for your toffee bits: bits o’ brickle or just Heath toffee bits covered in chocolate. Bits o’ brickle are plain toffee bits (without the chocolate coating) and can be a little harder to find, so luckily both options work perfectly here. You can also add mini chocolate chips or chopped nuts here too!
- DIPPERS: Sliced apples are always my dipper of choice here. Use tart apples (like Granny Smith) for the perfect balance to the sweet dip or red apples (like Fuji or Honeycrisp) if you want a sweeter combo. You can also dip graham crackers or Nilla Wafers for a classic cheesecake vibe, or pretzels for a salty-sweet bite!
- STORING: To store Caramel Apple Dip, cover and refrigerate it for up to 5 days. For best results, it is recommended to store any toppings or sliced apples separately and add them just before serving.
Looking for more dessert dips? Check these out!
- Buckeye Dip
- Chocolate Covered Strawberry Dip
- Oreo Dip
- Strawberry Shortcake Dip
- Key Lime Pie Dip
- Turtle Cheesecake Dip
- Butterfinger Dip
- Pecan Pie Dip

Caramel Apple Dip
Ingredients
- 2 (8 oz) blocks cream cheese softened
- 3/4 cup brown sugar
- 2 tsp vanilla extract
- 1 (13 oz) tub caramel dip I use Marzetti
- 1 cup toffee bits I use bits o' brickle
- sliced apples for dipping
Instructions
- In a medium mixing bowl, combine softened cream cheese, brown sugar, and vanilla extract, then mix until smooth.
- Transfer the cheesecake mixture into an 8 or 9-inch pie plate and spread it into an even layer.
- Nuke the caramel dip in the microwave for 30-60 seconds to make it more suitable for spreading, then spread it on top of the cheesecake layer.
- Top with toffee bits. Enjoy immediately or refrigerate until serving!
This post contains Amazon Affiliate links. Dangthatssweet may receive a small commission for Amazon purchases made through these links at no cost to you. Thanks for your support!

Leave a Reply