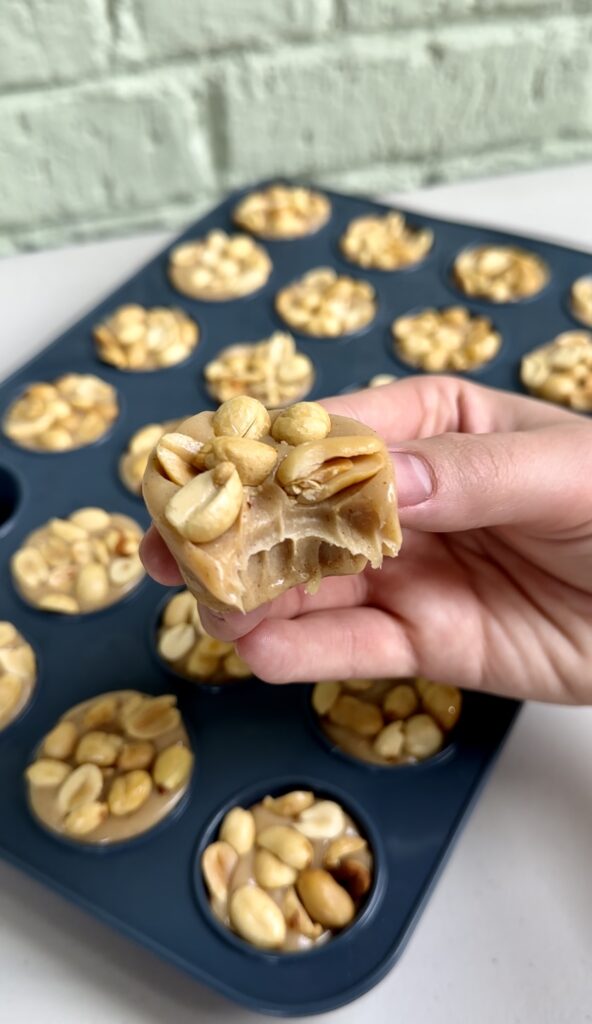
Homemade payday bites are fudgy, rich, and surprisingly easy to make! Just one bite, and you’ll see why payday candy bars are an all-time favorite!
If you love candy bars and these homemade payday bites as much as I do, you need to try my Butterfinger Dip, Rolo Twix Bites, and Cheez-It Butterfinger Bites!
Why you’ll love this recipe:
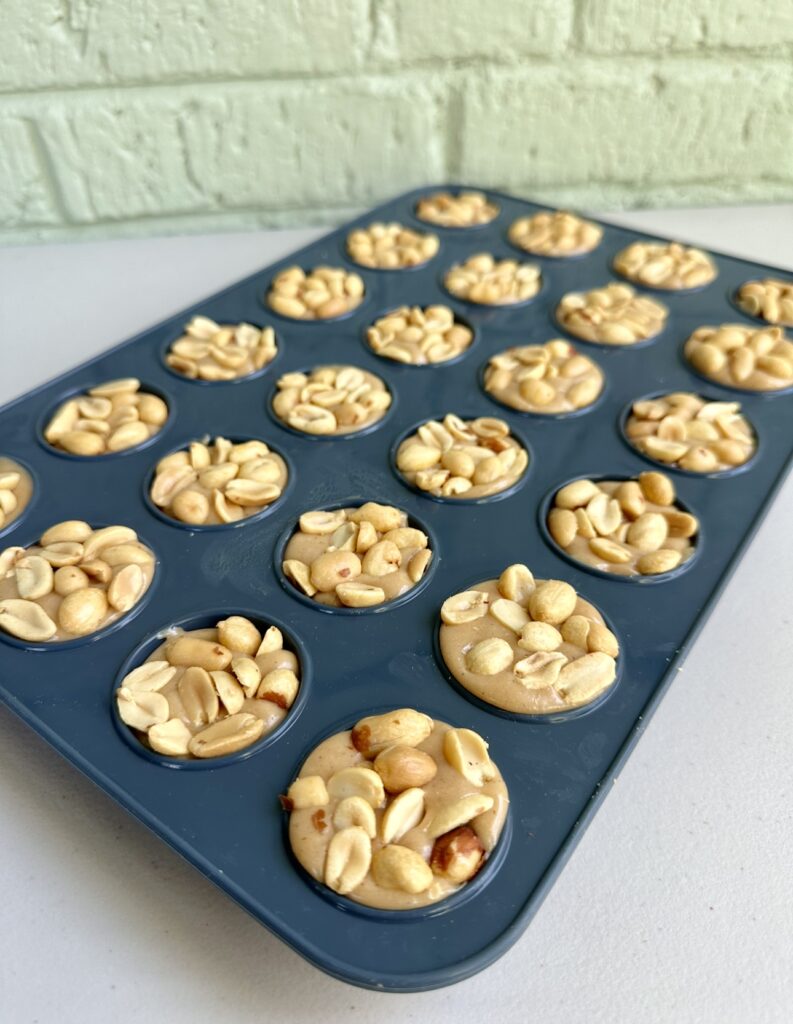
Making candy at home can be intimidating, but this recipe is a great one for beginners! Only 5 ingredients and 10 minutes of prep time makes these perfect for parties, game day gatherings, and the holiday season!
Ingredients you’ll need:
- Peanut butter chips
- Mini marshmallows
- Sweetened condensed milk
- Butter
- Roasted peanuts
These homemade payday bites are sweet, salty, and taste just like the real thing! Even better, they’re super easy to make! No boiling, no candy thermometers, and no baking required!
With a classic creamy texture and perfect balance of peanut butter and sweetness, these payday bites are the best copycat for payday candy bars at home. I know you’re going to love them too!
How to make the best homemade payday bites:
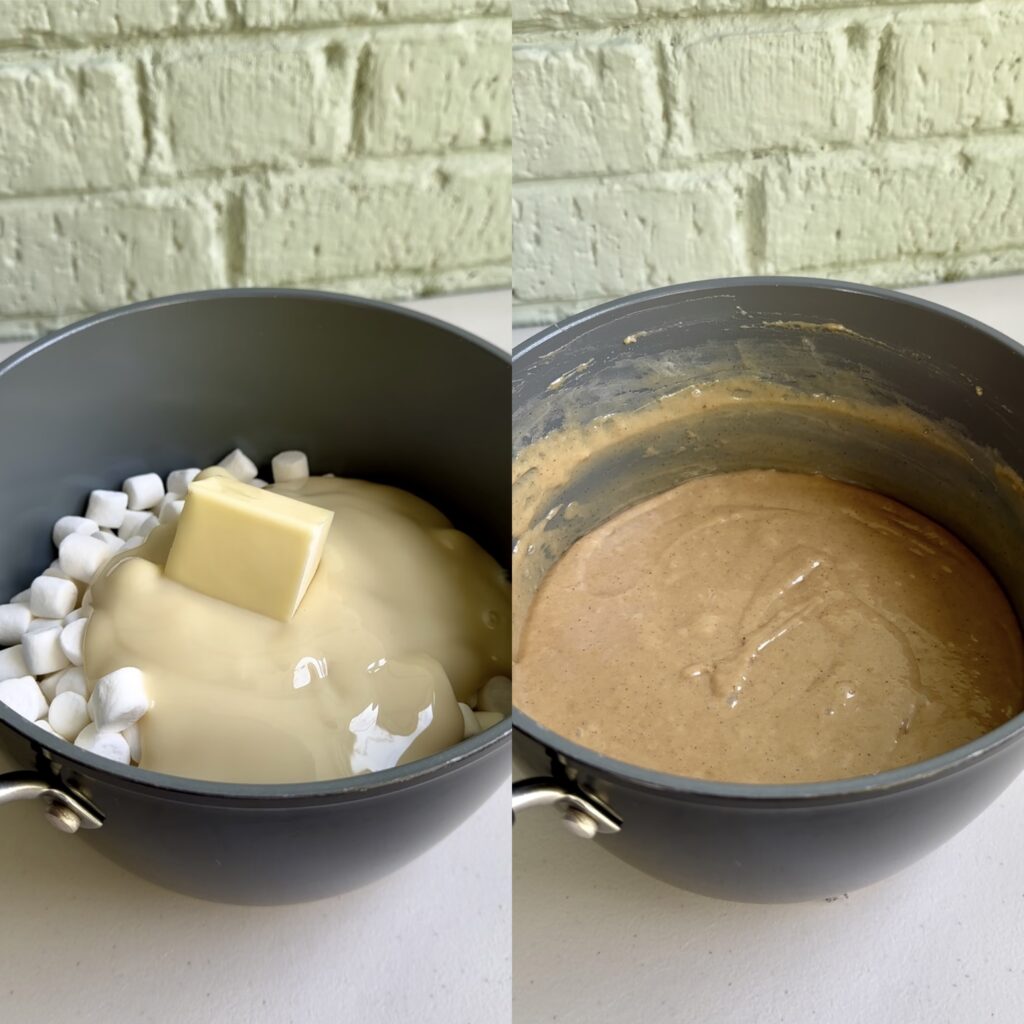
- In a saucepan over medium heat, combine peanut butter chips, mini marshmallows, sweetened condensed milk and butter. Stir until completely melted and smooth.
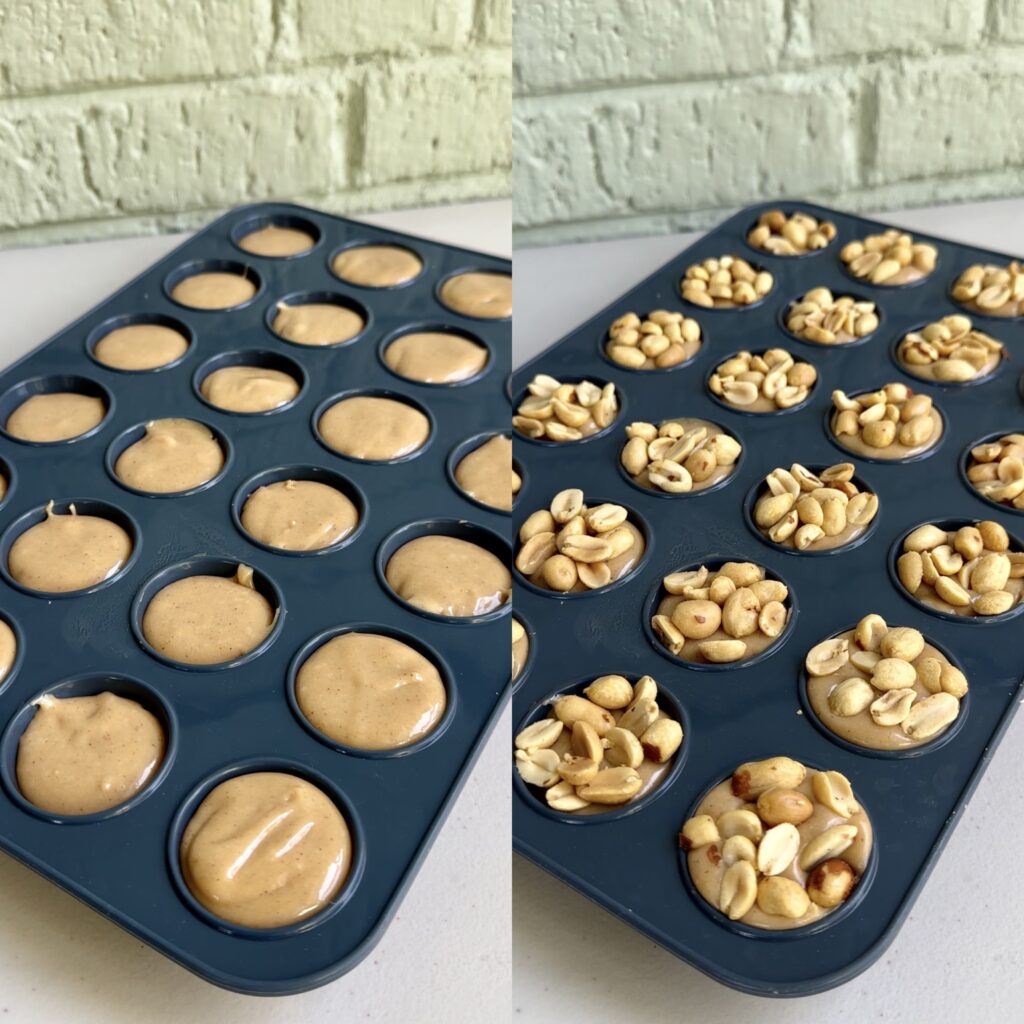
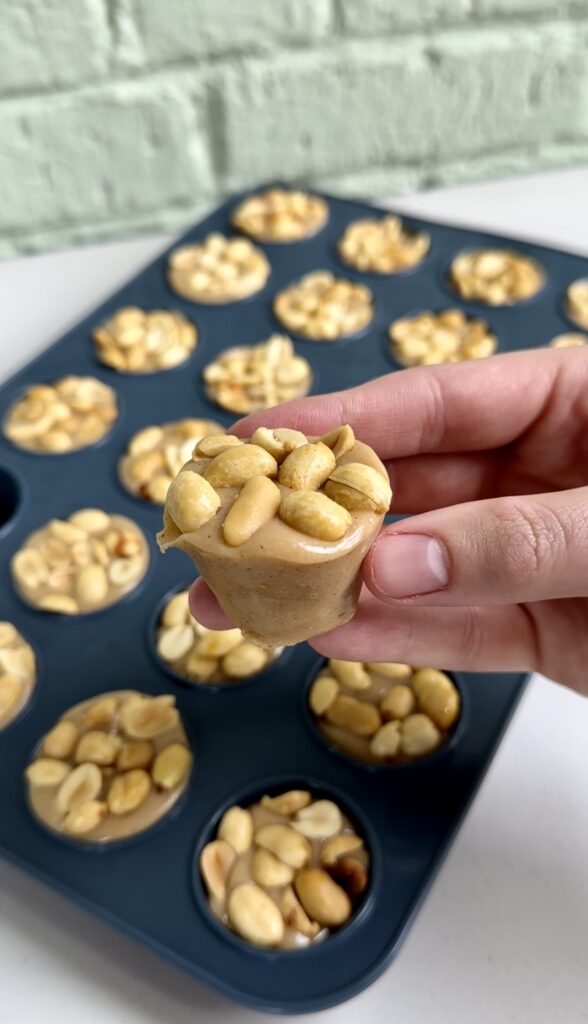
- Evenly divide the melted peanut butter mixture between your mini muffin tin cups, then top each one with peanuts.
- Transfer to the freezer to set up before enjoying!
Although the base of these homemade payday bites isn’t technically a nougat, they still have a rich, creamy, and chewy peanut butter candy center. The added crunch of peanuts on top makes these little bites completely irresistible!
My top tips:
- SILICONE MUFFIN TIN: I like using a silicone mini muffin tin for these Payday bites because the bites easily pop out of the cups without any liners or greasing. If you don’t have a silicone muffin tin, I recommend using muffin tin liners to prevent sticking.
- MAKING THE CANDY BASE: The peanut butter candy base takes minutes to prepare on the stove but avoid cranking up the heat to speed things along. You may end up burning the sugar and ruining your peanut butter mixture!
- WORKING QUICKLY: The peanut butter mixture starts to set up quickly, so it’s important to move quickly while scooping the mixture into your mini muffin tin. If you find it thickening too quickly, return your pan to the stove and reheat until scoopable.
- TOPPING WITH PEANUTS: I like using salted peanuts to offset the sweetness of this peanut butter candy, but you can use whatever kind of peanuts you like! Just make sure you’re pressing the peanuts into the surface of each bite. Any peanuts that aren’t pressed into the candy base won’t stick properly.
- FREEZING: These chewy Payday bites require freezing to set up properly. I don’t recommend storing them in the fridge because they’ll be too soft and sticky. Don’t worry about them becoming too hard in the freezer, these will not freeze solid no matter how long you keep them in the freezer.
Although it’s quick and convenient to pick up a candy bar at the grocery checkout or your local convenience store, sometimes homemade is just better! Now you can make your own bulk amount of candy bites right at home.
Looking for more no bake treats? Try these out!
- Marshmallow Caramel Popcorn
- Peanut Butter Dipped Oreos
- Rice Krispie Treat Bark
- Monster Cookie Dough Balls
- Caramel Brownie Bugles
- Cookie Dough Pretzel Bites
- Ritz Bits and Oreo Puppy Chow
Homemade Payday Bites
Ingredients
- 1 (10 oz) bag peanut butter chips
- 2 cups mini marshmallows
- 1 (14 oz) can sweetened condensed milk
- 3 tbsp butter
- 3/4 cup roasted peanuts
Instructions
- In a saucepan over medium heat, combine peanut butter chips, mini marshmallows, sweetened condensed milk and butter. Stir until completely melted and smooth.
- Evenly divide the melted peanut butter mixture between your mini muffin tin cups, then top each one with peanuts.
- Transfer to the freezer for at least 2 hours to set up before enjoying!
These Payday bites require freezing to set up properly. I don’t recommend storing them in the fridge because they’ll be too soft and sticky. Don’t worry about them becoming too hard in the freezer, these will not freeze solid no matter how long you keep them in the freezer.
This post contains Amazon Affiliate links. Dangthatssweet may receive a small commission for Amazon purchases made through these links at no cost to you. Thanks for your support!


These were delicious but they must be stored in the freezer. The recipe says to place them in the freezer to set up but does state that they must be kept in the freezer. I noticed that in the post is says they should be kept in the freezer, but it is not in the recipe as the recommended storage. I made the mistake of leaving them on the counter and they began to melt into flat blobs and became a sticky mess. I tried storing them in the refrigerator, but they become too sticky. They taste wonderful but they are not something you could take to a tailgate or even family gathering because they become too sticky to handle after a few minutes out of the freezer.
I made some with half peanut butter and half caramel chips. I stored them in the freezer for a few days, then I covered then in white chocolate. They held up better being coated, and they were delicious.
This sounds delicious Kathy! I’m so glad you enjoyed 🙂
I made these today with intent for tailgating – I don’t have a silicone mini muffin so used mini paper baking cups… they are stuck solid. ☹️ Any tricks/tips for getting them to release?? I didn’t grease the paper cups because I didn’t think I would have to. I would like for at least my family to be able to enjoy these, but they are a no go for my tailgating plan, unfortunately.
I would have quickly warmed them in the microwave. If nothing else, they would have been dynamite on ice cream.
I want to try this dessert but it doesn’t give measurements on how much or what size on the ingredients.
Hi Nicole! Please scroll all the way to the bottom of this blog post to view the recipe card with measurements and instructions! Hope you try these out! 🙂
I’m in Canada and it’s almost impossible to find Payday bars! And if I do, they cost a fortune! You know I’ll be trying these!
How do you store these?
Hi Shelly, these must be stored in the freezer to prevent them from becoming too sticky and soft. Hope this helps! 🙂
these have a great taste but, the minute you remove them from the freezer they become like taffy; very soft, very sticky and stringy.
Well I had these in the pot cooking before I read the comments. I could not take them to a cookie/candy swap like I had planned. So to “fix” this I added chocolate chips and more peanuts. This “fudge” set up great and tastes so good! So because I love payday candy bars I am going to do the first recipe again Christmas Eve and if I have to eat them from the freezer so be it! 🩷
Try using “fake” ice cubes under the plate you are serving them on. I do this with truffles that won’t get set up without staying frozen/cold.
I can’t wait to make these as I miss payday candy bars where I live. Mmmmi bet they are great!
Can I use peanut butter in place of peanut butter Chips?
How long do you take them out of the freezer before serving? Thanks
Hi Susan! These will not freeze solid, so you do not need any time to thaw. Enjoy them directly from the freezer!
The flavor is good but they are a serving disaster. I had to throw them away. Needs major tweaking.
These got rave reviews! I did add a few peanuts to the bottom of the silicone mini muffin pans (didn’t spray them, came out very easy!) Now then, you are right….they are VERY sticky. My husband wasn’t happy with them stored in the freezer but you are so right that they are soft/sticky in the fridge. So, I decided to coat the bottoms in chocolate. I used a slightly different mini silicone tray…added some melted chocolate and put the sticky deliciousness in them. Because they had been in the freezer, they firmed up the melted chocolate very quickly. I brought them to church and they were an absolute hit! Thanks for the recipe!
I read that cooking them longer and to a 260* temp helps them firm up ‼️
I did like this recipe but I’m not really a fan of the overwhelming peanut butter taste in this recipe. I eat peanut butter but plain, no jelly, on white bread (Iknow, boring) . I want to change it up a bit and use pecans and what? Would chocolate chips work with that combo and the rest of the ingredients? Or anyone have a different combination suggestion.
Thanks!
The flavor is good! Next time I will definitely use the paper liners and also I will put peanuts on the bottom and on top. Also, make sure to press the peanuts on top down a bit.
Same thing happened to me to Aimee. They were delicious…but did not hold up if not frozen. I had to throw a whole batch away because I tried paper cupcake holders…that failed miserably. I was making them to give away. I may try again with putting nuts in the bottom too…or roll them in additional nuts after they have froze.