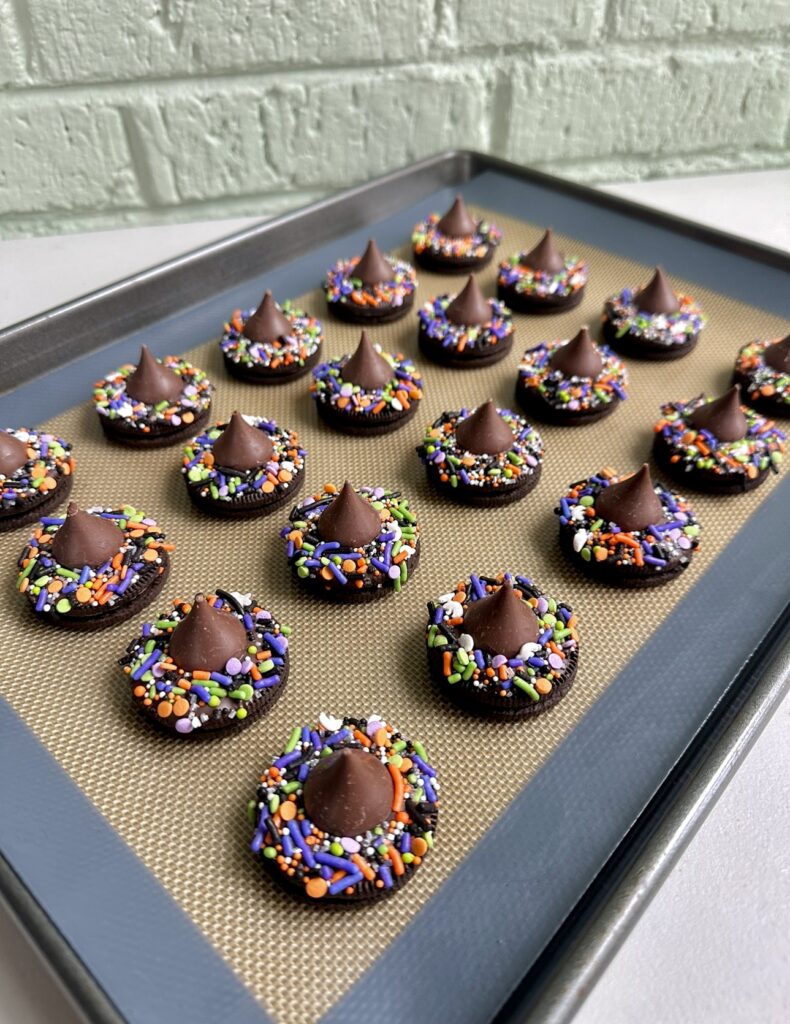
Festive Oreo witch hat cookies are a Halloween favorite! Made with Oreos, melted chocolate, Hershey’s kisses, and Halloween sprinkles, this recipe is both easy and fun!
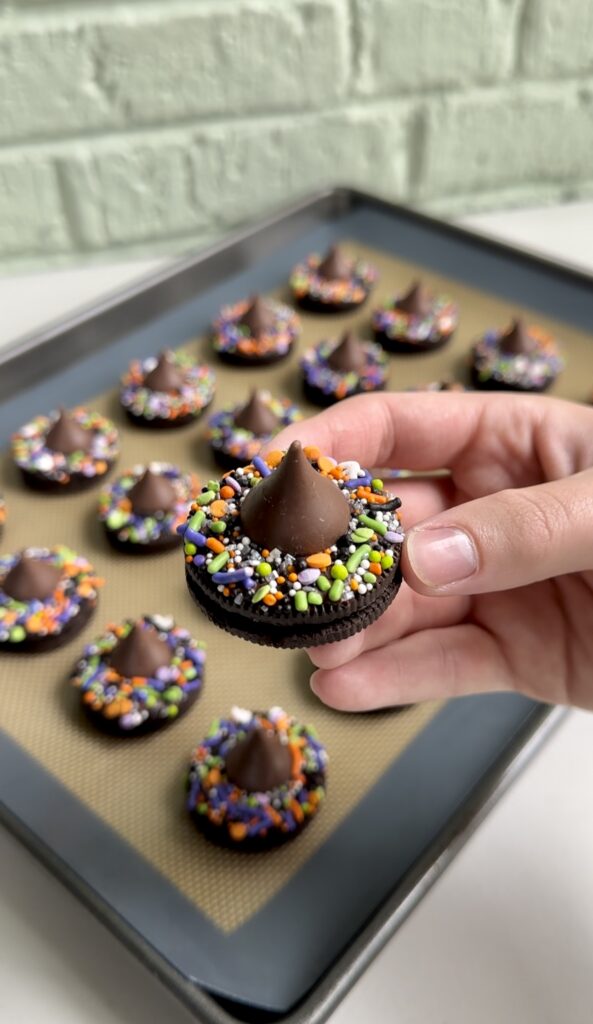
I love cute and simple Halloween desserts! If you like my Oreo witch hat cookies, you’ll also like my Nutter Butter mummies, pumpkin patch dirt cups, and Halloween bat cookies!
Why you’ll love this recipe:
Easy witch hat cookies take an ordinary Oreo and turn it into an adorable Halloween treat! They’re easy to assemble, only require a few ingredients, and are completely no bake!
These Oreo witch hat cookies are as delicious as they are cute! They’re sure to be a hit with both kids and adults too! I mean who can resist an Oreo with a Hershey’s kiss?! Ideal for parties, dessert, or snacking, your whole family will love this Halloween treat!
Ingredients you’ll need:
- Semi-sweet chocolate chips
- Vegetable oil
- Oreos
- Hershey’s kisses
- Halloween sprinkles
If you’re looking for a festive, last-minute Halloween dessert, look no further! We’ve all been there, you’re short on time and don’t feel like baking. These easy witch hat cookies use every day pantry staples to create a spooky snack your family and friends will love!
The best part is witch hat cookies use store-bought cookies, so there’s no need to turn on the oven! They really couldn’t be any easier to make. Simple enough to whip up day of or make in advance. Even better, they’re easily portable when you want to share!
How to make easy Oreo witch hat cookies:
- Line a baking sheet with parchment paper or a silicone mat, then set aside.
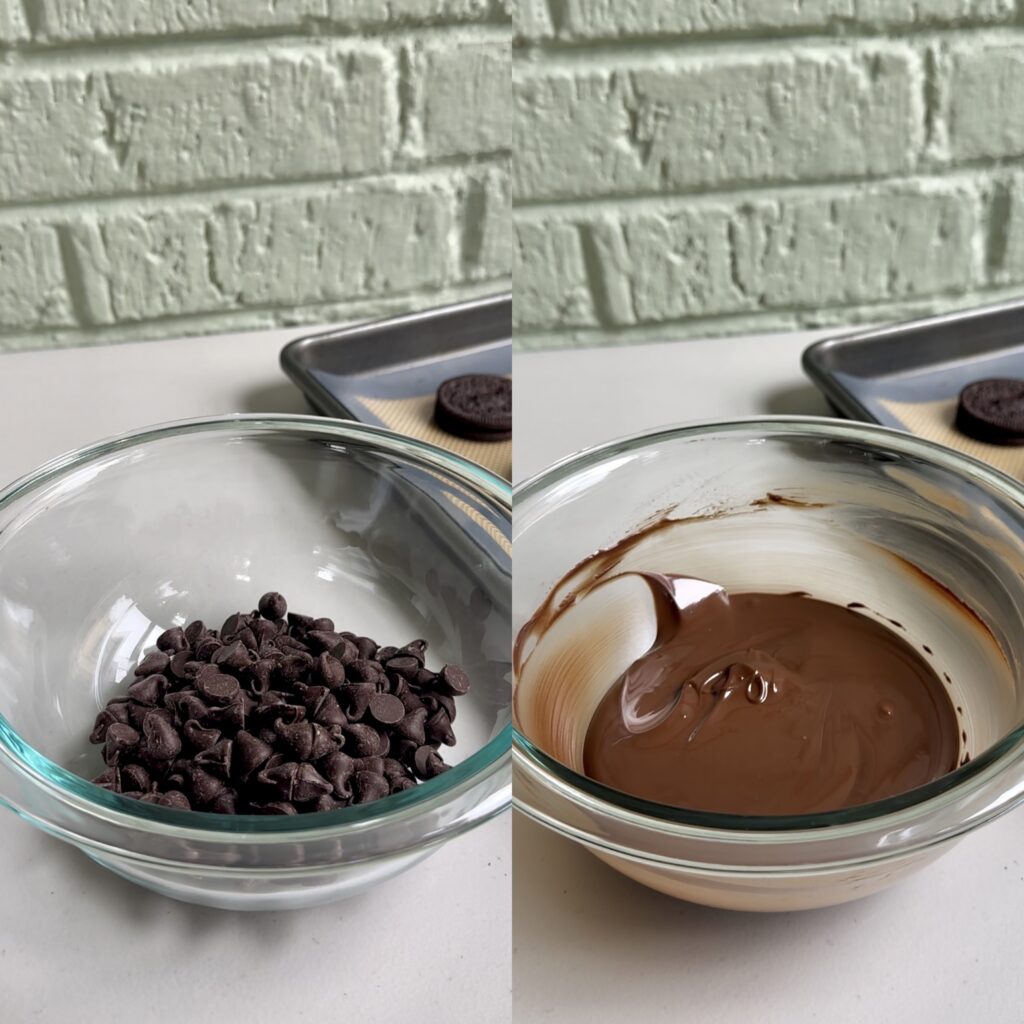
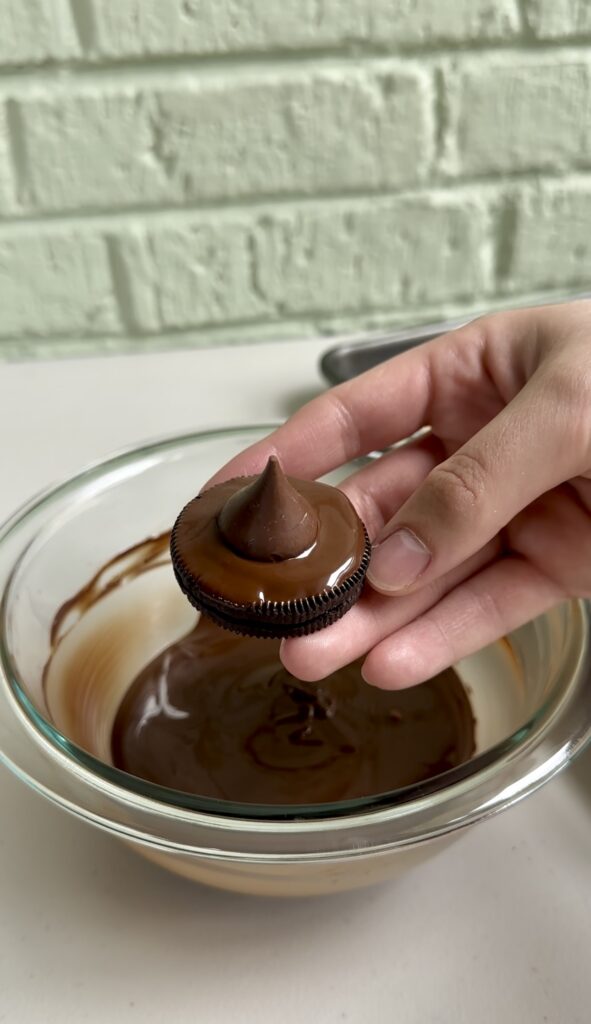
- In a microwave safe bowl, combine chocolate chips and vegetable oil. Microwave in 30 second intervals, stirring in-between, until melted and smooth.
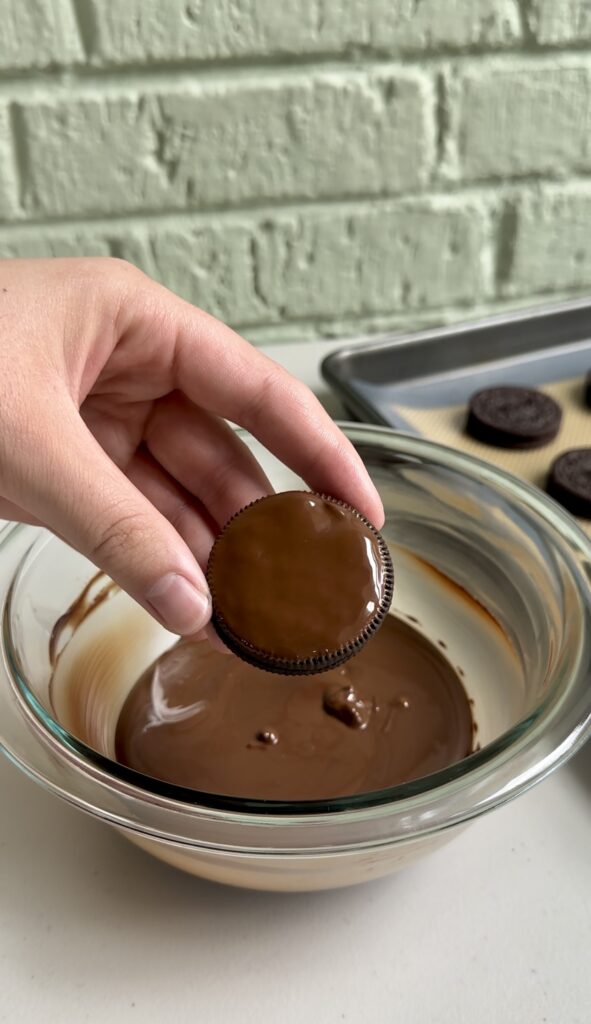
- Dip one side of each Oreo into your bowl of melted chocolate, then place on your prepared baking sheet.
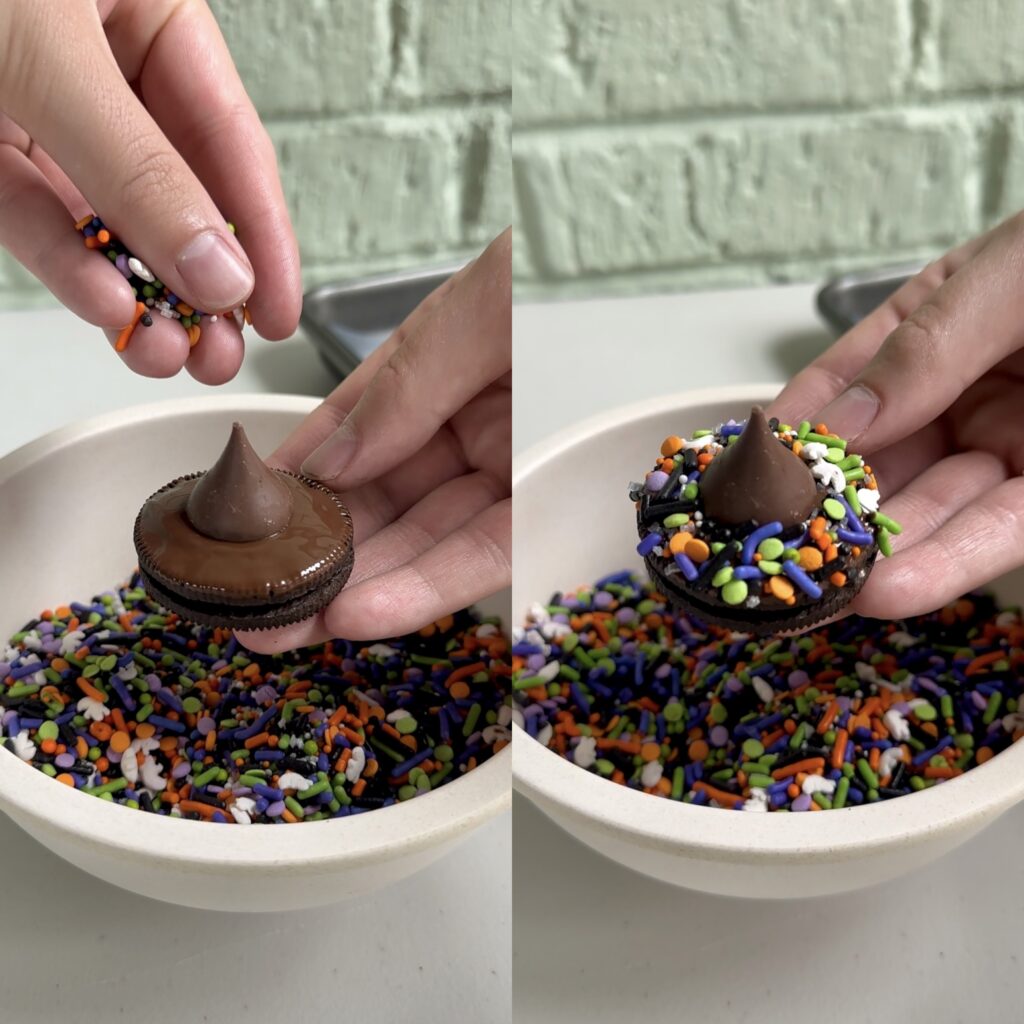
- Place one Hershey’s kiss on top of each Oreo, then cover the remaining exposed chocolate with sprinkles.
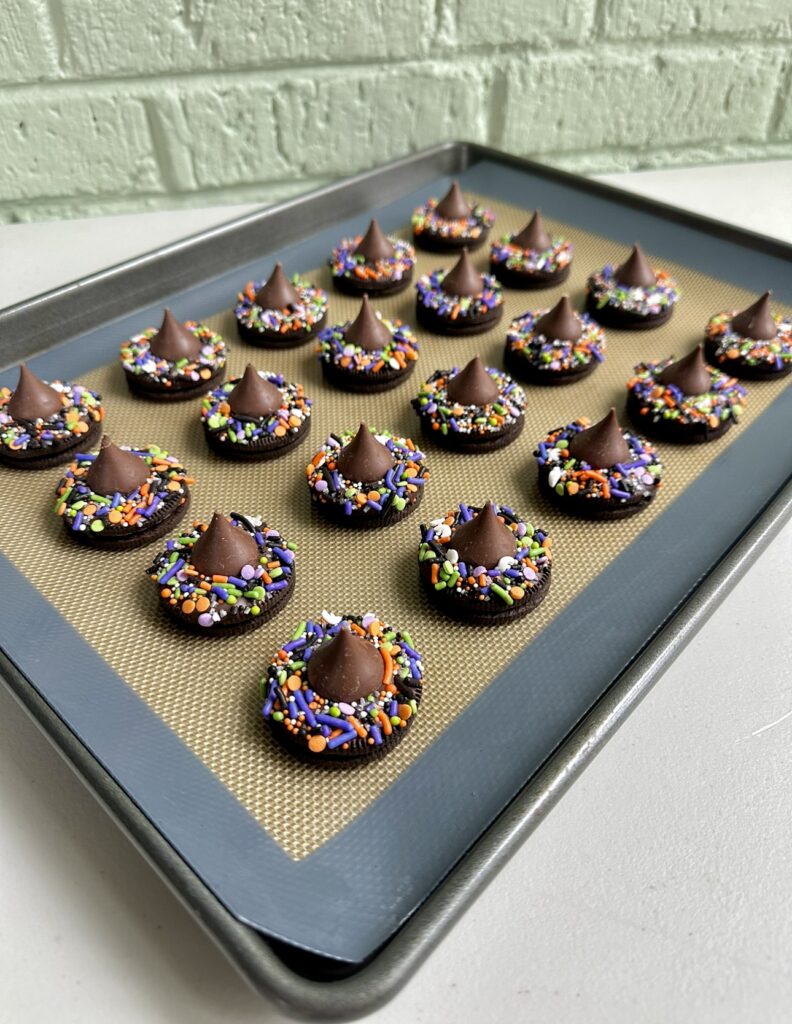
- Return to the baking sheet, then transfer to the fridge to let the chocolate set completely before enjoying.
I love the added color of Halloween sprinkles. I found my Halloween fusion sprinkle mix at Target, but you can use any Halloween colored sprinkles jimmies or nonpareils here. No matter what sprinkles you use, these are sure to bring joy to any occasion this time of year!
My top tips:
- OREOS: The classic black and white Oreo serves as the perfect base of the hat or brim of these witch hat cookies, but feel free to go for your favorite Oreo variety here! You could also use fudge covered Oreos, fudge stripe cookies, or any other small chocolate cookies.
- VEGETABLE OIL: Adding a little vegetable oil to the chocolate chips is my secret trick for silky smooth chocolate every time! The vegetable oil thins out the chocolate and makes it much easier to dip the Oreos.
- DECORATING: It’s important to add the Hershey’s kiss and Halloween sprinkles onto the Oreo while the chocolate is still wet. The wet chocolate acts as a glue for adhering the top of the hats. Once the chocolate sets, the kisses and sprinkles will stay in place.
- STORING: I like storing any leftovers in an airtight container or Ziploc bag in the fridge. This keeps the Oreos extra crunchy and fresh for weeks!
Looking for more no bake desserts? Try these out!
- Peanut Butter Dipped Oreos
- Cookies and Cream Popcorn
- Buckeye Graham Crackers
- Caramel Apple Bark
- Captain Crunch Peanut Butter Puppy Chow
- Marshmallow Caramel Popcorn
- No Bake Reeses Cookies
- Monster Cookie Dough Balls
- Cheez-It Butterfinger Bites
Oreo Witch Hat Cookies
Ingredients
- 1/2 cup semi-sweet chocolate chips
- 2 tsp vegetable oil
- 24 Oreos
- 24 Hershey's kisses
- Halloween sprinkles
Instructions
- Line a baking sheet with parchment paper or a silicone mat, then set aside.
- In a microwave safe bowl, combine chocolate chips and vegetable oil. Microwave in 30 second intervals, stirring in-between, until melted and smooth.
- Dip one side of each Oreo into your bowl of melted chocolate, then place on your prepared baking sheet.
- Place one Hershey’s kiss on top of each Oreo, then cover the remaining exposed chocolate with sprinkles.
- Return to the baking sheet, then transfer to the fridge to let the chocolate set completely before enjoying.
This post contains Amazon Affiliate links. Dangthatssweet may receive a small commission for Amazon purchases made through these links at no cost to you. Thanks for your support!



Leave a Reply