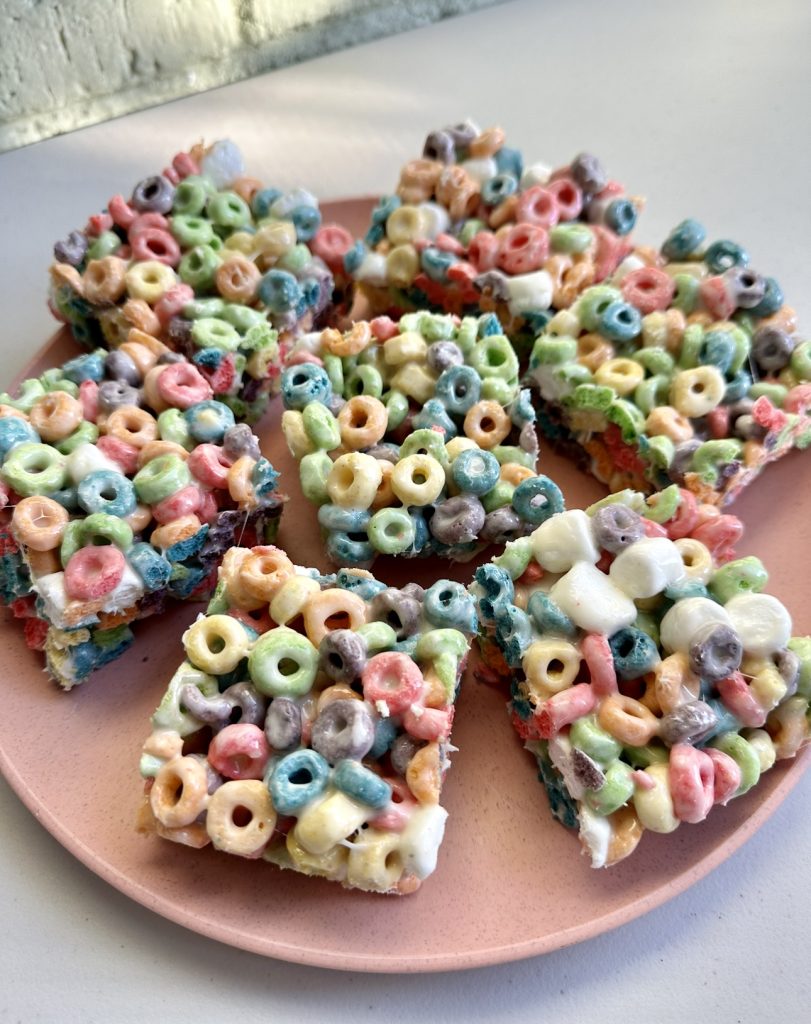
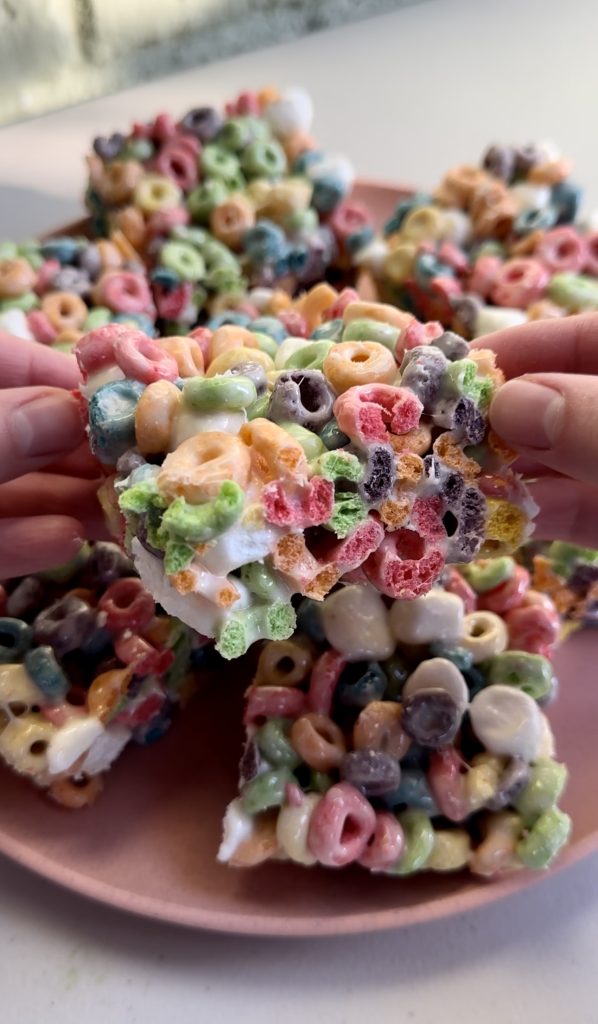
No bake Fruit Loop cereal bars are a fun, fruity twist on traditional rice krispie treats! They only require 3 ingredients to make and are a fan favorite for people of all ages!
Why you’ll love these fruit loop treats!
Marshmallow cereal bars are one of those iconic treats that will never ever get old! They’re great for feeding crowds, adding to lunch boxes, bringing to picnics or lets be honest, just snacking on throughout the week! With only a handful of ingredients and 9×9 baking pan, you can make these in no time!
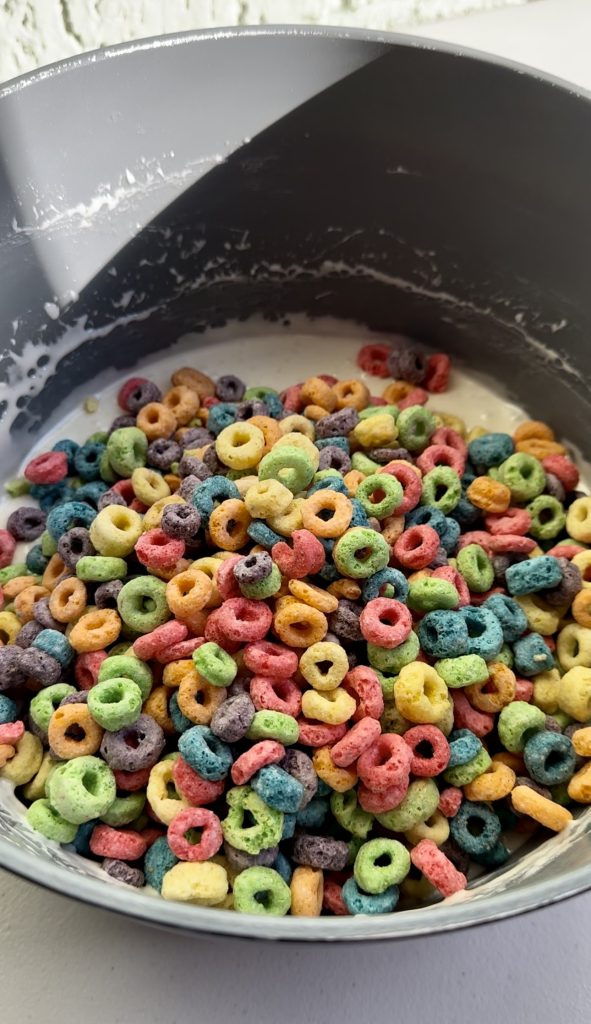
Ingredients you’ll need for easy fruit loop bars:
- Butter
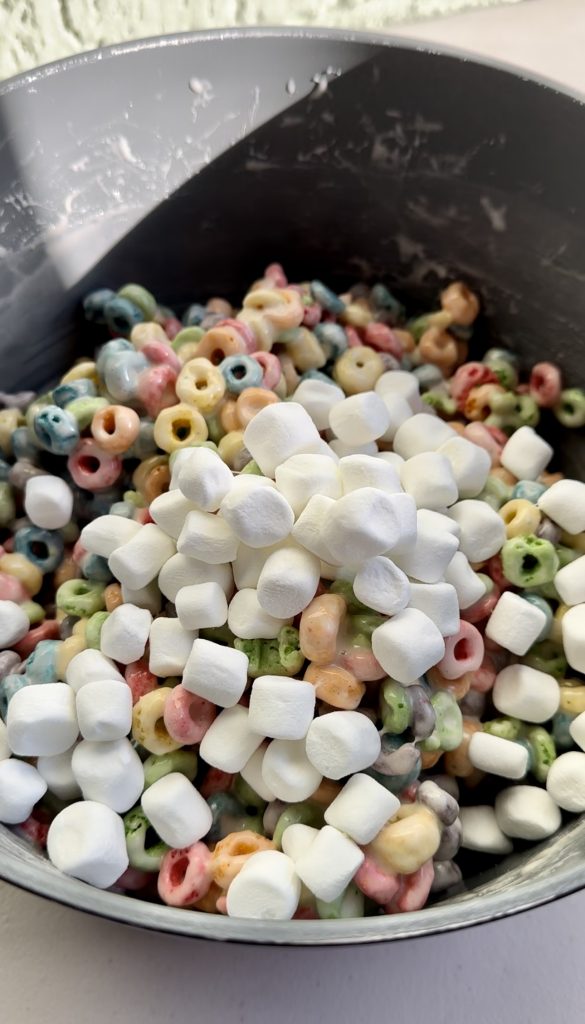
- Mini marshmallows, divided
- Vanilla extract (optional)
- Fruit loop cereal
Fruit loops are one of my favorite cereals to use for marshmallow treats. The crunchy, fruity rings become soft and chewy, yet hold their shape to result in fun, colorful treats! Some other cereals to try out in this recipe are Cap’n Crunch, Apple Jacks, Cinnamon Toast Crunch, Lucky Charms and Fruity Pebbles!
How to make the best fruit loop cereal bars:
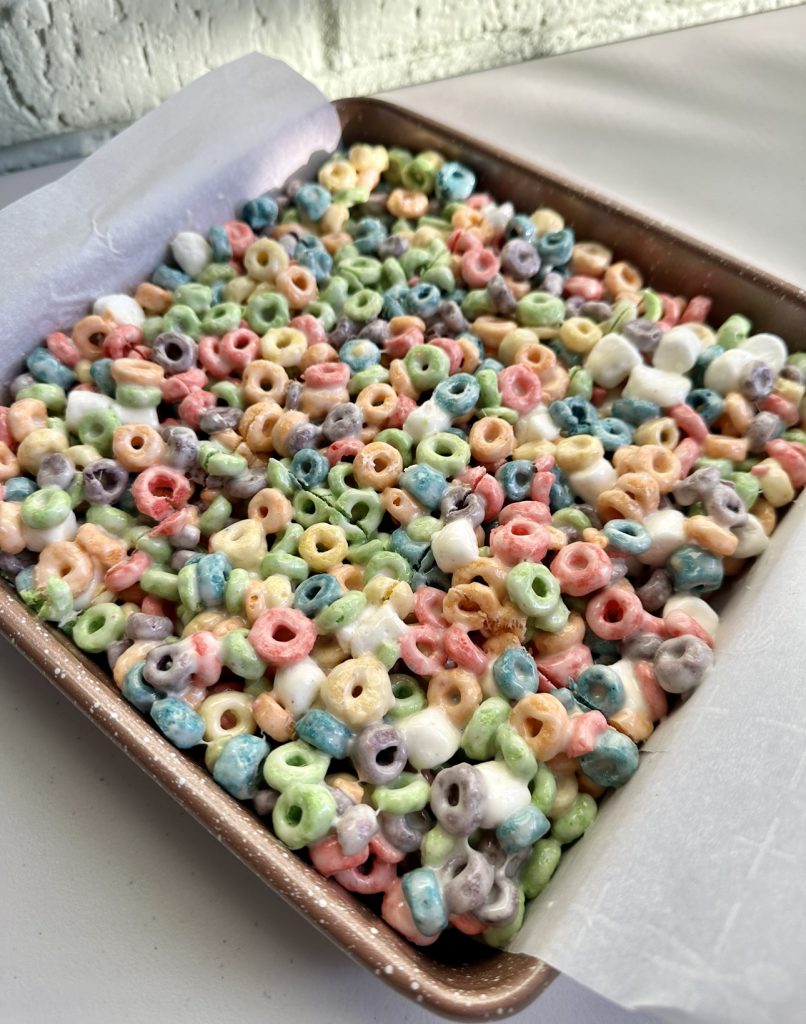
- Line a 9×9 baking pan with parchment paper. Set aside.
- In a large pot over low heat, melt the butter and marshmallows until smooth (reserve 1 cup of the marshmallows for later).
- Once smooth, remove from heat and optionally add in vanilla extract. Stir once more, then fold in your fruit loop cereal.
- Once the cereal is evenly coated, toss in the reserved cup of marshmallows and mix to combine.
- Immediately transfer the cereal mixture to your prepared baking pan and gently press into an even layer.
- Let the cereal mixture cool in the pan for 30 minutes before slicing into bars. You can place the bars in the fridge to speed this up, but let them come to room temperature before eating them.
My top tips!
- Work with low heat! You don’t want to rush melting the butter and marshmallows together because this sugary mixture can burn easily. You’ll want to stir until all the marshmallows are just melted to get the most chewy texture!
- I like reserving 1 cup of the marshmallows to add in at the last minute. This way you’ll have a few actual bites of chunky marshmallow in the cereal treats! If you’d rather skip this step, that’s totally fine! Just melt the entire bag of marshmallows with the butter in the beginning.
- LINE YOUR PAN WITH PARCHMENT PAPER! I cannot stress this enough! The parchment paper will prevent the bars from sticking to the pan which makes it so much easier to cut the cereal bars into squares.
- Be sure to gently press the bars into the pan. You’ll want to press down enough to make everything even but try to avoid crushing the cereal or making the bars too dense and dry.
- Let the cereal mixture cool in the pan for at least 30 minutes before slicing. If you want extra clean cuts, transfer the pan to the ridge for 30 minutes before slicing.
- Feel free to double this recipe and make it in a 9×13 pan to feed a crowd! 🙂
Looking for more easy treats? Try these out!
- No Bake Reese’s Cookies
- Monster Cookie Dough Balls
- Caramel Marshmallow Rice Krispie Balls
- Fluffernutter Ritz Cookies
- Funky Fritos
- Funfetti Puppy Chow
- Cookie Dough Bark
Fruit Loop Cereal Bars
Ingredients
- 6 tbsp butter
- 1 (10 oz) bag mini marshmallows divided
- 1 tsp vanilla extract
- 6 cups fruit loops cereal
Instructions
- Line a 9×9 baking pan with parchment paper. Set aside.
- In a large pot over low heat, melt the butter and marshmallows until smooth (reserve 1 cup of the marshmallows for later).
- Once smooth, remove from heat and optionally add in vanilla extract. Stir once more, then fold in your fruit loop cereal.
- Once the cereal is evenly coated, toss in the reserved cup of marshmallows and mix to combine.
- Immediately transfer the cereal mixture to your prepared baking pan and gently press into an even layer.
- Let the cereal mixture cool in the pan for 30 minutes before slicing into bars. You can place the bars in the fridge to speed this up, but let them come to room temperature before eating them.
This post contains Amazon Affiliate links. Dangthatssweet may receive a small commission for Amazon purchases made through these links at no cost to you. Thanks for your support!


Leave a Reply