These delicious caramel apples are one of my favorite fall treats and are so fun to make! The caramel is perfectly sweet, buttery and made from only 5 ingredients. You can kick these classic caramel apples up a notch by coating them in your favorite toppings, which turns them to great gifts and party favors!
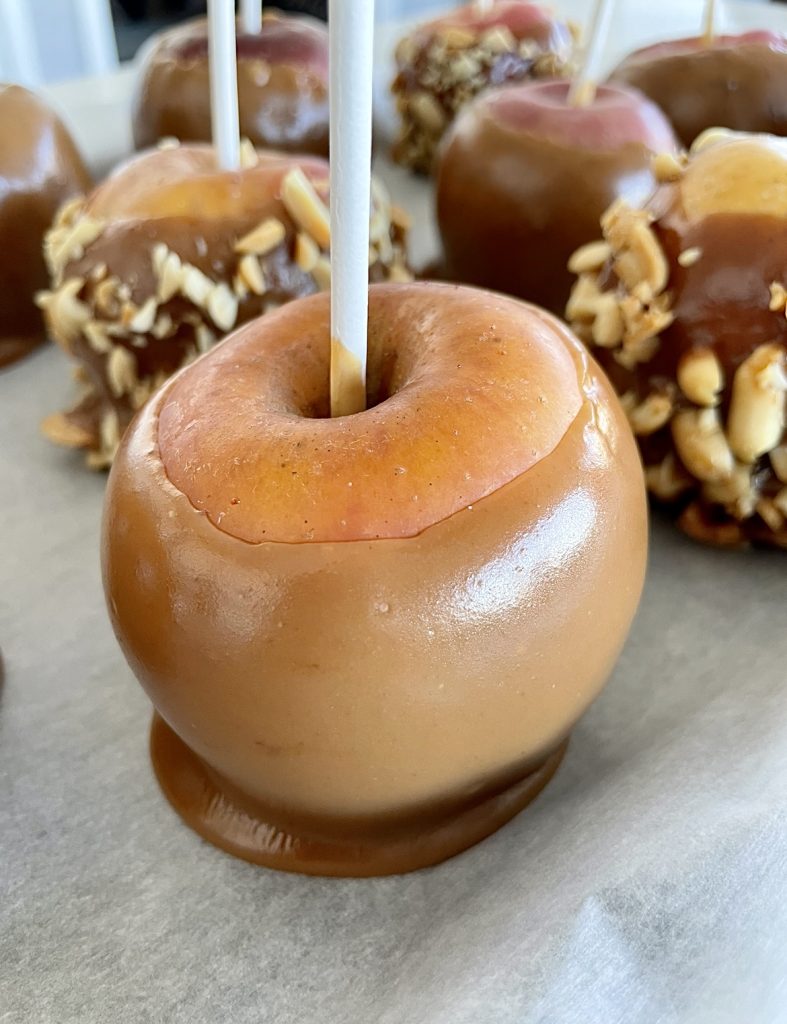
Why this is a great homemade caramel apple recipe:
This is my favorite caramel apple recipe to date. The buttery caramel mixture is so simple and works as a great caramel dip too! I recommend saving any extra and using it for snacking on fresh apple slices! I know I’m not the only one who thinks it’s sacrilegious to go through fall without having at least one caramel apple, so be sure to set some time aside to make this classic carnival treat.
Ingredients for the best homemade caramel apples:
- Apples of choice
- Salted butter
- Brown sugar
- Light corn syrup
- Sweetened condensed milk
- Vanilla extract
How to make easy caramel apples:
- Remove any waxy coating on the apples.
- Insert lollipop or craft sticks into the tops of each apple.
- Chop any optional toppings and set aside.
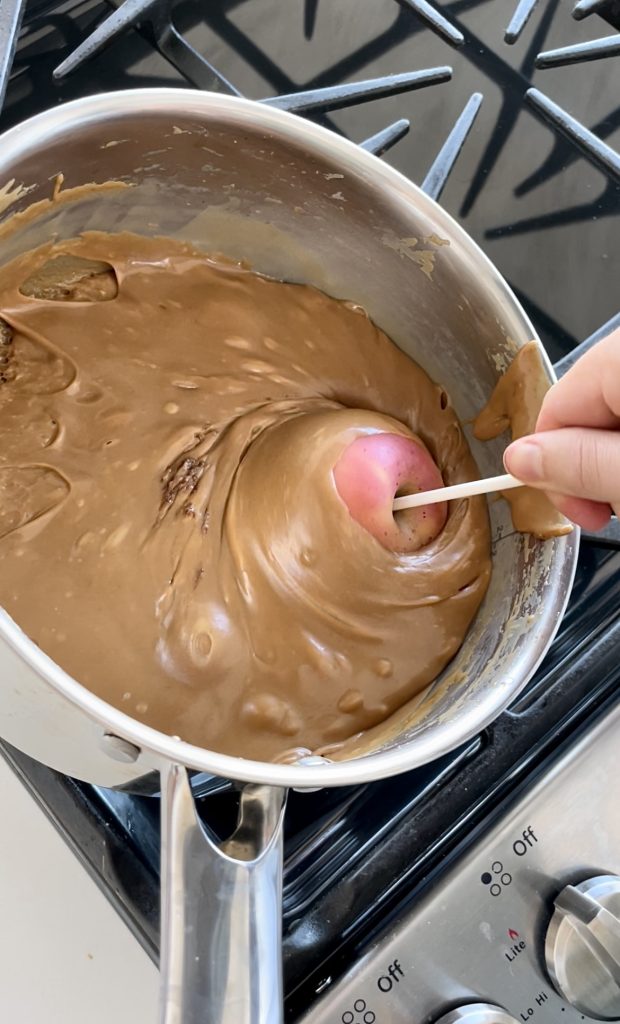
- Make the caramel.
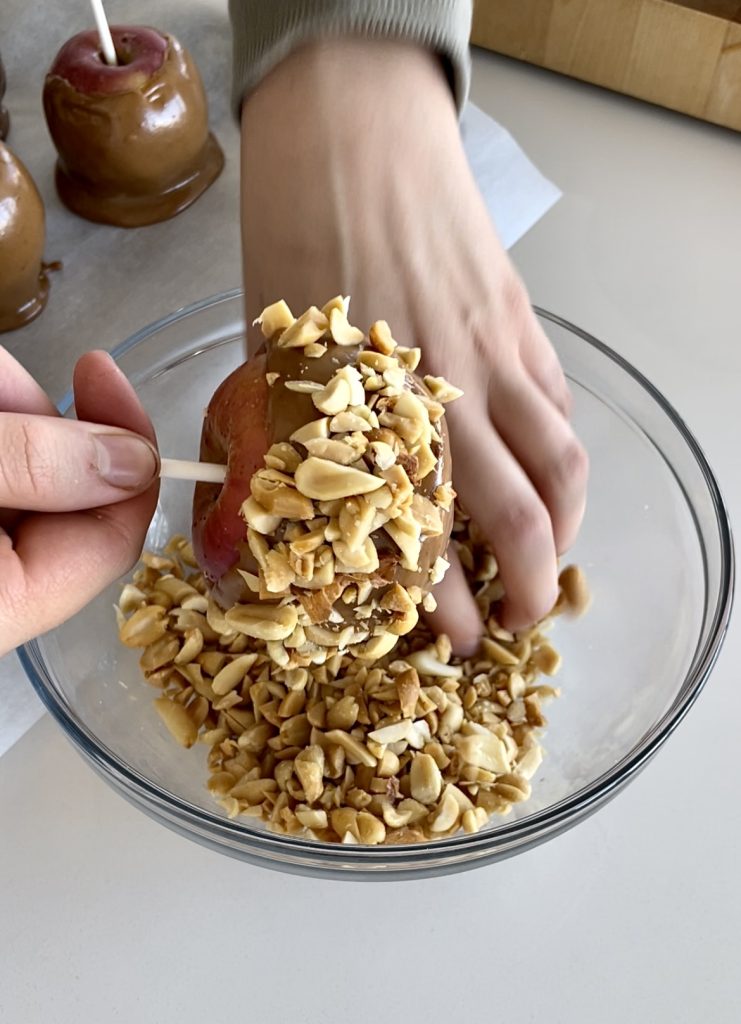
- Quickly dip each apple in caramel and coat in toppings.
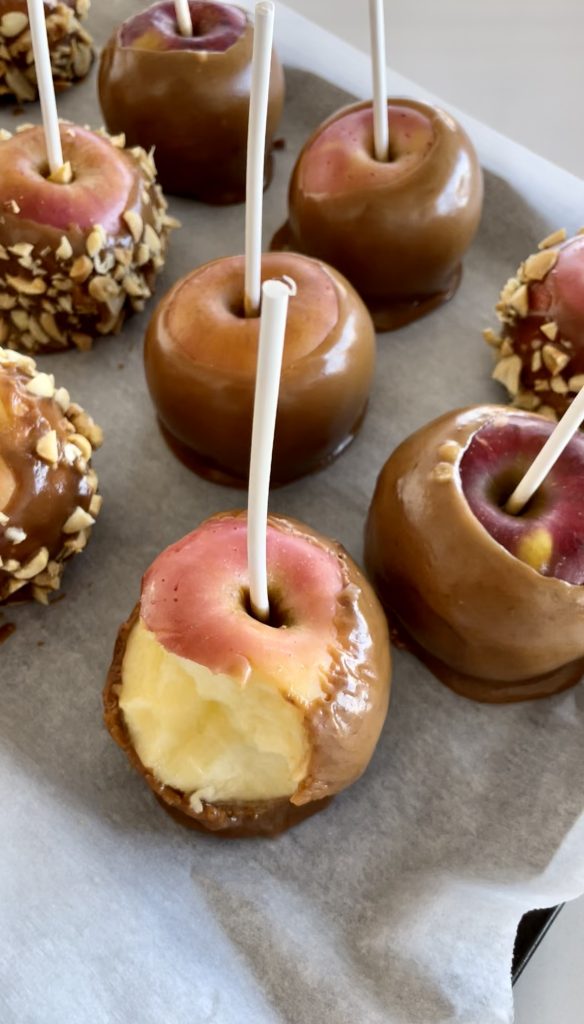
- Let the caramel completely set before enjoying!
Optional toppings for gourmet caramel apples and special occasions:
- Chopped nuts. Peanuts and pecans are my favorites!
- Chopped candy bars. Butterfingers and Snickers are always popular.
- Mini M&M’s. Mini are better than regular sized here!
- Sprinkles. Jimmie style are the best!
- Toasted coconut. Toasting the coconut beforehand really brings out it’s nuttiness.
- Toffee pieces and/or chocolate chips.
FAQ:
Candy apples and caramel apples are very similar to each other with an apple as the base that’s covered in a sweet coating. The difference is candy apples have a hard candy coating that is typically red in color, where caramel apples are dipped in soft, chewy caramel.
What are the best apples for this recipe?
There’s really no rules when it comes to what apples you can use here. I say use whatever apple you like the taste of! Granny Smith apples are most commonly used for caramel apples due to their tartness countering the sweetness of the caramel, but I tend to prefer red apples so things like Fuji, Pink Lady and Honeycrisp are my top votes!
If you’re having trouble finding lollipop sticks at your local grocery store, I recommend Amazon or a craft store. You can also use wooden craft sticks if you’re in a pinch. They just need to be around 5 to 6 inches long.
Top tips for making homemade caramel apples:
- Boil the apples for a few seconds to remove any waxy coating on the skins. If you’re using store-bought apples and skip this step, the wax coating will more than likely slide right off the apple when it’s dipped.
- Insert lollipop sticks into the apples for dipping. I recommend lining the stick up with the stem of the apple, turning the entire thing upside down, and lightly tapping on a hard surface to gently force the stick through the core of each apple while trying to keep it as straight as possible.
- Use a candy thermometer OR instant read thermometer. Homemade caramel is temperamental, so it’s important to know it’s exact temperature. If you don’t heat the caramel for long enough, it will be runny and if you heat it for too long, it will be hard.
- Don’t walk away from the caramel! Caramel can burn very easily due to it’s high sugar content. Be patient and keep stirring the entire time until it reaches the right temperature (try to scrape the sides of the pan too)!
- While making the caramel, set the apples in the fridge. Caramel sticks better to cold apples.
- Lay out a baking sheet with parchment or wax paper ahead of time. This way, when the caramel reaches temperature, you can work quickly while dipping the apples and transferring them to the baking sheet to set. The caramel will begin to set within a matter of minutes and be much harder to dip into if you aren’t working quickly (same thing goes for any toppings).
Classic Caramel Apples (With Nuts)
Equipment
- lollipop or craft sticks (5 to 6 inches long)
- 1 sheet pan
- 1 candy thermometer (instant read thermometer works as well)
- parchment or wax paper
Ingredients
- 10 apples (I like Fuji and Honeycrisp best)
- 1 cup salted butter (2 sticks)
- 1 cup brown sugar
- 1/2 cup light corn syrup
- 1 14 oz can sweetened condensed milk
- 1 tsp vanilla extract
- Any optional toppings (I used chopped peanuts)
Optional toppings:
- Chopped nuts
- Chopped candy bars
- Mini M&M's
- Sprinkles
- Toasted coconut
- Toffee pieces and/or chocolate chips
Instructions
- Bring a medium pot of water to a rolling boil. Carefully drop each apple into the boiling water for about 20 seconds to remove any waxy coating.
- Carefully transfer the apples to an ice bath to prevent them from becoming soft.
- Dry the apples and twist off their stems. Then, insert lollipop sticks through the center of each apple. Inserting the sticks is easier if you line the stick up with the stem of the apple, turn the entire thing upside down, then lightly tap on a hard surface to gently force the stick through the core of each apple (try your best to keep it straight)!
- Set the apples on a parchment or wax paper lined baking sheet and transfer to the fridge to chill while you make the caramel.
- Chop whatever toppings you want to coat your caramel apples in before starting the caramel, and transfer them to small bowls for easy access.
- In a medium saucepan on medium-low heat, combine the butter, brown sugar, light corn syrup and sweetened condensed milk.
- Using a whisk or rubber spatula, stir the mixture continuously until it reaches 235-240 degrees F. , making sure to get the edges and bottom of the pan so that nothing burns. This process can take between 20-25 minutes so it's important to be patient and not walk away from the caramel!
- Once the caramel comes to temperature, turn off the heat and stir in the vanilla extract. Working quickly, dip apples into the hot caramel. You can let the excess caramel drip off the bottom or run the bottom on the sides of the saucepan, then transfer back to the prepared baking sheet. (If you're coating the apples in toppings, do that right after you dip each apple in caramel so that the toppings will stick).
- Let the caramel apples set for at least 10 minutes before enjoying this delicious treat!



Leave a Reply