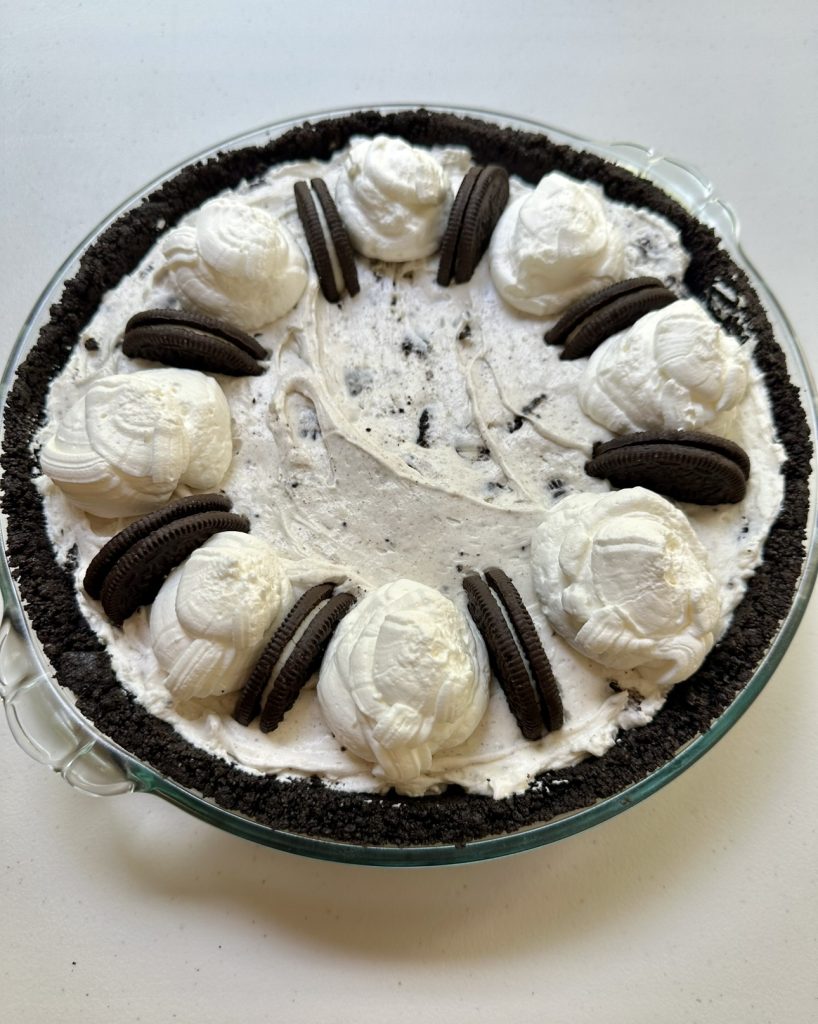
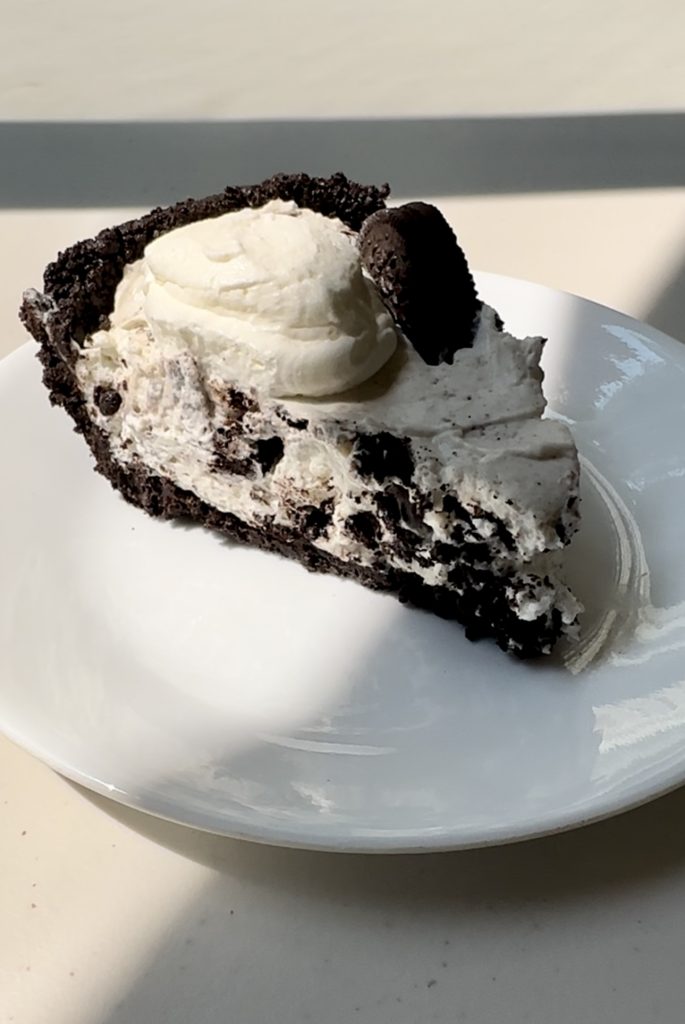
No bake Oreo pie has a crunchy Oreo crust and a creamy filling that practically melts in your mouth! It’s loaded with crushed Oreos, only requires a few simple ingredients, and there’s no need to turn on your oven!
Here’s why I love this no bake pie recipe:
If you know me, you know I love an easy dessert recipe, and this is just that! It looks so impressive yet takes barely any time to make! It’s perfect for holidays, birthdays, or if you’re like me- you’ll make this on a Monday and eat it throughout the week when the sweet tooth cravings set in!!!
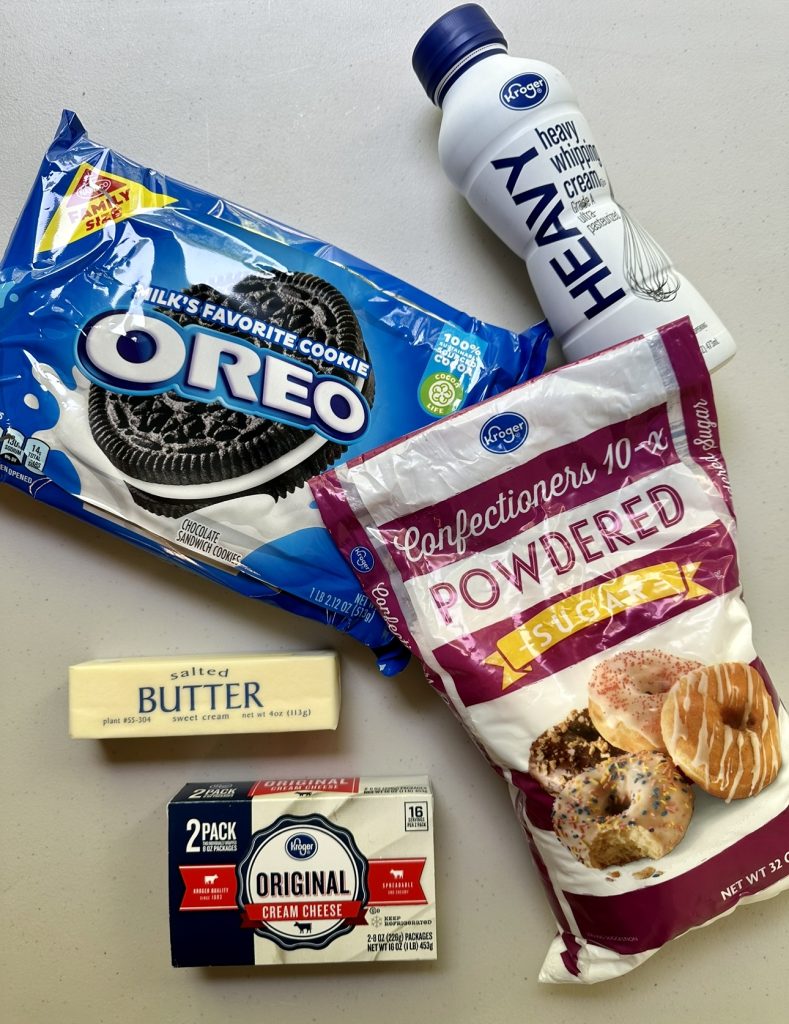
Ingredients you’ll need:
- Oreos: I recommend using original Oreos in this recipe and saving the double stuffed and holiday variety for another time!
- Butter: You’ll want to use melted butter here so that it incorporates with the Oreo crumbs to form a crust. The butter will harden when the pie chills, which helps the crust set and firm up.
- Heavy whipping cream: Heavy whipping cream is what’s used to give this pie its volume and light texture.
- Powdered sugar: This sweetens the pie and is the best option due to its melt in your mouth texture.
- Cream cheese: This gives the filling stability and tanginess. You’ll want to be sure you’re using softened cream cheese so that it’ll mix into the filling well.
This pie is perfect as the weather gets warmer. Don’t get me wrong, I’d make this recipe any time of year, but I love it a little extra during the summer months because it doesn’t require me to turn on my oven! Once the pie is assembled, you pop it in the fridge to chill for a few hours and it’s good to go!
How to make the best Oreo pie:
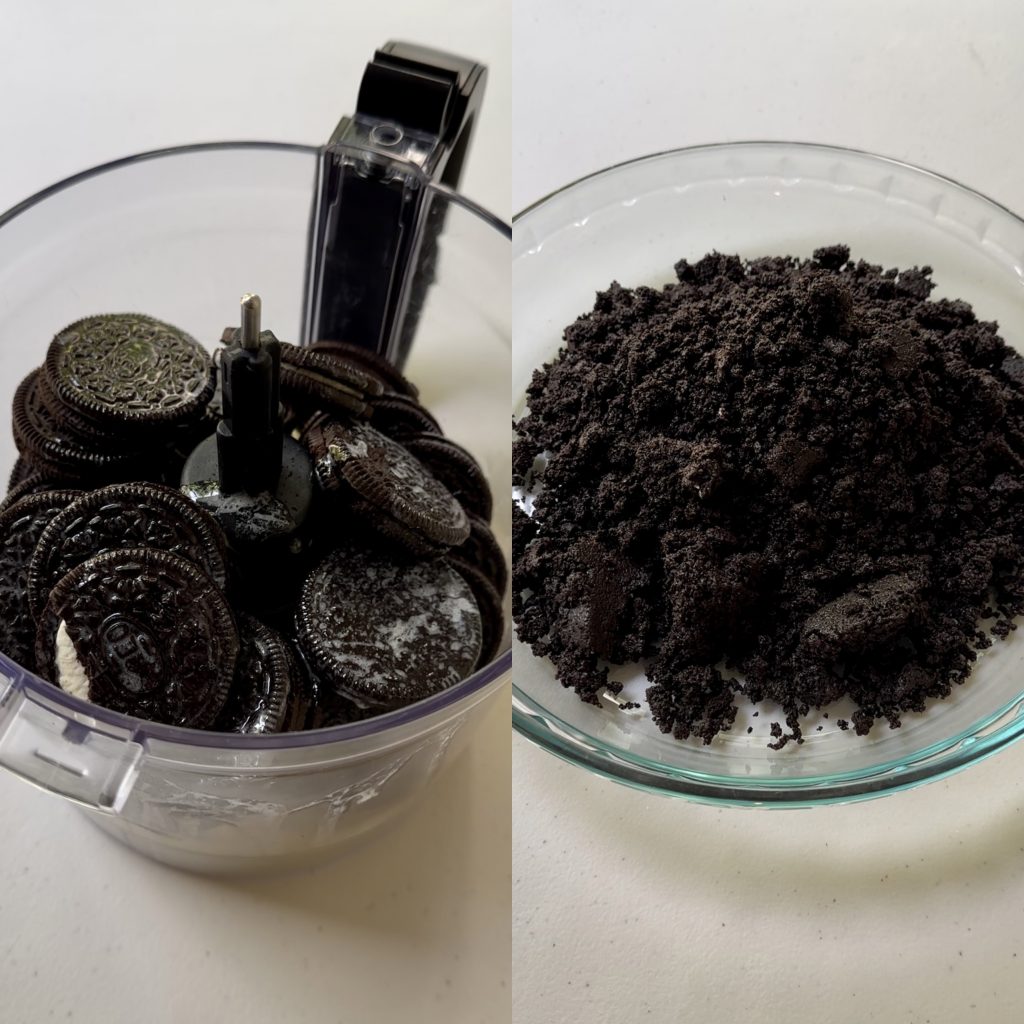
- Make the crust: In the bowl of a food processor, pulse Oreo cookies and melted butter together until the mixture resembles wet sand. The Oreos should be broken down into very fine crumbs.
- Form and chill the crust: Add the Oreo crumbs into a 9-inch pie plate and begin to form the crust. I like using a flat-bottomed glass or measuring cup to help pack the crumbs into the pie pan. Set the formed crust in freezer while you make the filling.
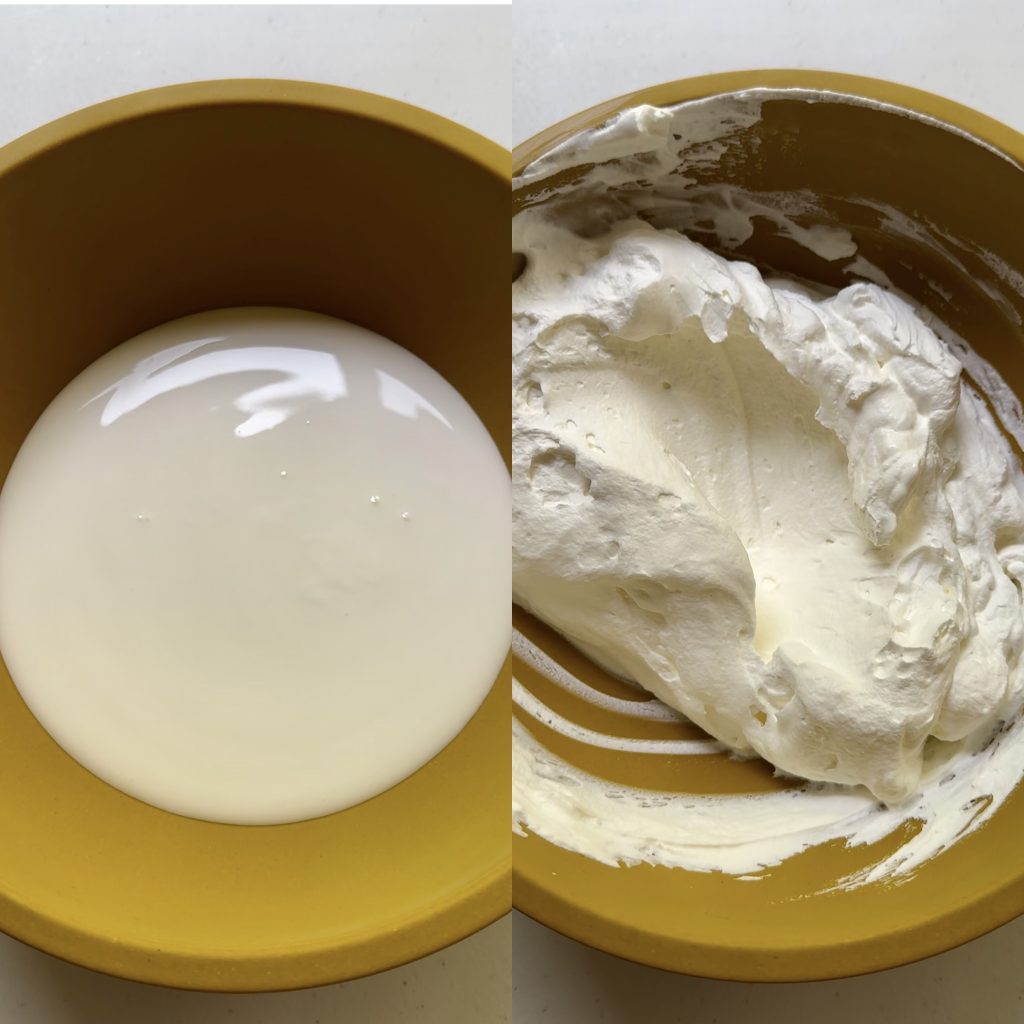
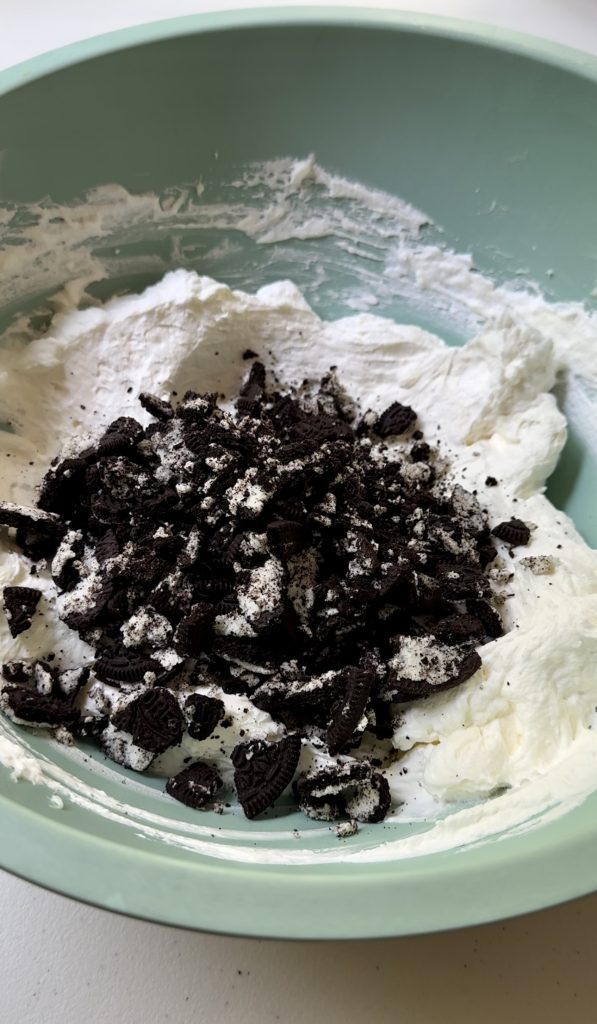
- Make the filling: In a large mixing bowl, whip softened cream cheese and powdered sugar until light and fluffy. Set aside. Add the heavy whipping cream to the bowl of a stand mixer and whip until it reaches stiff peaks. Add the whipped cream to the cream cheese mixture and fold the two together using a rubber spatula. Once combined, fold in the crushed Oreos.
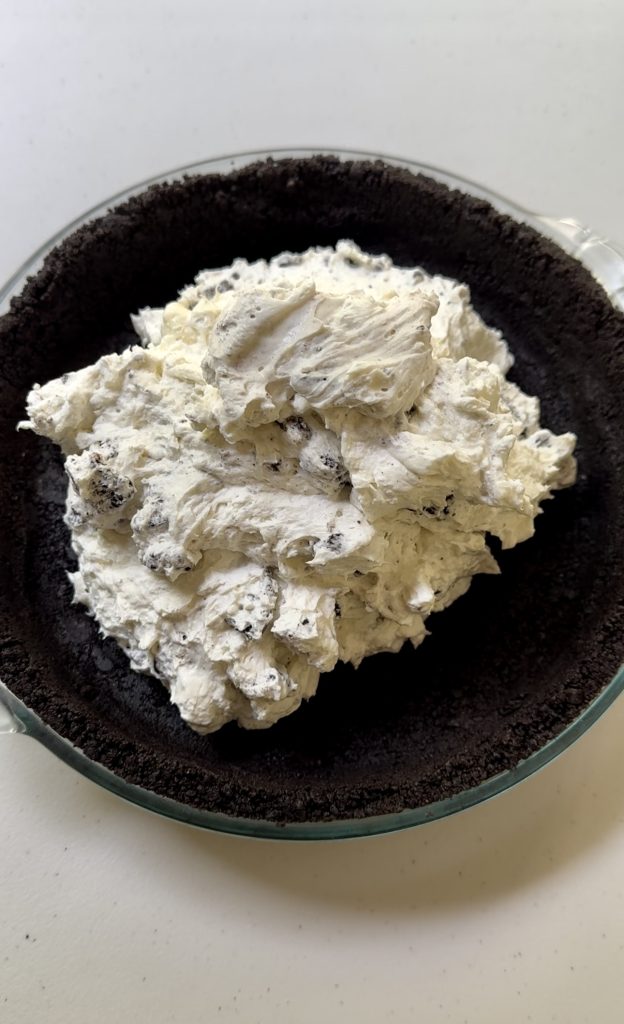
- Assemble the pie: Add the Oreo filling to the chilled Oreo pie crust. Use the back of a spoon or an offset spatula to smooth the surface. Optionally decorate with whipped cream and more Oreos.
- Chill in the fridge: Transfer the assembled pie to the fridge to chill for at least 2 hours to overnight.
I love how light and fluffy this pie is! The cream cheese helps to stabilize the filling but the whipped cream is really the star of the show!
PRO-TIPS!
- PULSE THE OREOS: Scrape the edges of your food processor in-between pulses to be sure you’re crushing up the Oreos enough! You’ll want the Oreos to be very pulsed into very fine crumbs to make it easier to form the crust to your pie dish.
- PRESS THE CRUST! Use a flat bottom glass or measuring cup to help pack the Oreo crumb mixture into your pie pan. I like starting with the bottom of the crust, then moving onto forming the edges.
- FREEZE THE CRUST! Place the crust in the freezer while you prepare the Oreo filling. This will give the crust a chance to firm up- which makes it much easier to add and spread the filling.
- STIFF PEAKS! Whip the cream just until it reaches stiff peaks. If you let it whip for too long, you take the risk of it curdling.
- FOLD, DON’T STIR! When adding the whipped cream and Oreos to the cream cheese, it’s important to use a folding motion rather than a stirring motion. This way, the filling will stay nice and light from all the air that’s been incorporated into it.
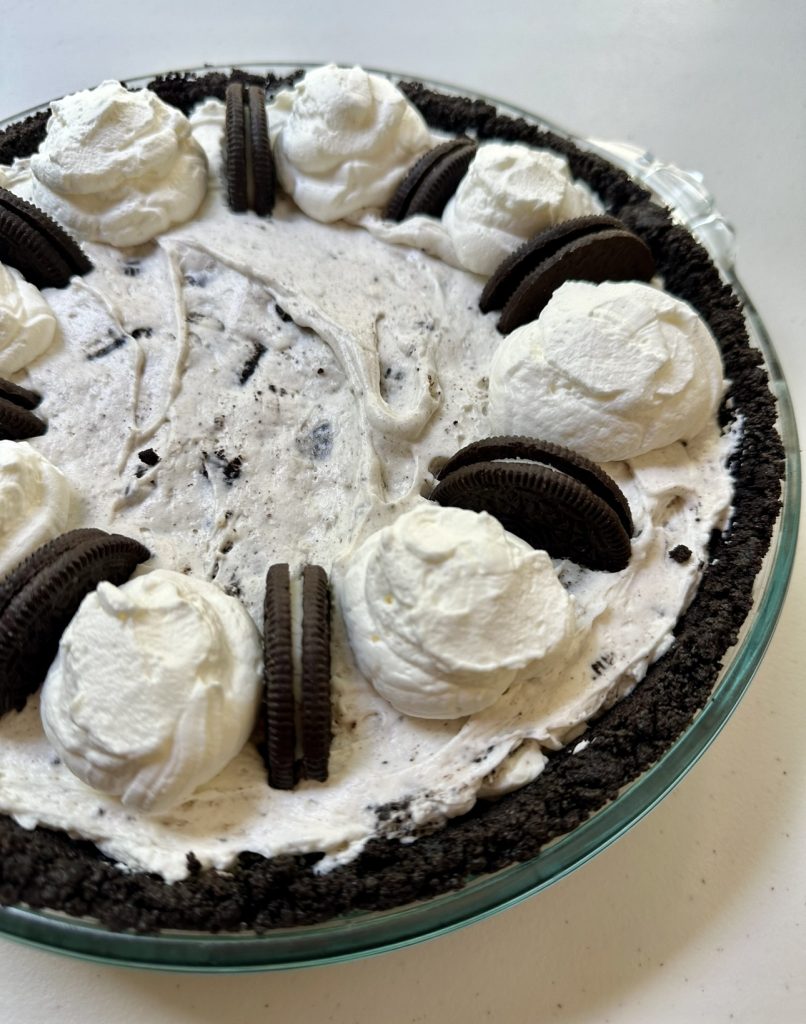
- DECORATE: Save a little whipped cream for decorating the top! This doesn’t have to be fancy, in fact- I just added a some to a Ziploc bag, snipped a corner off and went for it- but it does end up adding a little something extra to the final product!
- WHEN SERVING: running a sharp knife under hot water and quickly whipping it in-between cuts will result in super clean slices.
Cookies ‘n cream ice cream is my kryptonite so it only makes sense that this Oreo pie would be equally delicious. It’s the perfect thing to make when you want something that feels like a real treat without having to dedicate too much time or effort into baking something!
FAQ:
Sure! The store-bought, ready to eat Oreo pie crust works great for this recipe.
Yes. 2 cups of thawed Cool Whip can be substituted for freshly whipped cream in this recipe.
I recommend sticking to using classic Oreos in this recipe. The other Oreos have different ratios of filling and may result in a soggy pie crust.
You should always keep this pie in the fridge. Just lightly cover it with plastic wrap to prevent the surface from drying out and it’ll keep for up to 5 days!
If you’re a pie lover, you need to try my other no-bake pie recipes!
- https://dangthatssweet.com/no-bake-lemon-icebox-pie/
- https://dangthatssweet.com/no-bake-chocolate-pie/

No Bake Oreo Pie
Ingredients
For the crust:
- 25 Oreo cookies
- 5 tbsp melted butter
For the filling:
- 8 oz softened cream cheese
- 3/4 cup powdered sugar
- 2 cups heavy whipping cream
- 10 Oreo cookies coarsely chopped
Instructions
- In the bowl of a food processor, pulse Oreo cookies and melted butter together until the mixture resembles wet sand. The Oreos should be broken down into very fine crumbs.
- Add the Oreo crumbs into your 9-inch pie plate and begin to form the crust. I like using a flat-bottomed glass or measuring cup to help pack the crumbs into the pie pan. Set the formed crust in freezer while you make the filling.
- In a large mixing bowl, whip softened cream cheese and powdered sugar until light and fluffy. Set aside.
- Add the heavy whipping cream to the bowl of a stand mixer and whip until it reaches stiff peaks. Add the whipped cream to the cream cheese mixture and fold the two together using a rubber spatula.
- Coarsely chop the remaining Oreos and fold them into the filling mixture.
- Add the Oreo filling into the chilled Oreo pie crust. Use the back of a spoon or an offset spatula to smooth the surface. Optionally decorate with whipped cream and more Oreos.
- Transfer the assembled pie to the fridge to chill for at least 2 hours to overnight.

Leave a Reply