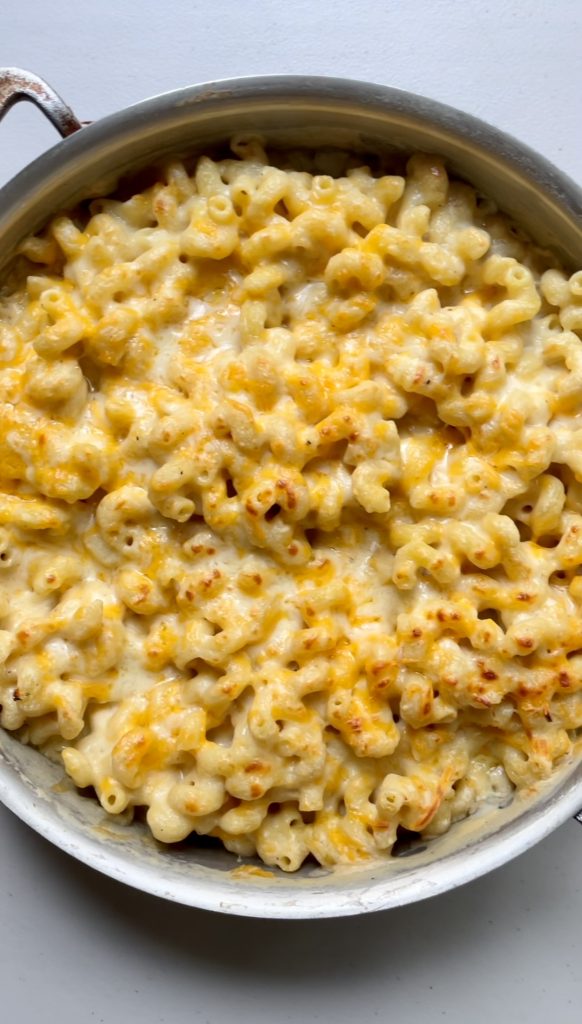
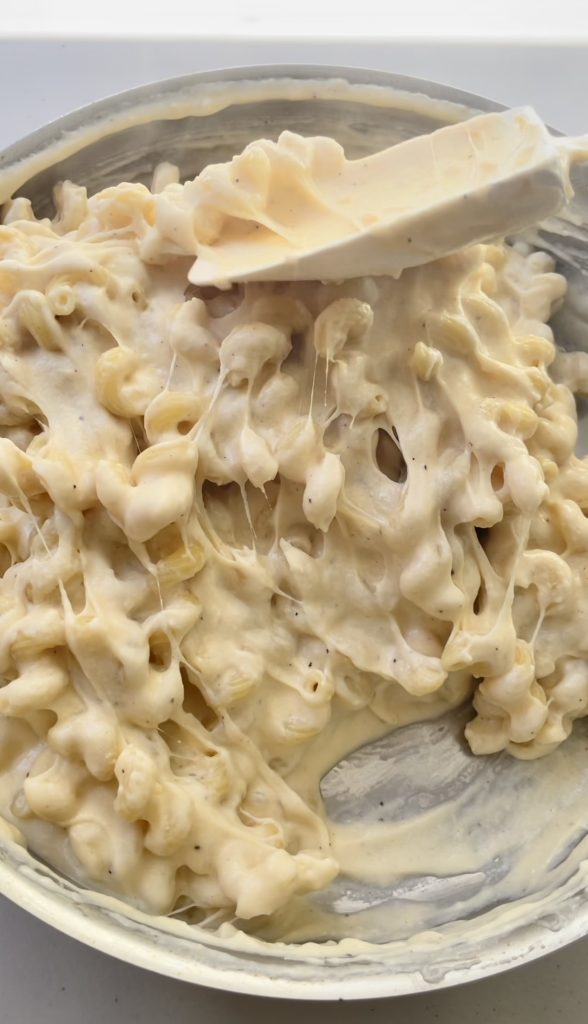
This creamy baked mac and cheese is mind-blowingly good. Between the fun corkscrew cavatappi noodles and all of the melty cheesy goodness that gets caught up in them, I think this might just be my favorite mac and cheese recipe to date. Bring it to a cookout, serve it as a side or enjoy it as a main course on its own (I won’t judge)!
Why you should make this creamy baked macaroni:
There are tons of mac and cheese recipes out there and everyone has their own preferences on what the best one entails. Things like the combination of cheeses they use, the kind of pasta they pick, and whether or not there should be panko bread crumbs on top are all examples of how each recipe is different. In my opinion, the best mac and cheese is creamy, cheesy and acts as the ultimate comfort food. This recipe definitely checks all those boxes!
Ingredients you’ll need:
- Dry pasta that’s been cooked al dente and drained: I always use cavatappi.
- Butter
- All-purpose flour
- Whole milk: You can substitute lower fat milk or dairy free milk here but it won’t be quite as rich and creamy!
- Onion powder
- Garlic powder
- Salt and pepper
- Shredded cheese of choice: I usually use cheddar and monterey jack
How to make homemade baked macaroni and cheese:
- Boil and drain your noodles for a couple of minutes less than what the package directions say. They will finish cooking in the oven.
- In a large pan, make a roux from the butter and flour.
- Whisk the milk and seasonings into the roux.
- Once it starts to thicken, remove the pan from the heat and add in the shredded cheese.
- The excess heat will melt the cheese. Once you have a smooth sauce, add in the cooked noodles.
- Mix to combine and transfer to your baking dish.
- Top with more shredded cheese and bake!
FAQ:
This is great ‘plan ahead dish’ because it can sit in the fridge for days (if need be) before being baked. To make this ahead of time, just follow the instructions below and instead of baking it, cover the dish with foil and keep it in the fridge until you’re ready to bake! It’s that simple!
I really love the size of cavatappi and the way the cheese gets inside the twisty tube shape but if you don’t like cavatappi or can’t find it, I would recommend something that still has a tube shape since it does such a nice job of holding the cheesy sauce. Penne, classic elbow pasta noodles, or small rigatoni would all be great alternatives! Keep in mind that the smaller noodle you use, the more saucy your final product will be.
In this recipe I use a mix of sharp cheddar cheese and monterey jack. I’d say cheddar is a staple in most mac and cheese recipes as well as gouda and muenster coming in at a close second place. There’s lots of different types of cheese you can use but what you really want to look for are cheeses that can grate and melt easily. Ideally, the cheeses you choose won’t be too stinky or too bland in flavor either. I like sticking to flavor profiles that are sharp, smoky or just mild for mac and cheese. In fact, mixing a few of them together is where I find the best flavor results. It’s never a bad idea to grate some parmesan cheese on the surface of the mac either!
There are a couple things that make cast iron so awesome for this. One of my personal favorites is that you can make the cheese sauce, assemble, and bake the mac and cheese all in one dish. I don’t know about you, but for me less dishes is a big win! In addition to the easy clean up, the edges of the mac and cheese end up getting really crispy and delicious when this dish is baked in a cast iron. Not to worry though, if you don’t have one, a 9×11 baking dish or another 9 or 10 inch non-stick skillet with high sides (All-Clad makes some great ones) will do just fine!
Creamy Baked Mac and Cheese
Equipment
- (1) 9-10 inch cast iron/non-stick skillet or 9×11 baking dish
Ingredients
- 1 box cavatappi boiled and drained
- 6 tbsp butter
- 1/4 cup all purpose flour
- 4 cups whole milk
- 1 tbsp onion powder
- 2 tsp garlic powder
- 1 tsp salt
- 1 tsp pepper
- 4 cups shredded cheese of choice I used cheddar and monterey jack
Instructions
- Preheat your oven to 350 degrees F.
- Bring a large pot of water to a boil with lots of salt. Cook the pasta for 2 minutes less than what's on the package instructions and strain out the excess water. Set aside for later.
- Shred whatever cheese you are using if it is not already shredded for you. Set aside for later.
- In a non-stick or cast iron skillet, melt the butter and whisk in the flour. ***This is called making a roux and it's REALLY important to incorporate the flour well and allow it to cook for a minute or two here or else you could end up with a lumpy cheese sauce that has a floury aftertaste and no one wants that!!!
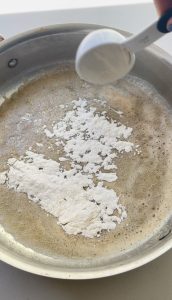
- Once the roux looks smooth and homogeneous, whisk in the milk.
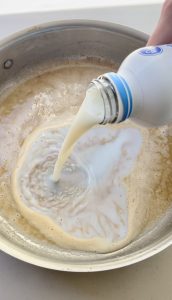
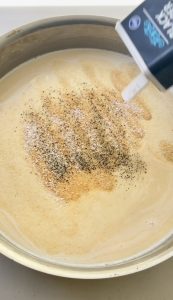
- Once combined, add in the seasonings and continue whisking.
- Sprinkle in 3 cups of the shredded cheese (leave 1 cup for sprinkling on top)
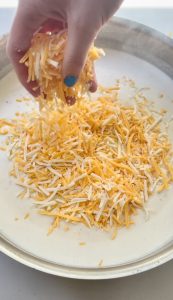
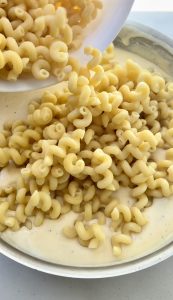
- Reduce the stove to medium-low heat. The cheese will immediately start to melt and the mixture will thicken. Once the sauce is smooth and thickened, add in the cooked pasta and stir to combine.
- Top with the cheese you reserved from earlier (if you want crispy edges, make sure to get some of that cheese on the all the sides of the pan).
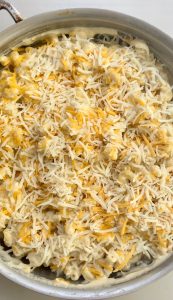
- Cover with aluminum foil and bake for 20 minutes. Then uncover and broil the top for a few minutes until it's nice and bubbly (be sure to watch closely so it doesn't burn)!
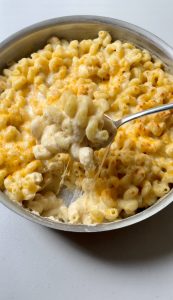


Absolutely perfect!