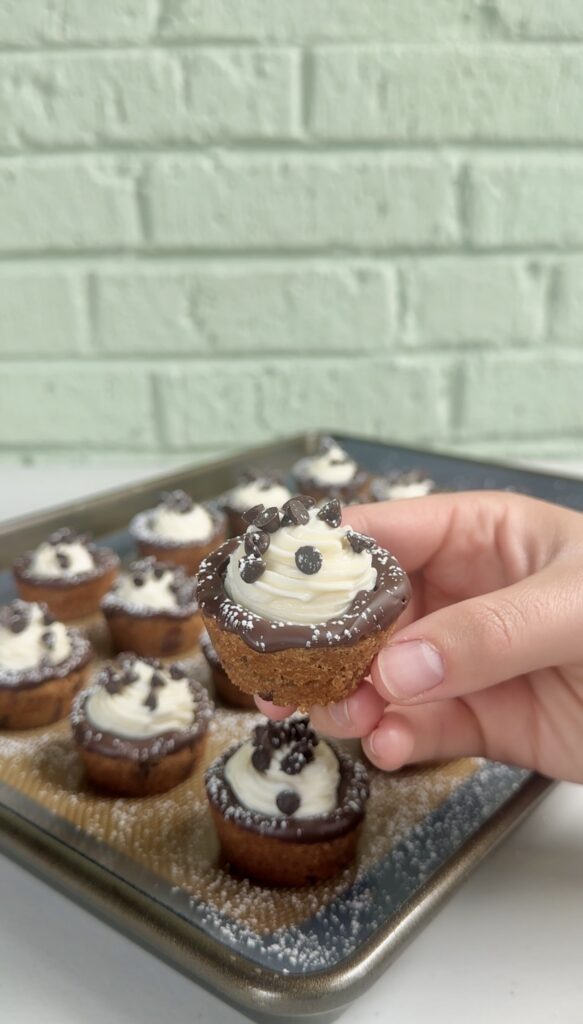
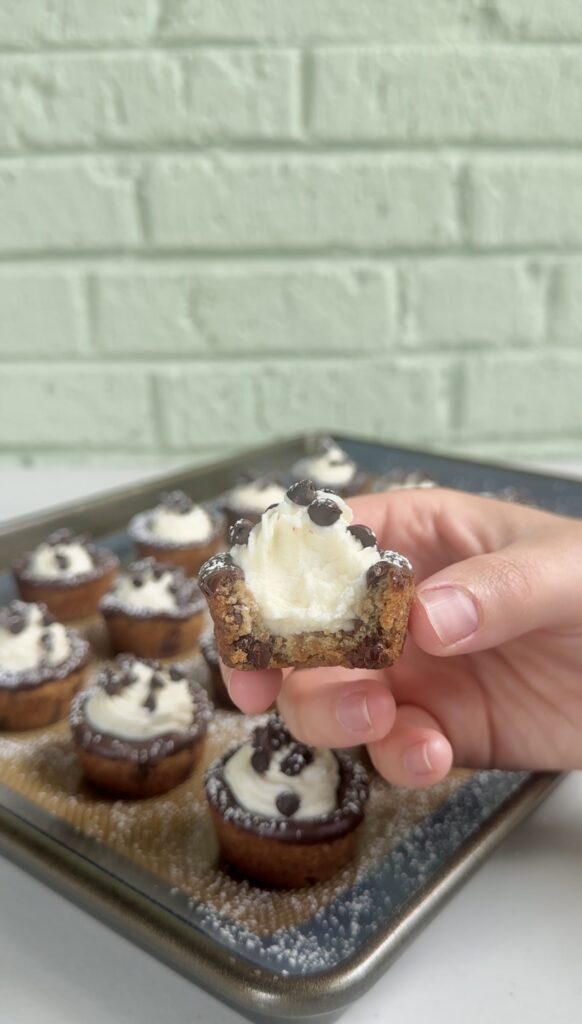
Cannoli Cookie Cups are chocolate chip cookie cups dipped in chocolate and filled with sweet, creamy cannoli filling!
If you love cannolis, my Tiramisu Dip gives you that same creamy mascarpone richness with an extra layer of coffee and cocoa flavor that makes it even more indulgent. It delivers all the flavor of another classic Italian dessert with none of the fuss!
Why you’ll love this recipe:
If you’ve ever had a cannoli and thought, this would be even better with a cookie, you’re not alone! These Cannoli Cookie Cups are exactly that—a soft, chewy chocolate chip cookie turned into a cup, dipped in chocolate, and filled with a rich, creamy cannoli filling.
These hit that sweet spot between nostalgic and creative. They feel familiar because of the cookie base, but different enough to stand out from the usual desserts. Traditional cannolis are great, but they’re honestly a bit of a project—making and frying the shells, getting the texture just right, and dealing with the mess of hot oil. Cannoli Cookie Cups skip all of that!
You get the same creamy ricotta and mascarpone filling and that chocolatey bite, but with a store-bought cookie dough base that’s almost impossible to mess up. No frying, no special equipment, no stress about shells going soggy or cracking.
They’re also more forgiving. Cookie cups stay soft and sturdy, so you don’t have to rush to fill and serve them the way you do with traditional cannolis. That makes them a lot more practical for parties or make-ahead desserts.
You still get that cannoli flavor—creamy, lightly sweet, a little chocolatey—but in a format that tastes like a mashup of two classics, and comes together with minimal effort. It’s hard to argue with that!
Ingredients you’ll need:
- Chocolate chip cookie dough- store-bought
- Whole milk ricotta cheese
- Mascarpone cheese
- Powdered sugar- divided
- Vanilla extract
- Semi-sweet chocolate chips
- Vegetable oil
- Mini chocolate chips
At their core, these are made with store-bought chocolate chip cookie dough, which keeps things easy and approachable. The dough gets baked in a muffin tin so it forms that perfect little cup shape. Once cooled, the rims are dipped in melted chocolate to give that classic cannoli shell vibe—just without the frying.
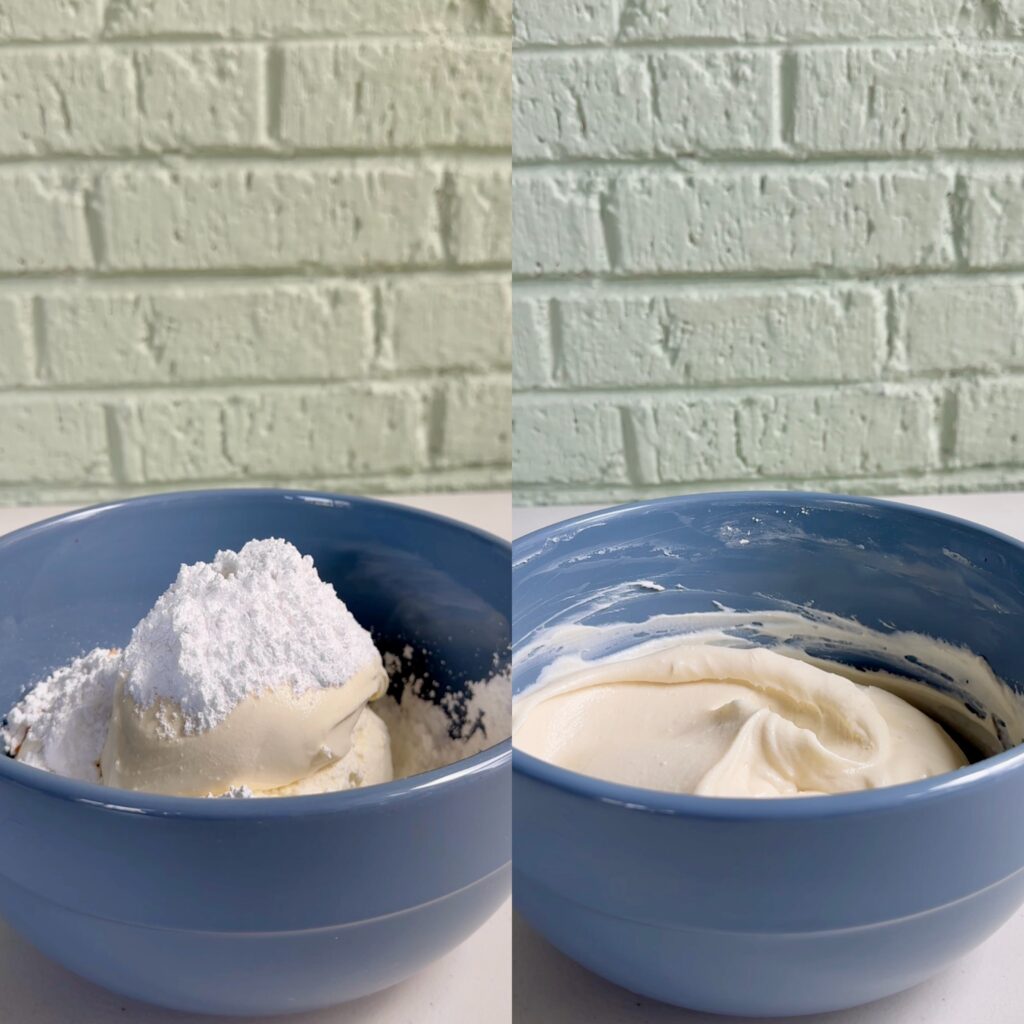
And then comes the best part: the filling. A smooth blend of ricotta and mascarpone, lightly sweetened and flavored with vanilla, piped right into the center. It’s creamy, slightly tangy, and balances out the sweetness of the cookie in the best way.
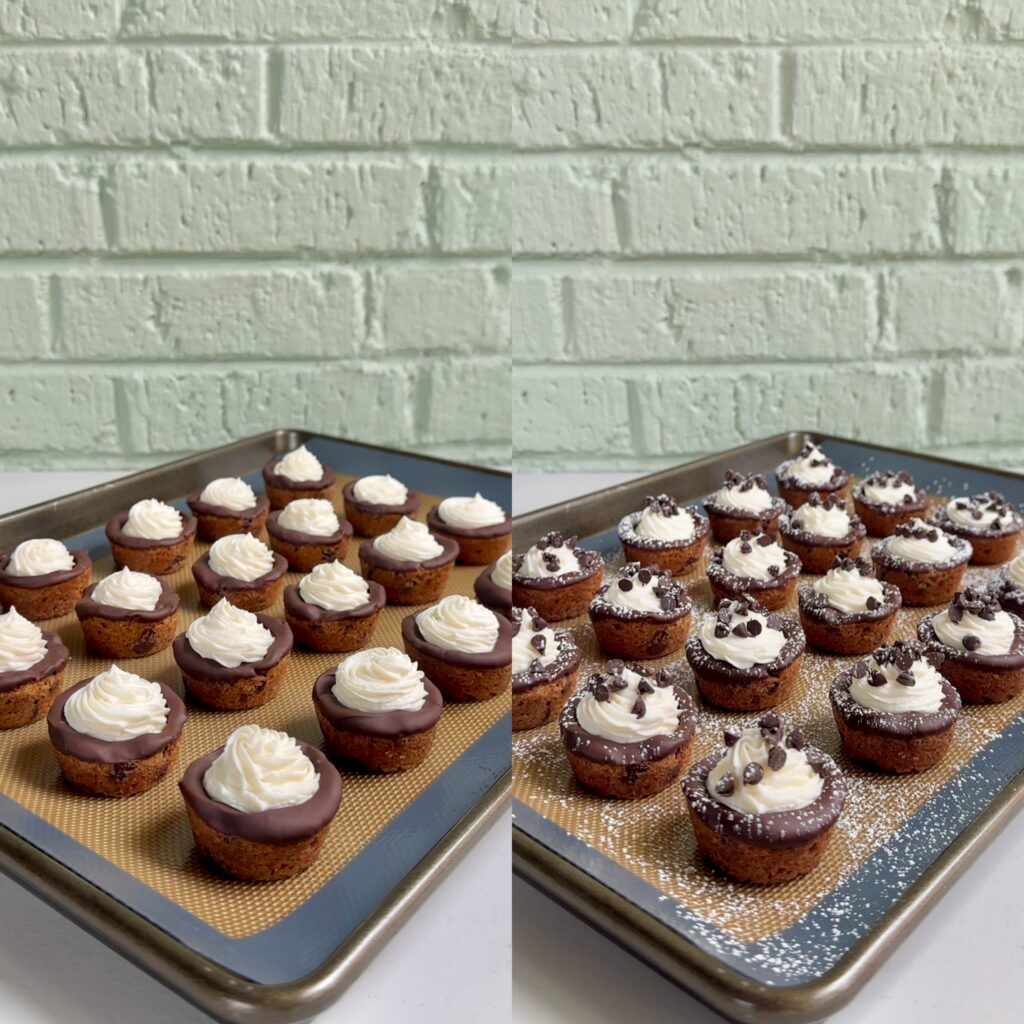
The final touch is what really pulls it all together. A sprinkle of mini chocolate chips and a dusting of powdered sugar gives you that unmistakable cannoli look and flavor. It’s simple, but it works!
How to make the best Cannoli Cookie Cups:
- Preheat your oven to 350 degrees F and spray a 24-cup mini muffin tin with non-stick cooking spray.
- Grab your chocolate chip cookie dough and slice it into 24 equal squares (just follow the perforated lines), then drop one square of cookie dough into each mini muffin tin cavity.
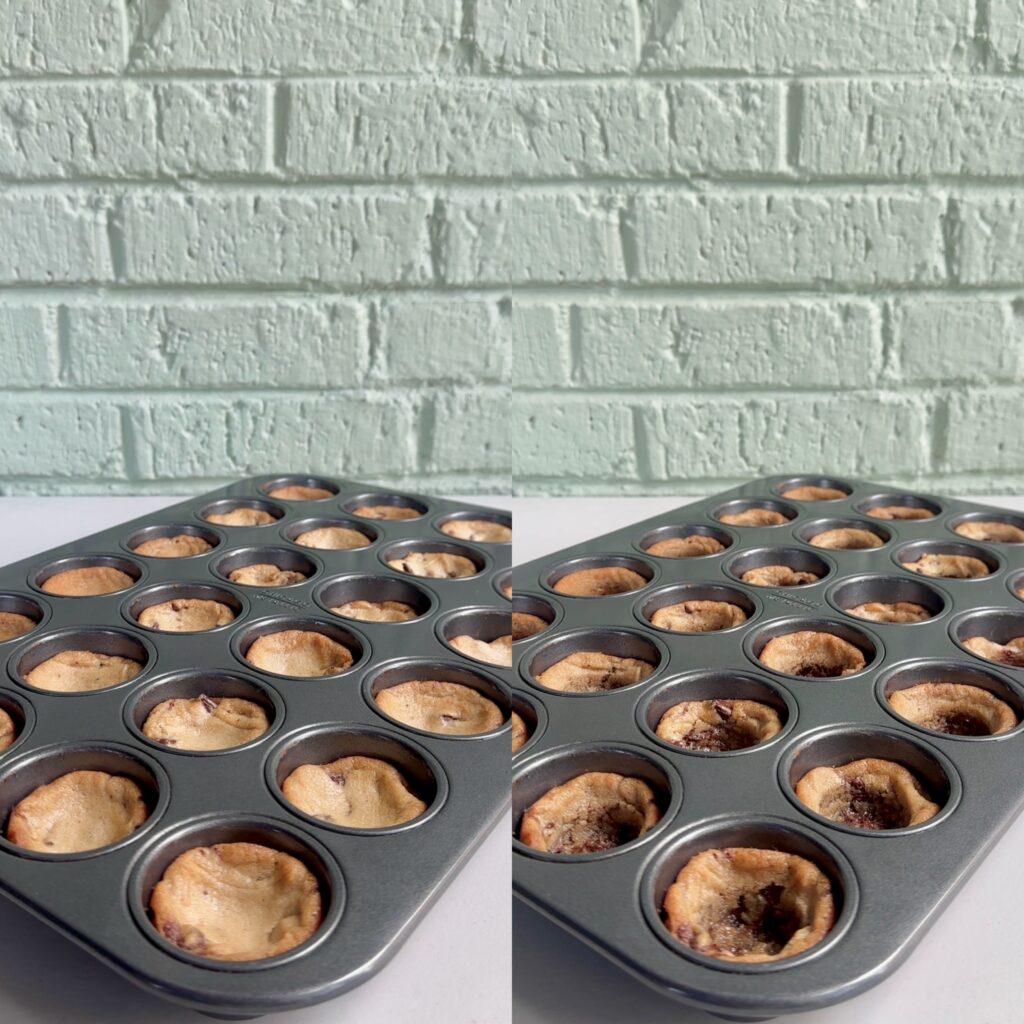
- Bake for 12-15 minutes, then immediately take the handle of a spoon or spatula and press down in the center of each cookie to create a well and set aside to cool completely.
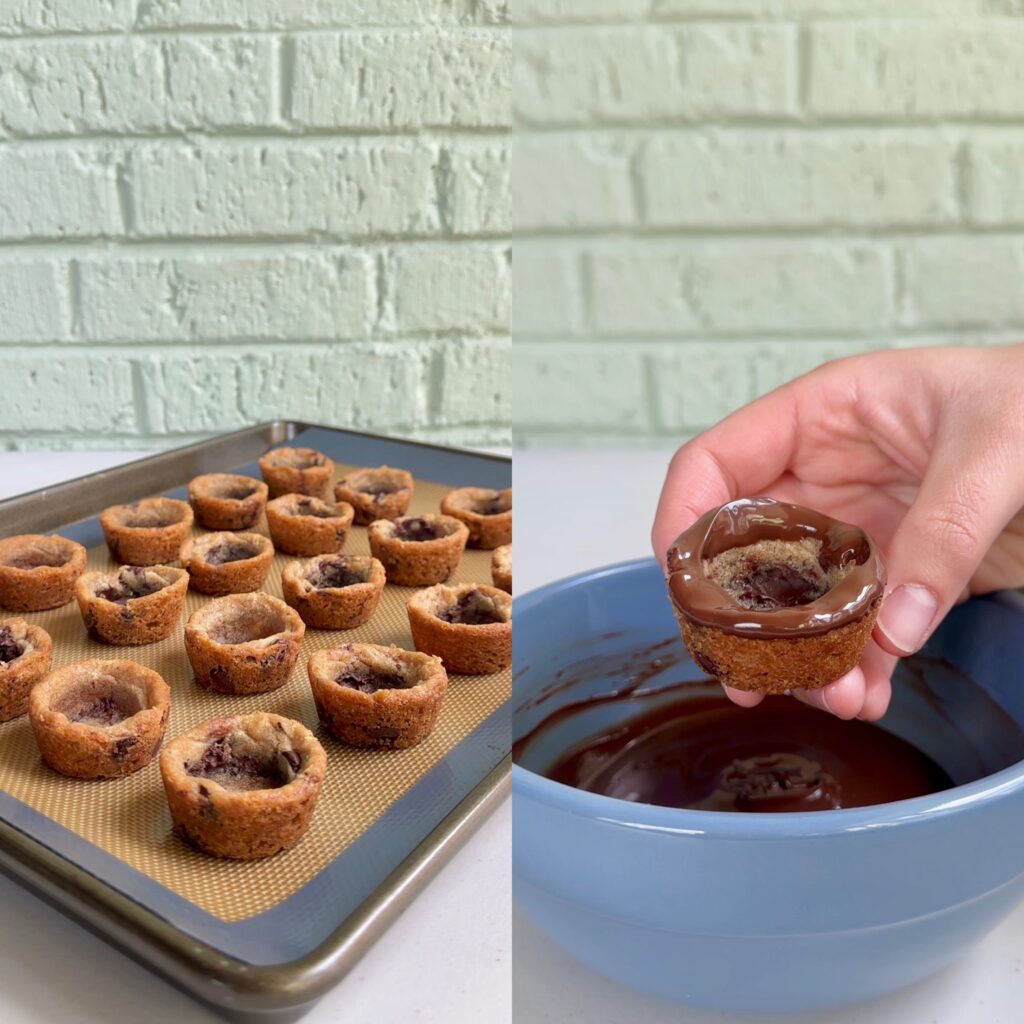
- Once cooled, remove the cookie cups from the pan and place them on a baking sheet lined with parchment paper or a silicone baking mat. If the edges of the cookies seem to be stuck to the pan, run a butter knife around the edges to loosen each cup.
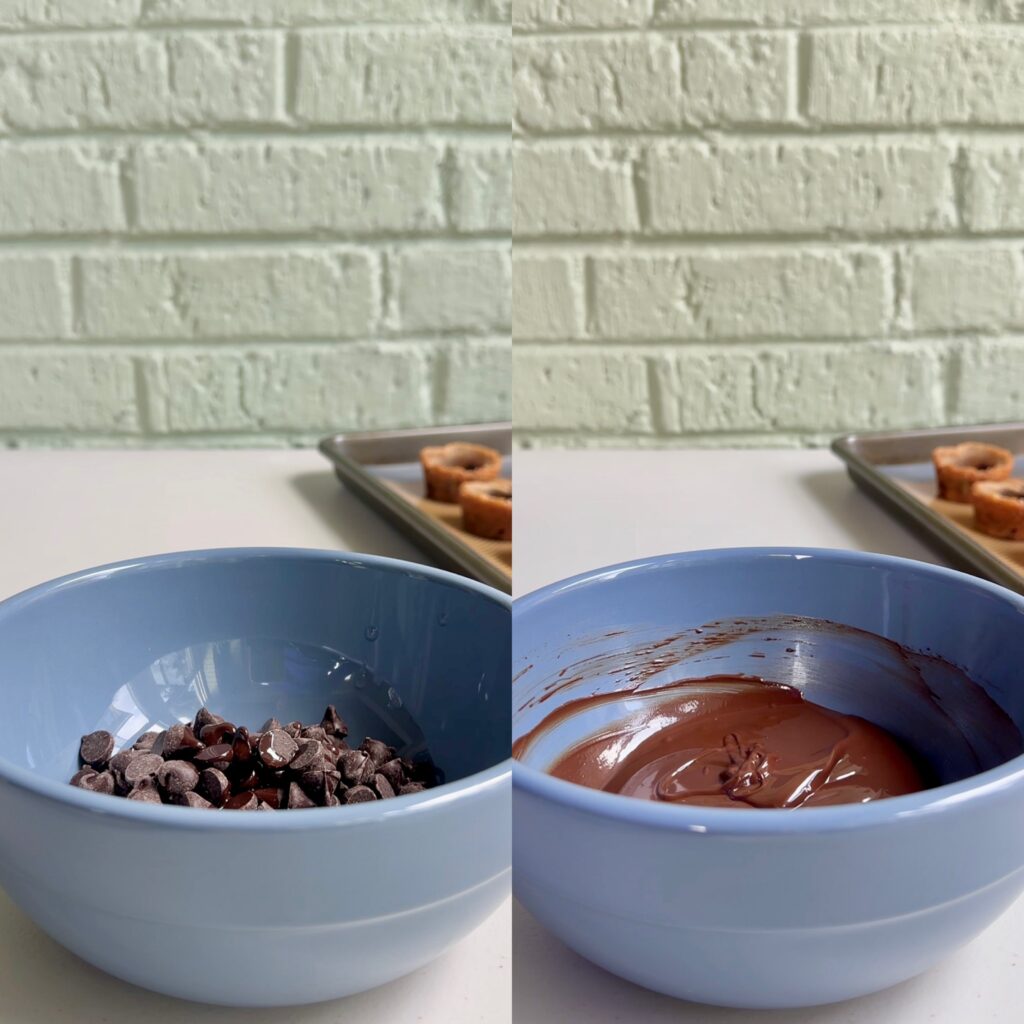
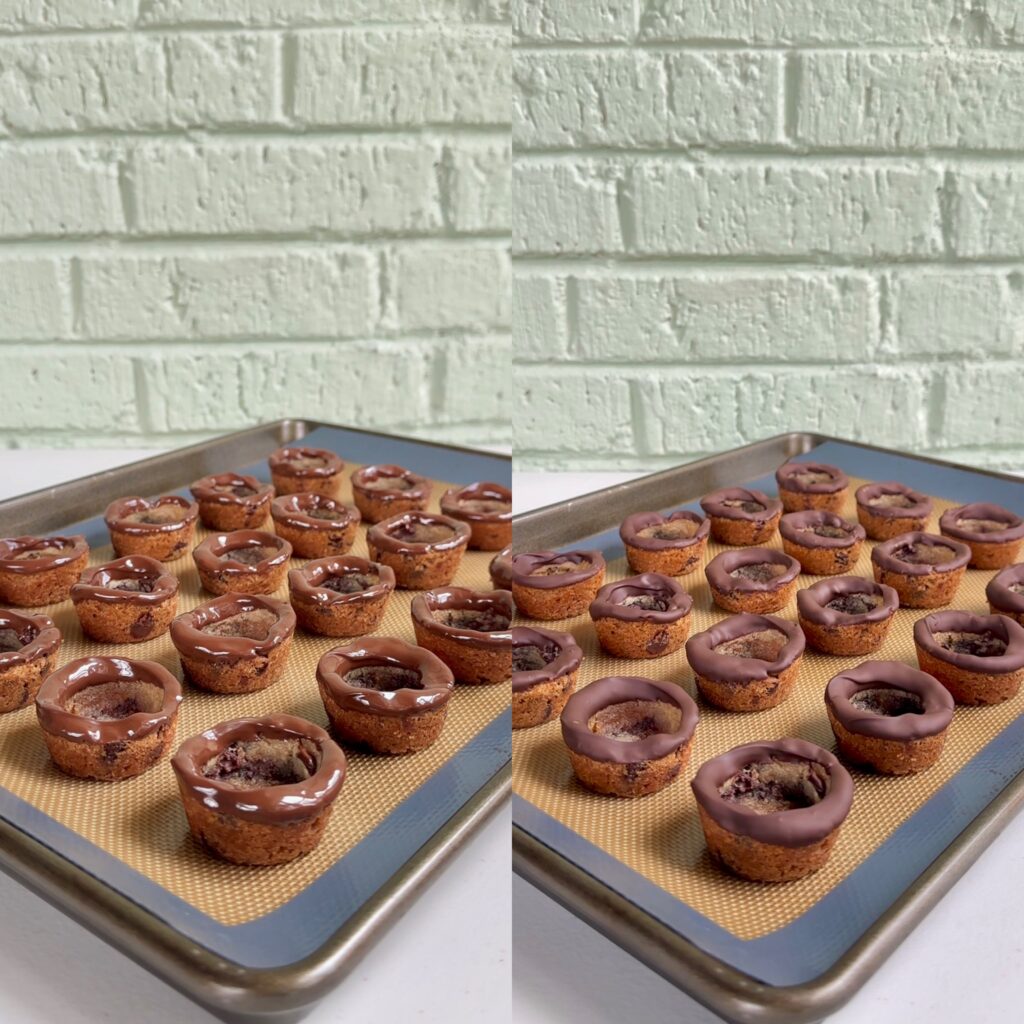
- In a microwave safe bowl, combine the semi-sweet chocolate chips and vegetable oil. Microwave in 30 second intervals, stirring in between, until melted and smooth.
- Dip the rim of each cookie cup into the melted chocolate, then return to the prepared baking sheet. Place them in the fridge for 15-20 minutes to set the chocolate.
- In a medium mixing bowl, combine the ricotta cheese, mascarpone cheese, powdered sugar, and vanilla extract, then mix until smooth and creamy.
- Transfer the cannoli filling into a piping bag or Ziploc bag optionally fitted with a piping tip, cut off the end, and generously fill each cookie cup.
- Sprinkle mini chocolate chips on top of each one and dust with more powdered sugar before enjoying!
What makes these Cannoli Cookie Cups so good is the contrast. You get a soft, chewy cookie base, a little snap from the chocolate-dipped edge, and that smooth, rich filling in the middle. Every bite has a mix of textures, which keeps them from feeling too heavy or one-note.
They’re also incredibly fun to make. You don’t need any complicated techniques or special equipment—just a muffin tin and something to pipe (or spoon) the filling. It’s the kind of recipe that feels a little impressive without actually being difficult.
Another reason people love this recipe is how easy it is to customize. You can add citrus zest to the filling for brightness, roll the chocolate rims in pistachios for a more traditional cannoli feel, or even switch up the toppings depending on the occasion. They’re flexible enough to dress up for a holiday dessert table or keep casual for a weekend treat.
My top tips:
- GREASE YOUR PAN: Grease your mini muffin tin liberally with nonstick cooking spray before adding the squares of cookie dough. It’s no fun to make a dessert just for it to get stuck in the pan!
- COOKIE DOUGH: Using store-bought chocolate chip cookie dough is a huge time saver here! I recommend buying the package of chocolate chip cookie dough that comes with 24 pre-portioned squares so that all you need to do is cut along the perforated lines, then place one piece of cookie dough into each muffin tin cavity before baking.
- CREATING THE WELLS: You’ll want to press down the centers of each cookie cup while the cookies are still warm from the oven. I just used the rounded end of a spatula handle I had, but if you own a tart tamper, that would be even more efficient!
- COOLING: It’s VERY important to let these cookie cups cool completely before removing them from the pan. If you try to remove warm cookies, the cookies will likely fall apart.
- DIPPING: When dipping the rims of each cookie cup into melted chocolate, let the excess drip off for a second before flipping them upright—otherwise gravity will pull it down the sides and set them rim-side up on parchment and let the chocolate harden completely (you can speed this up in the fridge).
- PIPING BAG: Transferring the cannoli filling into a piping bag (or ziploc bag) helps control how much filling you’re piping into the cookie cups and in turn, keeps them nice and neat. It’s optional to use a piping tip, but if you do, I’d recommend a star tip for a more decorative, swirled top that holds toppings nicely.
- TOPPING: Mini chocolate chips are my go-to topping here, but you could also do chopped pistachios for a little salt and crunch, and/or orange or lemon zest for brightness! All of these are classic cannoli-style finishes.
- STORING: Store leftovers in an airtight container in the fridge for up to 2 days. For longer storage, you can make the cannoli filling up to 3 days in advance, just store the filling in an airtight container in the fridge, then bake, fill and garnish the cookie cups the day of serving.
Looking for more cookie cup recipes? Check these out!
- Fluffernutter Cookie Cups
- Dirt Pudding Cookie Cups
- Caramel Apple Cookie Cups
- S’mores Cookie Cups
- Fruit Pizza Cookie Cups
- Peach Cobble Cookie Cups
- Cheesecake Cookie Cups
- Cherry Pie Cookie Cups

Cannoli Cookie Cups
Equipment
Ingredients
- 1 (16 oz) package chocolate chip cookie dough store-bought
- 1/4 cup semi-sweet chocolate chips
- 1 tsp vegetable oil
- 1 1/4 cup whole milk ricotta cheese
- 3/4 cup marscapone cheese
- 3/4 cup powdered sugar
- 1 tsp vanilla extract
- 1/3 cup mini chocolate chips for garnish
- 1-2 tbsp powdered sugar for garnish
Instructions
- Preheat your oven to 350 degrees F and spray a 24-cup mini muffin tin with non-stick cooking spray.
- Grab your chocolate chip cookie dough and slice it into 24 equal squares (just follow the perforated lines), then drop one square of cookie dough into each mini muffin tin cavity.
- Bake for 12-15 minutes, then immediately take the handle of a spoon or spatula and press down in the center of each cookie to create a well and set aside to cool completely.
- Once cooled, remove the cookie cups from the pan and place them on a baking sheet lined with parchment paper or a silicone baking mat. If the edges of the cookies seem to be stuck to the pan, run a butter knife around the edges to loosen each cup.
- In a microwave safe bowl, combine the semi-sweet chocolate chips and vegetable oil. Microwave in 30 second intervals, stirring in between, until melted and smooth.
- Dip the rim of each cookie cup into the melted chocolate, then return to the prepared baking sheet. Place them in the fridge for 15-20 minutes to set the chocolate.
- In a medium mixing bowl, combine the ricotta cheese, mascarpone cheese, powdered sugar, and vanilla extract, then mix until smooth and creamy.
- Transfer the cannoli filling into a piping bag or Ziploc bag optionally fitted with a piping tip, cut off the end, and generously fill each cookie cup.
- Sprinkle mini chocolate chips on top of each one and dust with more powdered sugar before enjoying!
This post contains Amazon Affiliate links. Dangthatssweet may receive a small commission for Amazon purchases made through these links at no cost to you. Thanks for your support!

Leave a Reply