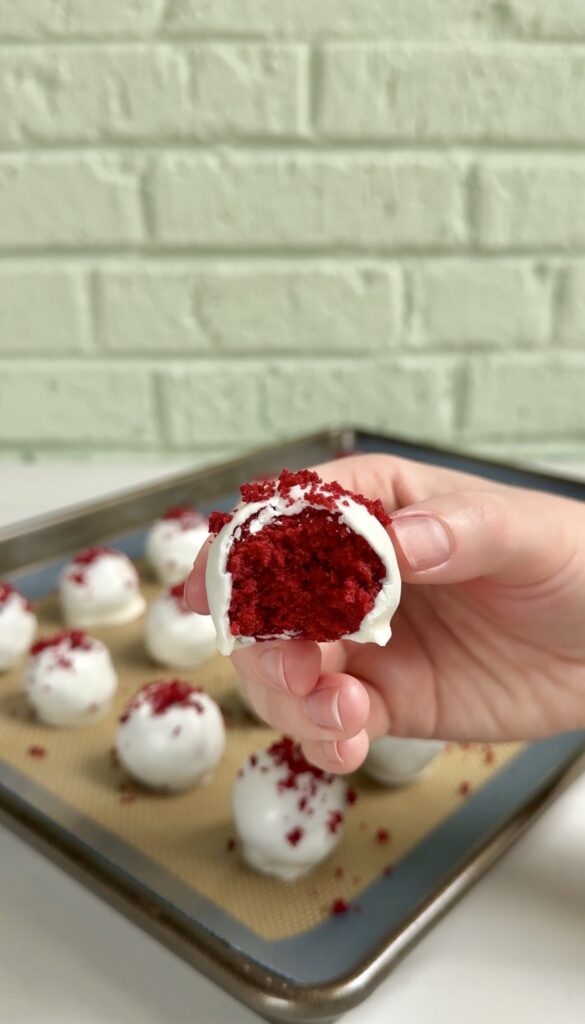
Red Velvet Cake Truffles are soft, chocolate-coated bites of red velvet cake mixed with cream cheese that taste rich, sweet, and completely addictive without being hard to make!
Love red velvet cake? You’ll also love my Red Velvet Cheesecake Strawberries!
Why you’ll love this recipe:
If you’re looking for a dessert that’s easy to make, insanely delicious, and perfect for any occasion, Red Velvet Cake Truffles are the answer.
One of the biggest reasons people love Red Velvet Cake Truffles is their simplicity. You don’t need a long grocery list or any special baking tools. The base of the recipe starts with red velvet cake, which can be homemade or made from a box mix, combined with cream cheese to create a soft, truffle-like texture. A quick dip in melted chocolate is all it takes to finish them off.
Because the ingredients are so straightforward, this recipe is perfect for beginners, busy home bakers, or anyone who wants an impressive dessert without spending hours in the kitchen!
Ingredients you’ll need:
- Red velvet cake- prepared according to box instructions
- Cream cheese- softened
- White chocolate chips
- Vegetable oil
Red Velvet Cake Truffles (also called red velvet cake balls) are made by mixing crumbled red velvet cake with cream cheese, rolling the mixture into small balls, and coating them in melted white chocolate. The result? A soft, fudgy center with a crisp chocolate shell that melts in your mouth.
They taste like a cross between cake, cheesecake, and chocolate truffles—rich, indulgent, and completely irresistible! Whether you’re planning a holiday dessert table, a party treat, or a last-minute sweet craving fix, Red Velvet Cake Truffles are guaranteed to impress with minimal effort.
Despite how elegant they look, Red Velvet Cake Truffles are surprisingly easy to make. Once the cake is prepared and crumbled, everything comes together quickly. There’s no piping, no layering, and no decorating skills required. Even better, they can be made ahead of time and stored in the refrigerator or freezer until you’re ready to serve them.
This makes them an excellent option for stress-free entertaining or last-minute dessert plans!
How to make the best Red Velvet Cake Truffles:
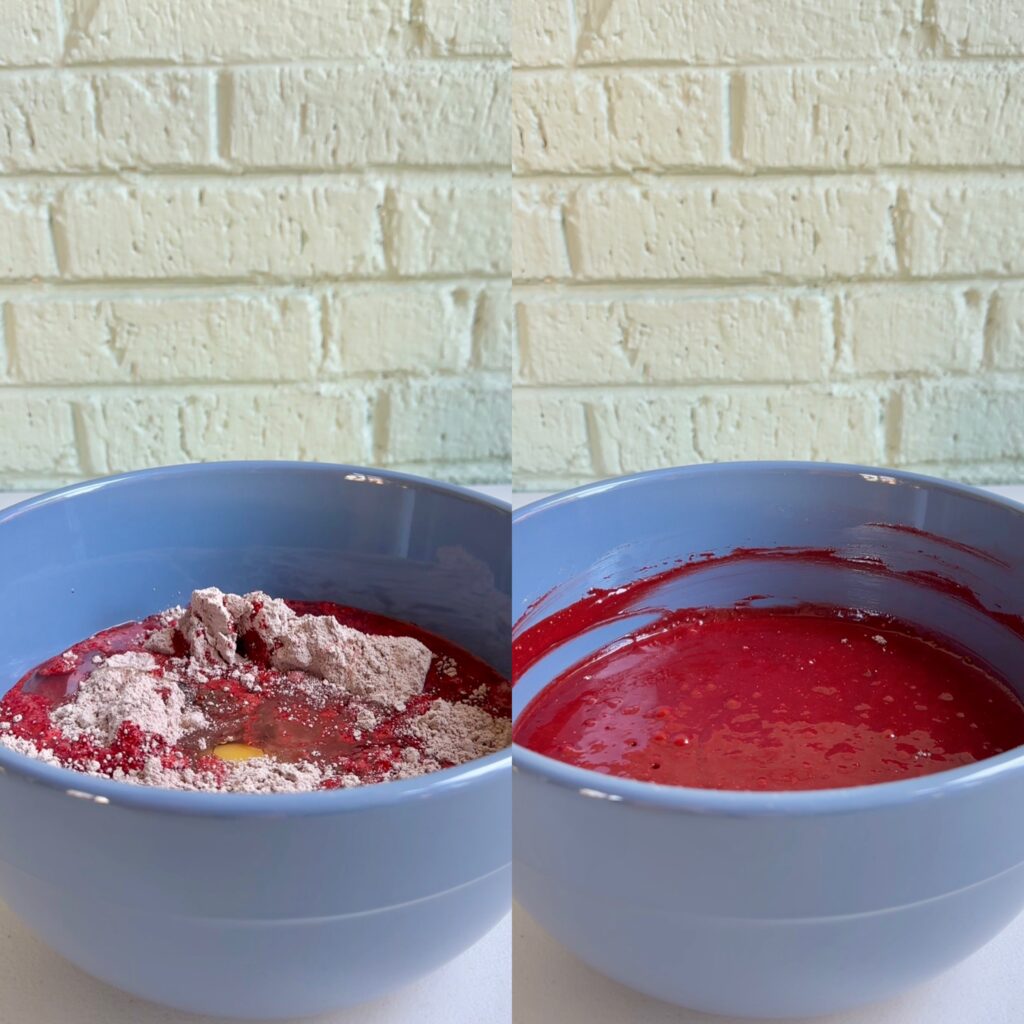
- Prepare your cake according to package instructions, then cut any hard edges off the cake and discard (or save for snacking).
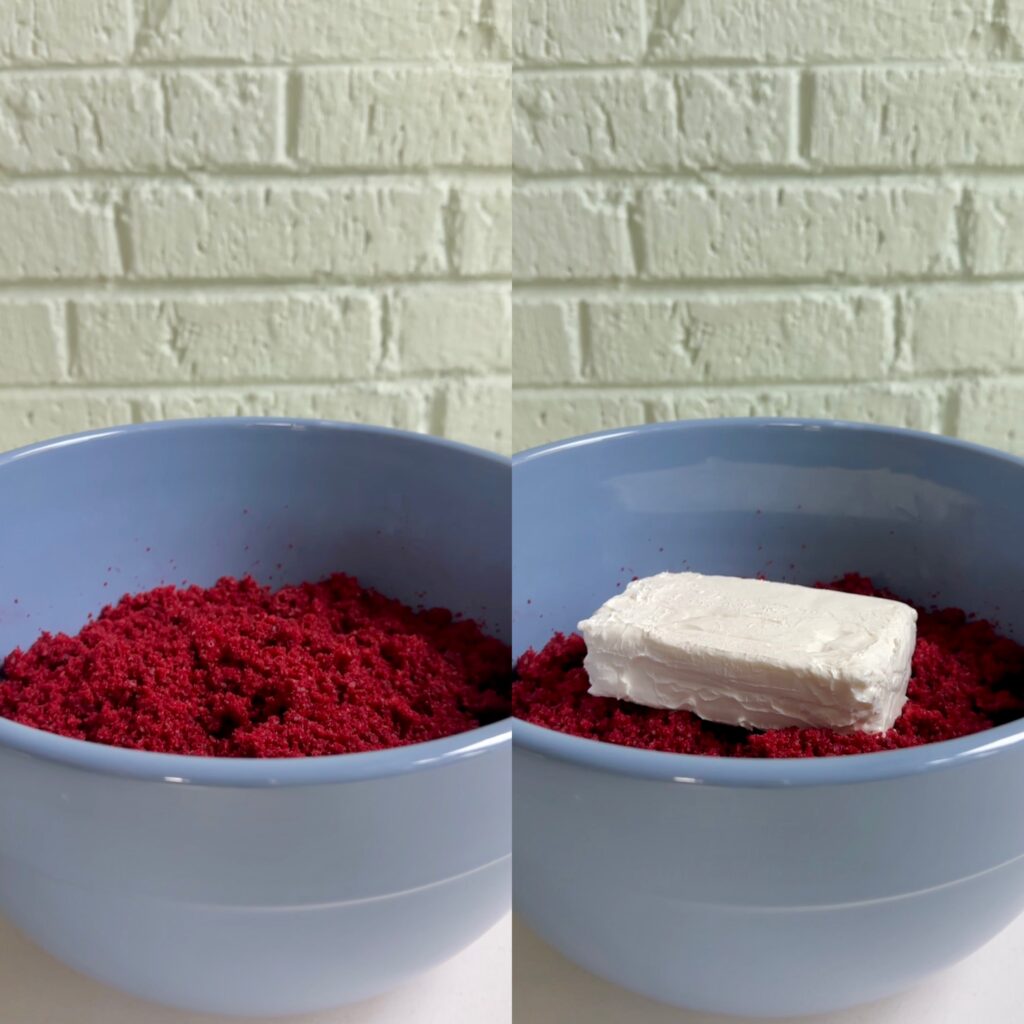
- Break up the remaining cake with a fork or your hands, and reserve ½ cup of cake crumbs for later on.
- Add the remaining cake crumbs into a mixing bowl along with the softened cream cheese. Using an electric mixer, mix until the cream cheese is fully incorporated.
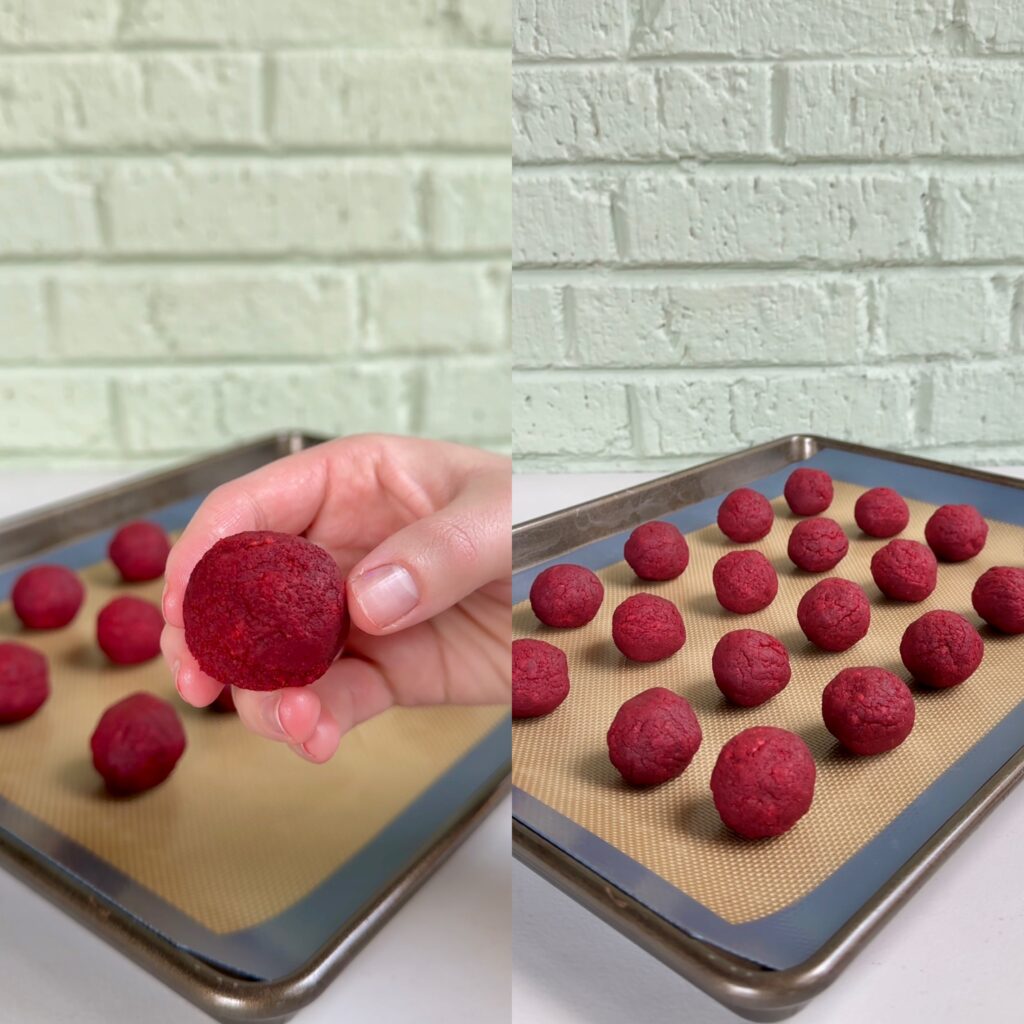
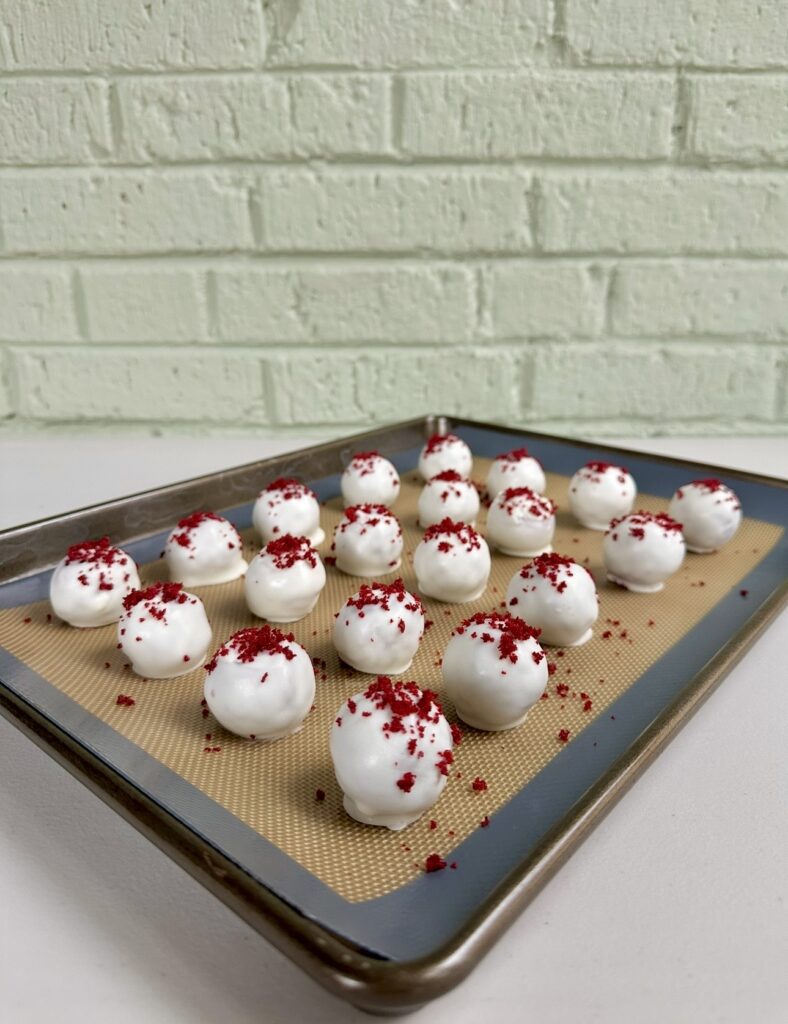
- Roll into 42 cake balls (about 1 heaping tablespoon per ball) and place on a baking sheet lined with parchment paper or a silicone baking mat, then transfer to the fridge or freezer to chill for 30 minutes.
- In a microwave safe bowl, combine the white chocolate chips and vegetable oil. Microwave in 30 second intervals, stirring in between, until melted and smooth.
- Working one by one, coat each cake ball in the melted chocolate. Using a fork, take each ball out of the bowl, shake off any excess chocolate, then return to the lined baking sheet and immediately sprinkle each one with the reserved cake crumbs.
- Let the chocolate firm up before serving. To speed this up, place the truffles in the fridge for 30 minutes or in the freezer for 15.
Red Velvet Cake Truffles have a rich, slightly chocolatey flavor with a subtle tang that makes them stand out from regular chocolate desserts. The inside is moist and creamy, almost like a cross between cake and cheesecake, while the outer chocolate shell adds a satisfying snap.
They’re indulgent without being too heavy, which makes it dangerously easy to reach for just one more!
Thanks to their deep red color, Red Velvet Cake Truffles are also especially popular during the holidays. They’re a natural fit for Christmas dessert trays, Valentine’s Day treats, and festive gatherings where presentation matters. Their small size also makes them ideal for parties, weddings, and showers, since guests can enjoy them without needing plates or forks.
They’re also easy to customize with different coatings or decorations, which means they can match almost any celebration or theme! If you want a dessert that looks beautiful, tastes amazing, and doesn’t require advanced baking skills, Red Velvet Cake Truffles are absolutely worth making.
My top tips:
- RED VELVET CAKE: Simply prepare a box mix cake like I do, or feel free to prepare your favorite homemade red velvet cake recipe- just make sure it fits a 9×13 pan.
- HARD EDGES: Trimming off the edges of the cake is important because although delicious, they’re just too hard and crusty to work into the smooth cake ball mixture.
- CAKE CRUMBS: Break up your cake while it’s still warm from the oven. Making the cake ball mixture with a warm cake traps some of the excess steam and keeps the mixture moist. The extra moisture helps the cake mixture hold together when you roll it into balls.
- SOFTENED CREAM CHEESE: Softened cream cheese also helps to bind the crumbled cake crumbs together, creating a smooth, creamy consistency that’s easy to shape. Make sure the cream cheese is softened to room temperature to avoid lumps in the mixture.
- ROLLING: Don’t be afraid of overworking the cake ball mixture. You’ll need to really press the crumbs together to get them shaped into balls. Surprisingly, overworking the mixture makes the cake balls softer and chewier rather than dense and dry!
- CHILLING: Don’t skip this step! Placing the rolled truffles into the freezer for a few minutes helps them firm up and ensures they will hold their shape while being coated in chocolate.
- MELTING CHOCOLATE: I recommend microwaving the chocolate in 30 second intervals to prevent any burning. I also like adding vegetable oil to the chocolate to thin it out a little and make it a better consistency for coating. You could use coconut oil for a similar result.
- COATING THE TRUFFLES: The best method for coating these balls in chocolate is to use a fork and gently tap any excess chocolate on the side of the bowl. You’ll also want to scrape all the excess chocolate off the bottom so that it won’t create a pool or “foot” of chocolate once placed on the baking sheet.
- TOPPING: Don’t wait until all the truffles are coated in white chocolate before sprinkling the reserved cake crumbs on top; otherwise, the cake crumbs will not stick! The white chocolate hardens quickly, so it’s best to coat and sprinkle 1-2 cake balls at a time to ensure the crumbs stick to the tops of each cake ball.
- STORING: These Red Velvet Cake Truffles can be stored in an airtight container in the refrigerator for up to one week. To freeze, place the truffles in an airtight container or a freezer bag, separating layers with parchment paper if necessary, and freeze for 2-3 months.
Looking for more truffle treats? Check these out!
- Oreo Truffle Stuffed Strawberries
- Samoa Truffles
- Little Debbie Christmas Tree Cake Truffles
- Cookie Dough Brownie Truffles
- White Chocolate Raspberry Oreo Balls
- Nutter Butter Truffles
- Strawberry Shortcake Oreo Truffles

Red Velvet Cake Truffles
Equipment
Ingredients
- 1 (13 oz) box red velvet cake mix baked according to box instructions
- 1 (8 oz) block cream cheese softened
- 3 cups white chocolate chips
- 3 tbsp vegetable oil
Instructions
- Prepare your cake according to package instructions, then cut any hard edges off the cake and discard (or save for snacking).
- Break up the remaining cake with a fork or your hands, and reserve ½ cup of cake crumbs for later on.
- Add the remaining cake crumbs into a mixing bowl along with the softened cream cheese. Using an electric mixer, mix until the cream cheese is fully incorporated.
- Roll into 42 cake balls (about 1 heaping tablespoon per ball) and place on a baking sheet lined with parchment paper or a silicone baking mat, then transfer to the fridge or freezer to chill for 30 minutes.
- In a microwave safe bowl, combine the white chocolate chips and vegetable oil. Microwave in 30 second intervals, stirring in between, until melted and smooth.
- Working one by one, coat each cake ball in the melted chocolate. Using a fork, take each ball out of the bowl, shake off any excess chocolate, then return to the lined baking sheet and immediately sprinkle each one with the reserved cake crumbs.
- Let the chocolate firm up before serving. To speed this up, place the truffles in the fridge for 30 minutes or in the freezer for 15.
This post contains Amazon Affiliate links. Dangthatssweet may receive a small commission for Amazon purchases made through these links at no cost to you. Thanks for your support!

Leave a Reply